Step 1:- Main interface of Stellar Phoenix Photo Recovery (for Mac).
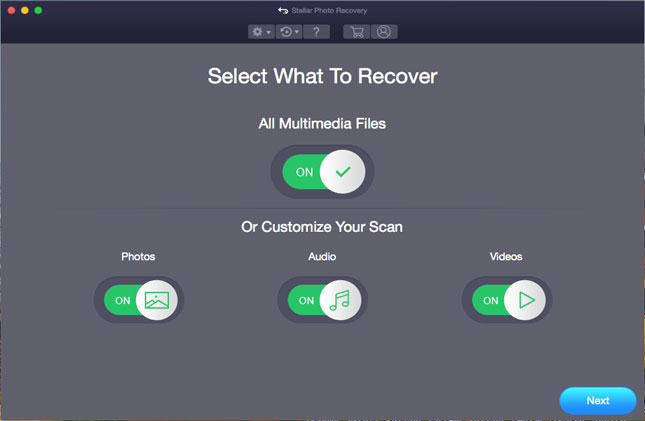
Click Recover Photo Audio & Video to start the process
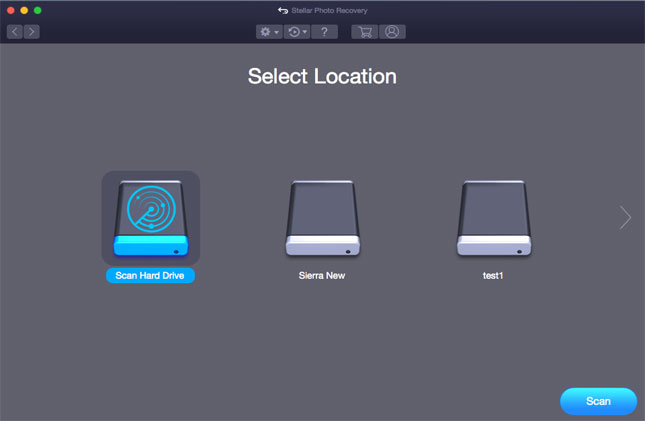
Step 2:- Here is the main window listing the hard drive, all the volumes, and the external media attached to the Mac, if any. Select the drive from the list. You can also go for Advanced Scan option to customize the scan preferences.
Step 3:- The Advanced Scan window enables selecting particular file types or sector range of the storage media for scanning. Doing so minimizes scanning effort and time.
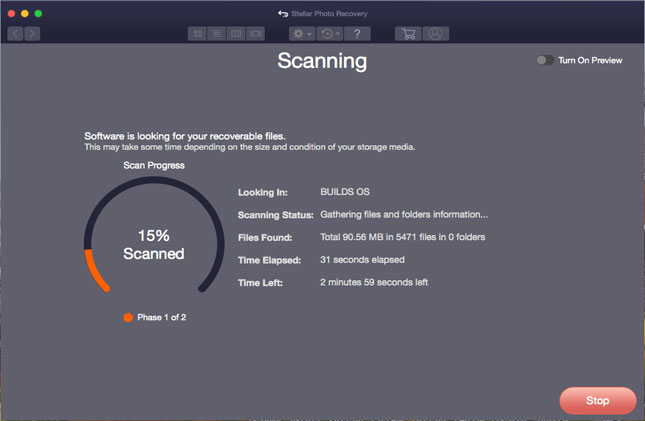
Step 4:- Here is the preview window showing the file being scanned, the tree generated while the media is scanned. The bar at the base shows the scanning process information.
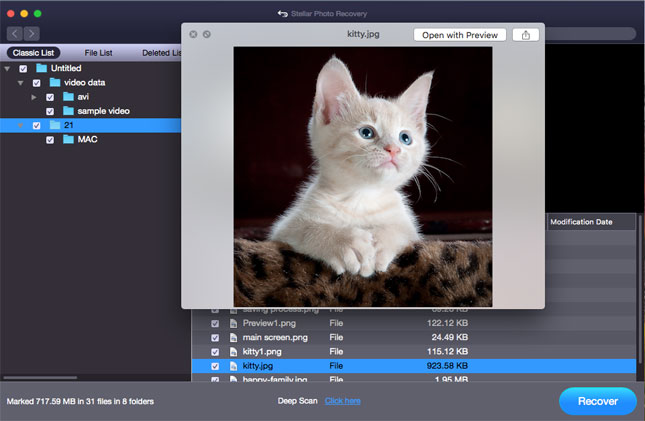
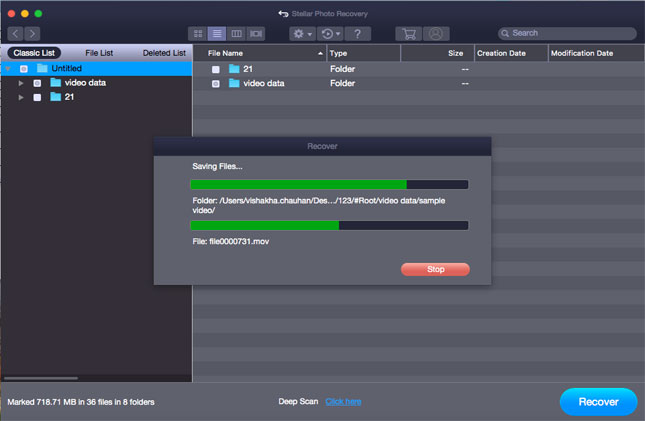
Step 5:- After the scanning is complete, the entire tree is generated at the left pane with the preview at the upper right pane. The button right pane shows the list of files in the folder .Here also, you can preview files, select them individually and click the Recover button for saving.

Step 6:- The screenshot shows that the files are being saved to the destination specified.