

Stellar Repair for Exchange repairs corrupt Exchange database (EDB) files and can export the recovered single or multiple mailboxes directly to Microsoft 365. It supports parallel processing that helps in faster processing and saving of mailboxes (up to 4 mailboxes together) to Microsoft 365.Follow these steps to recover the data from corrupt EDB file and export the recovered mailboxes to Microsoft 365 by using Stellar Repair for Exchange.
- Open the software. On the Home screen, click Select EDB File.
- In the Select File dialog box, click Browse to select the corrupt EDB file or click 'Find' to locate the file in a drive, folder, or subfolder.
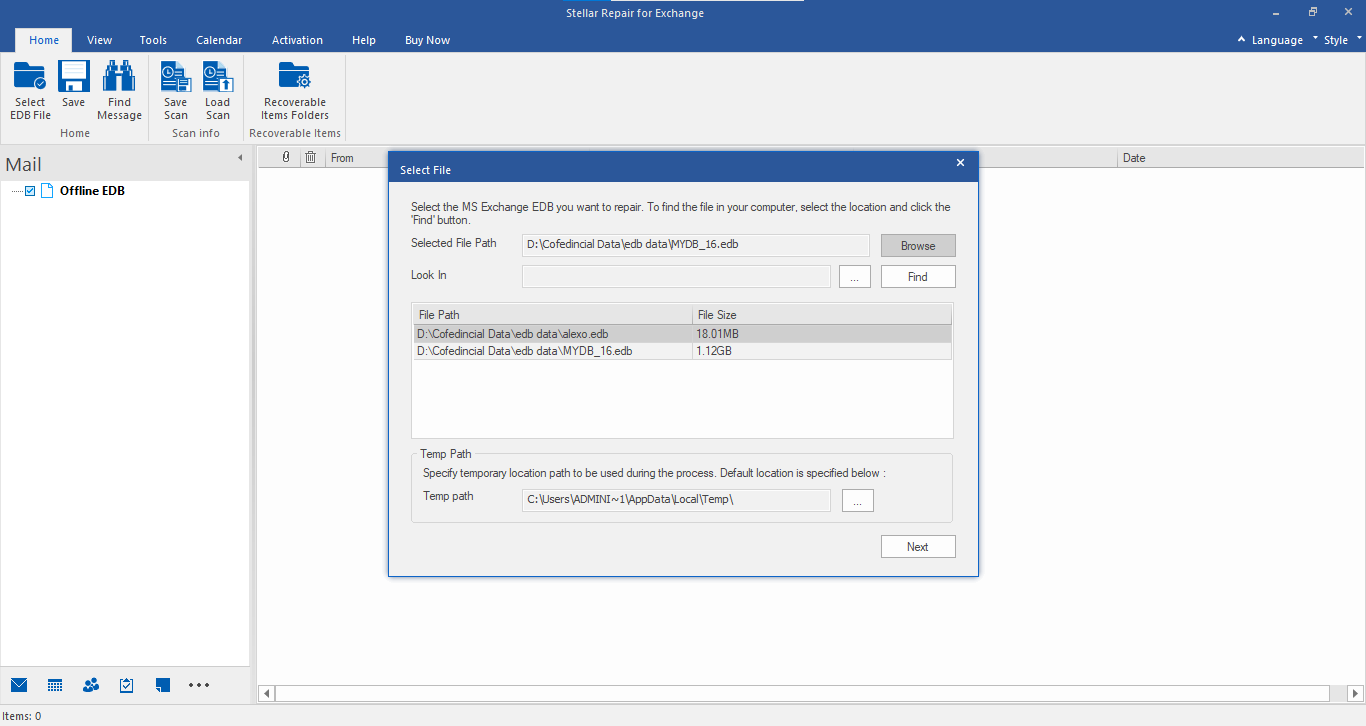
- Select a Temp Path, if the default path doesn't have free storage space, and then click 'Next.'
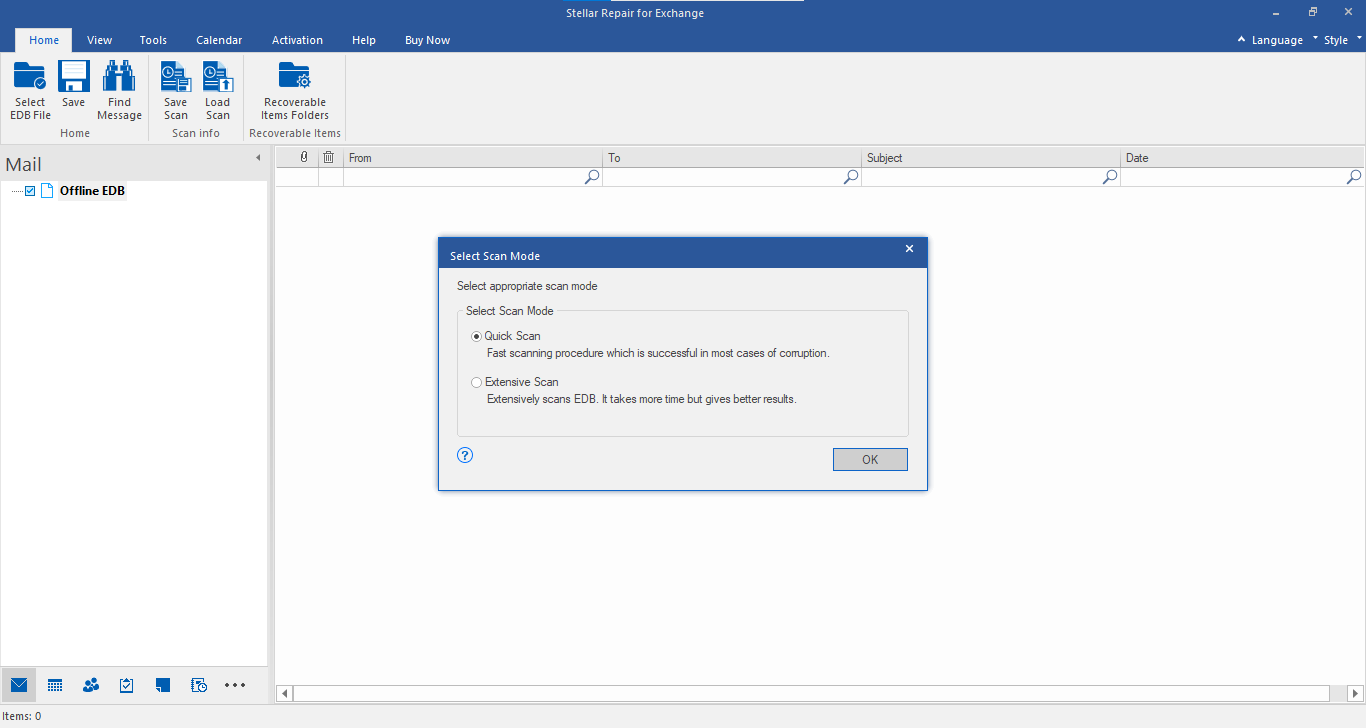
- Select 'Quick Scan' or 'Extensive Scan' and then click OK.
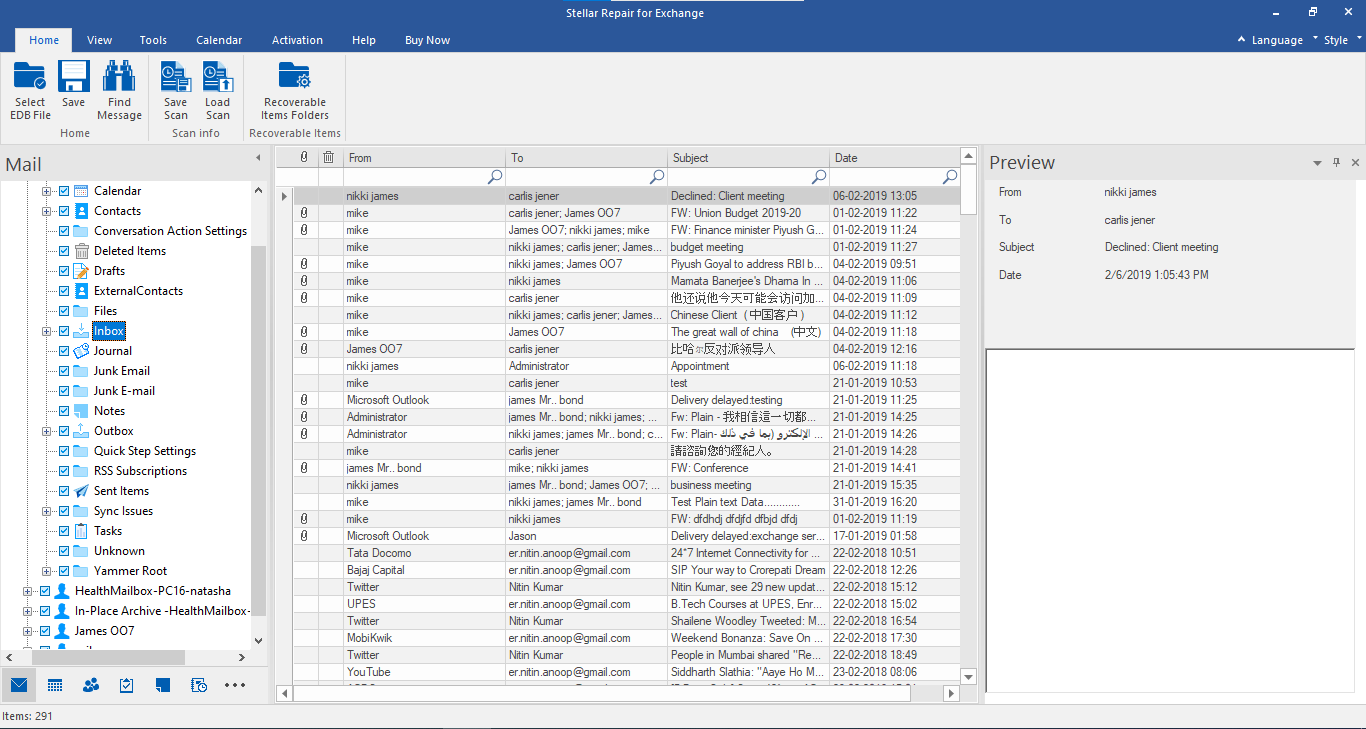
- After a successful scan and repair process, the software displays a preview of the repaired EDB mailboxes and mail items.
Use the following steps to export multiple mailboxes to Microsoft 365:
- After the scan, select desired mailbox or multiple mailboxes from the left preview pane.
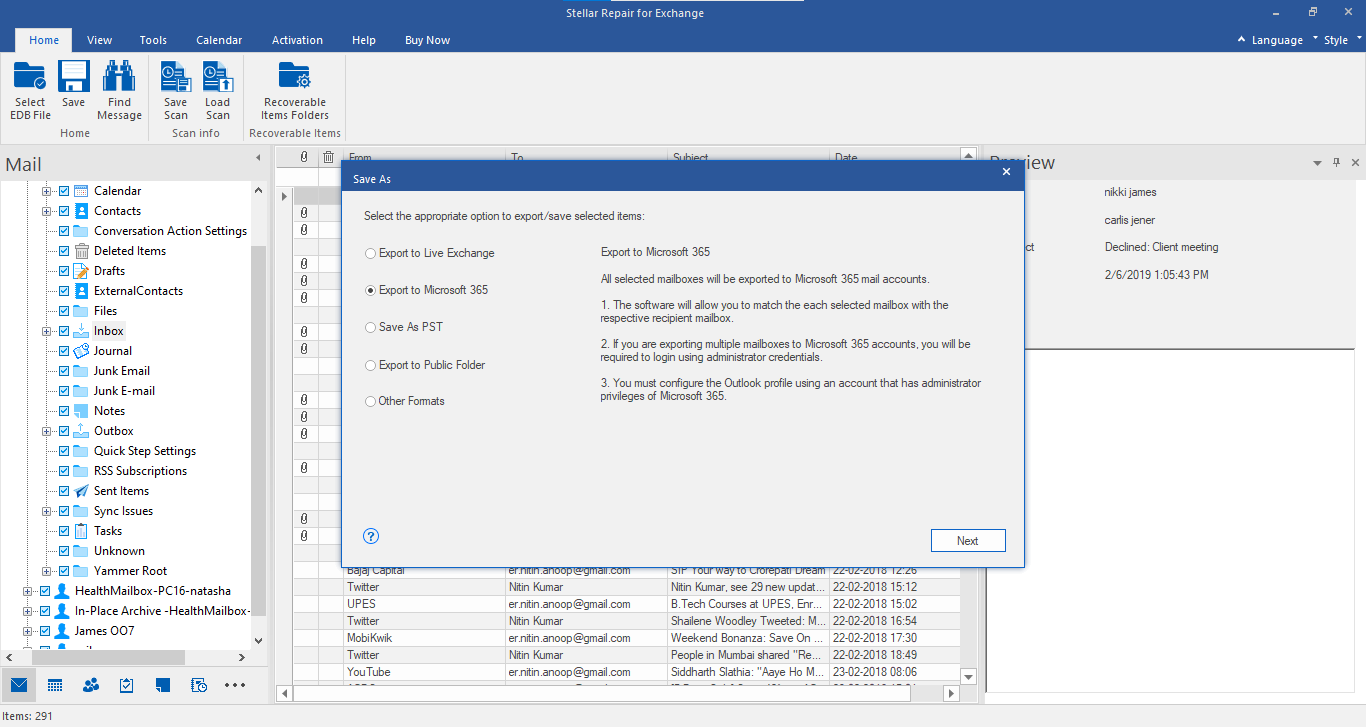
- From the main menu, click Save. A Save As window will appear.
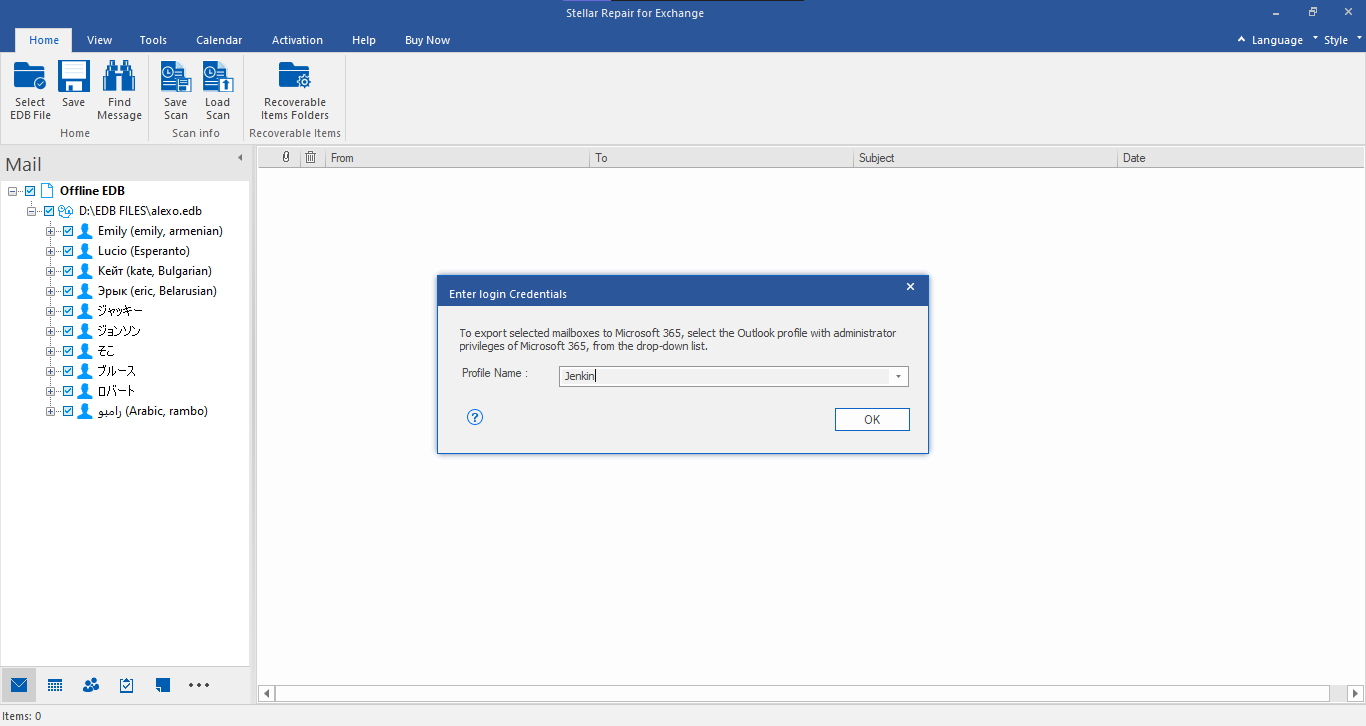
- Select Export to Microsoft 365 and then click Next. The Enter Login Credentials window will appear.
- Choose configured Outlook profile with Administrator access and Click OK
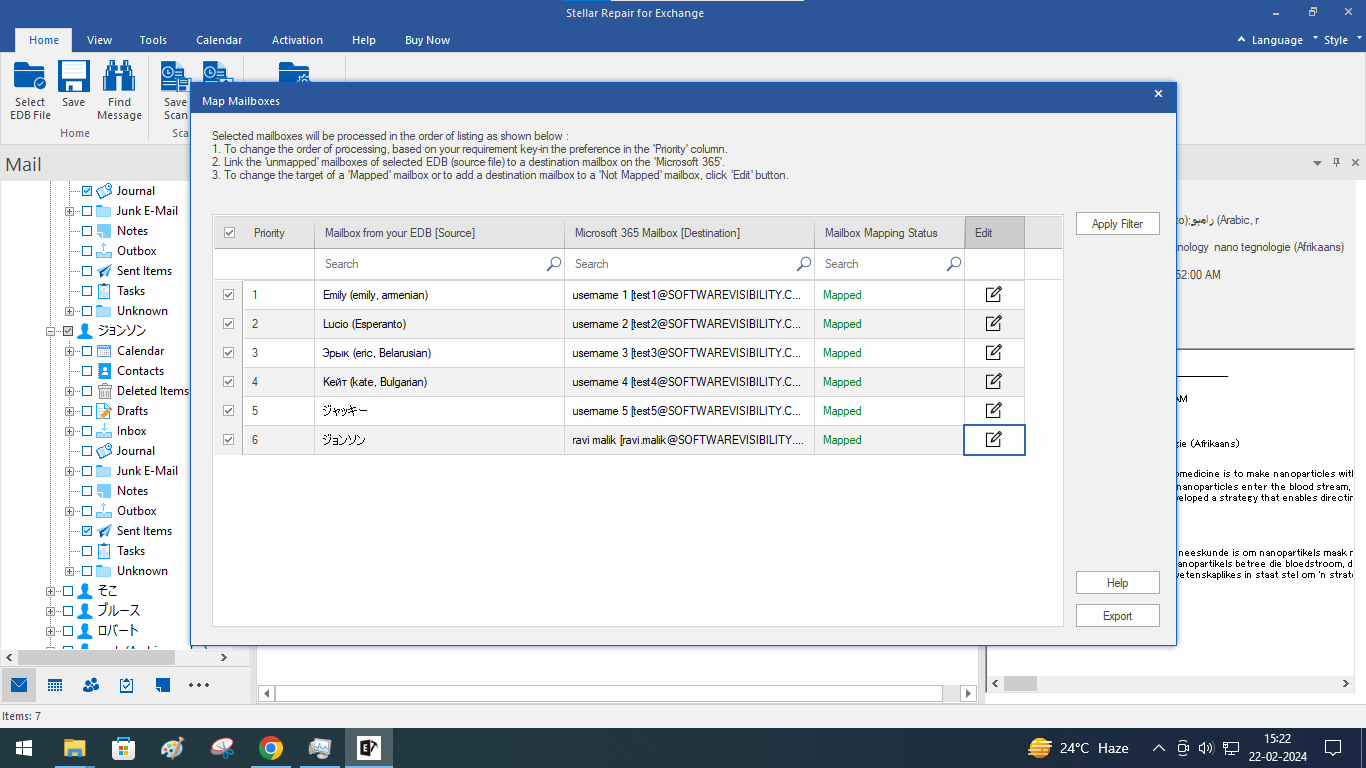
- A new screen will appear to Map Mailboxes. You can manually map mailboxes and set the Mailbox Recovery Priority by changing the value in the Priority column. This helps export critical mailboxes first to Office 365. You may also 'Apply Filters' to include/exclude specific mailboxes or mail items based on the email address or Date Range. After mapping the mailboxes, click Export.
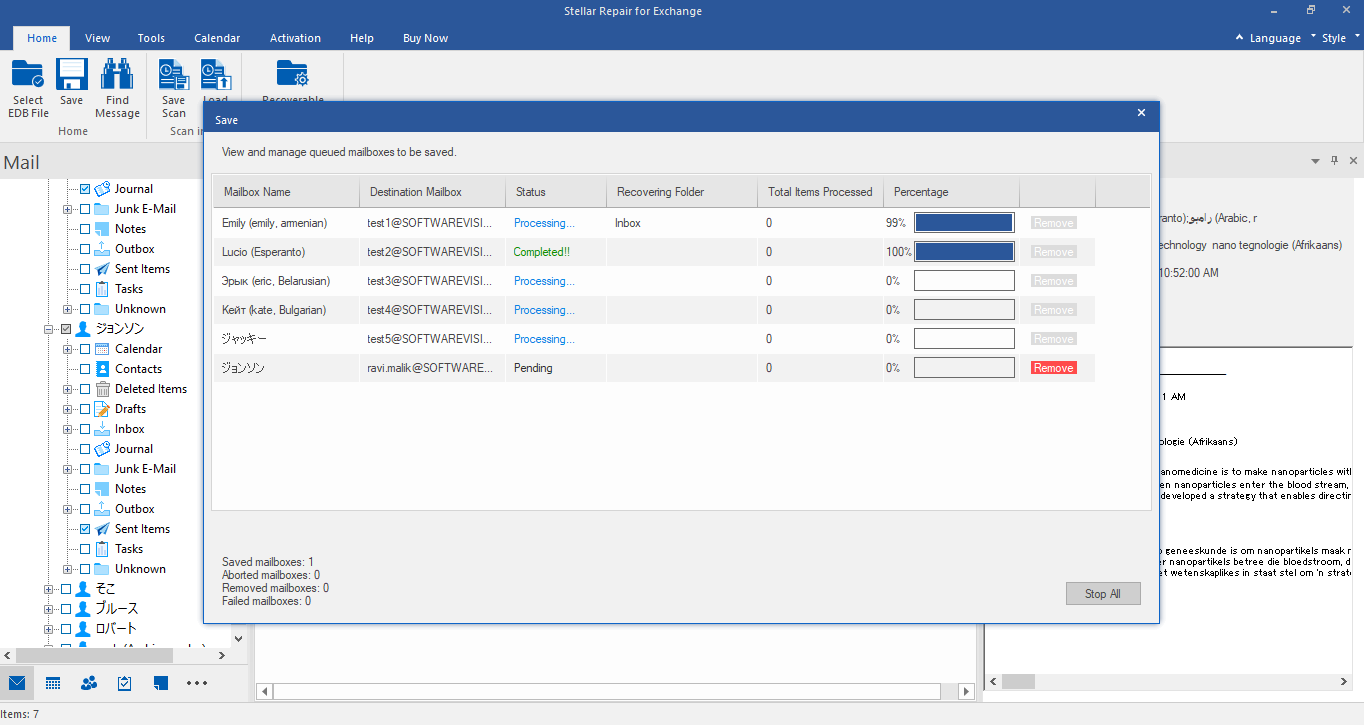
- A Save dialog box appears with saving status, along with Remove and Stop All action button.
- Wait for the save process to complete.
Use the following steps to export a single mailbox:
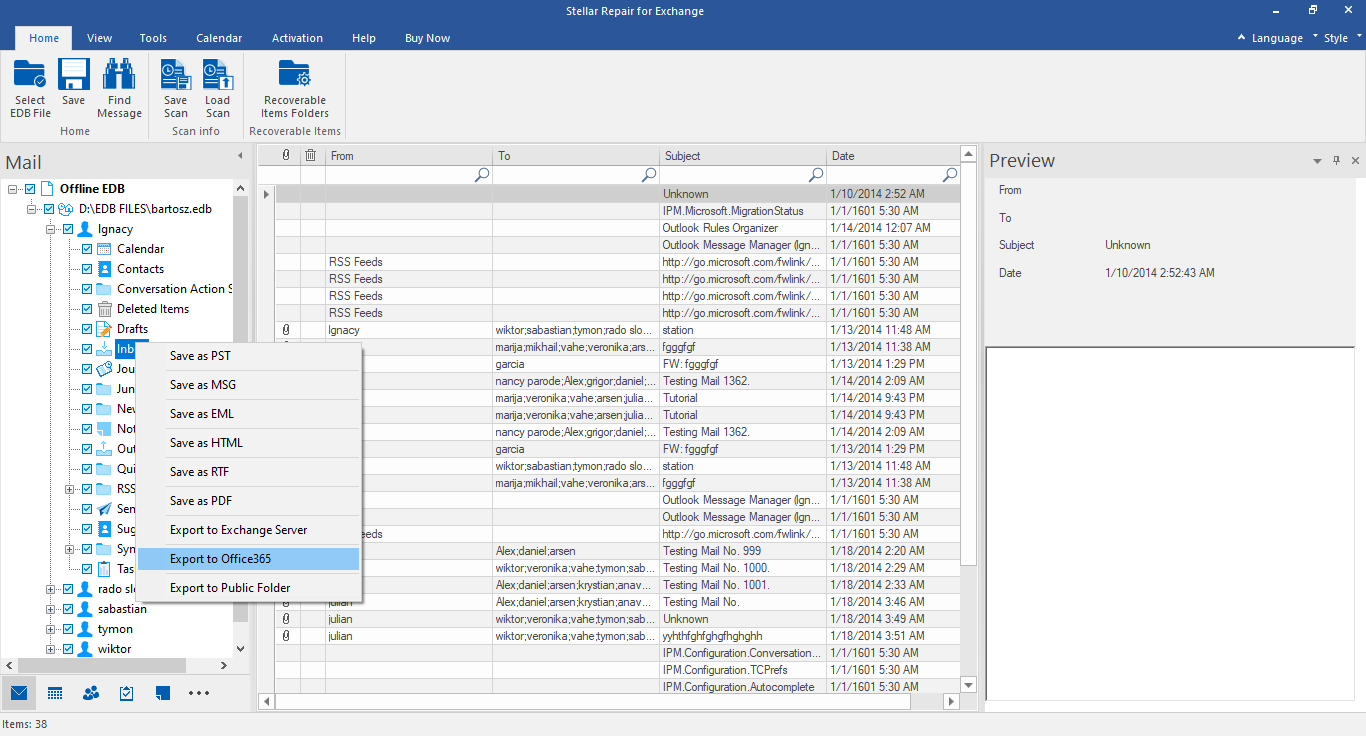
- After the scan, right-click on any mailbox and select the ‘Export to Microsoft 365’ option.
- A pop-up window appears – "Enter Login Credentials."
- Enter Mailbox ID having administrative rights, Click OK
.png)
- A message will appear confirming the export of the recovered mailbox to Microsoft 365 is complete.
These were the quick steps that make the migration of recovered Exchange mailboxes to Microsoft 365 easier and smoother. All you need to do is select the recovered mailboxes you want to export, select configured Outlook profile with Administrator access, and leave the rest on the software.
However, apart from exporting recovered mailboxes to Microsoft 365, you can also export recovered files to live Exchange server mailboxes. Just go through the referenced KB and follow the mentioned steps over there.
Reference: export recovered mailboxes server


