

You can export recovered mailboxes from a corrupt or damaged EDB file to a live Exchange server with a professional Exchange recovery tool, such as Stellar Repair for Exchange.
By using the software, you can easily select a corrupt EDB file, scan it, and restore all the precious mailboxes and mail items, such as emails, calendars, contacts, journals, attachments, etc. and export the recovered mailboxes to a live Exchange server.
The following steps will help you to export multiple mailboxes:
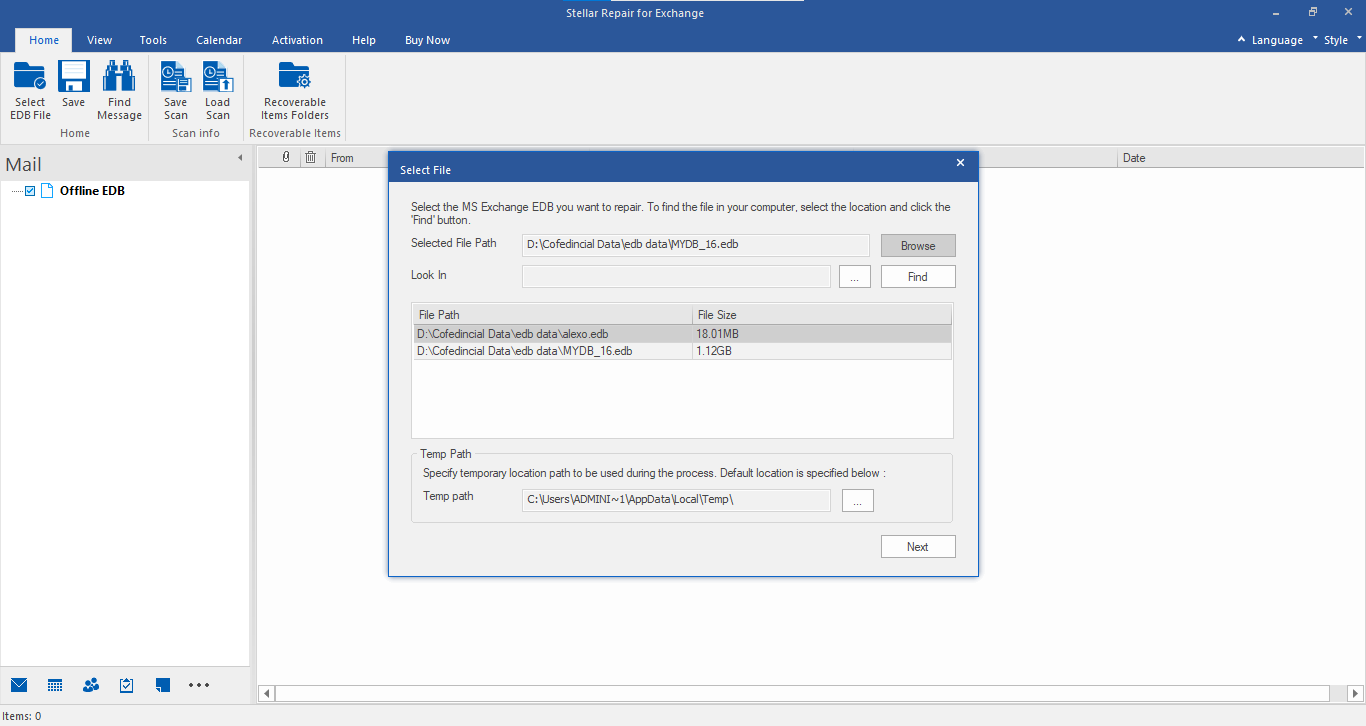
- Launch Stellar Repair for Exchange and click Browse to select the Exchange Database (EDB) file to be repaired or click Find” to search the EDB file from the available folders and drives, if EDB file location is not known.
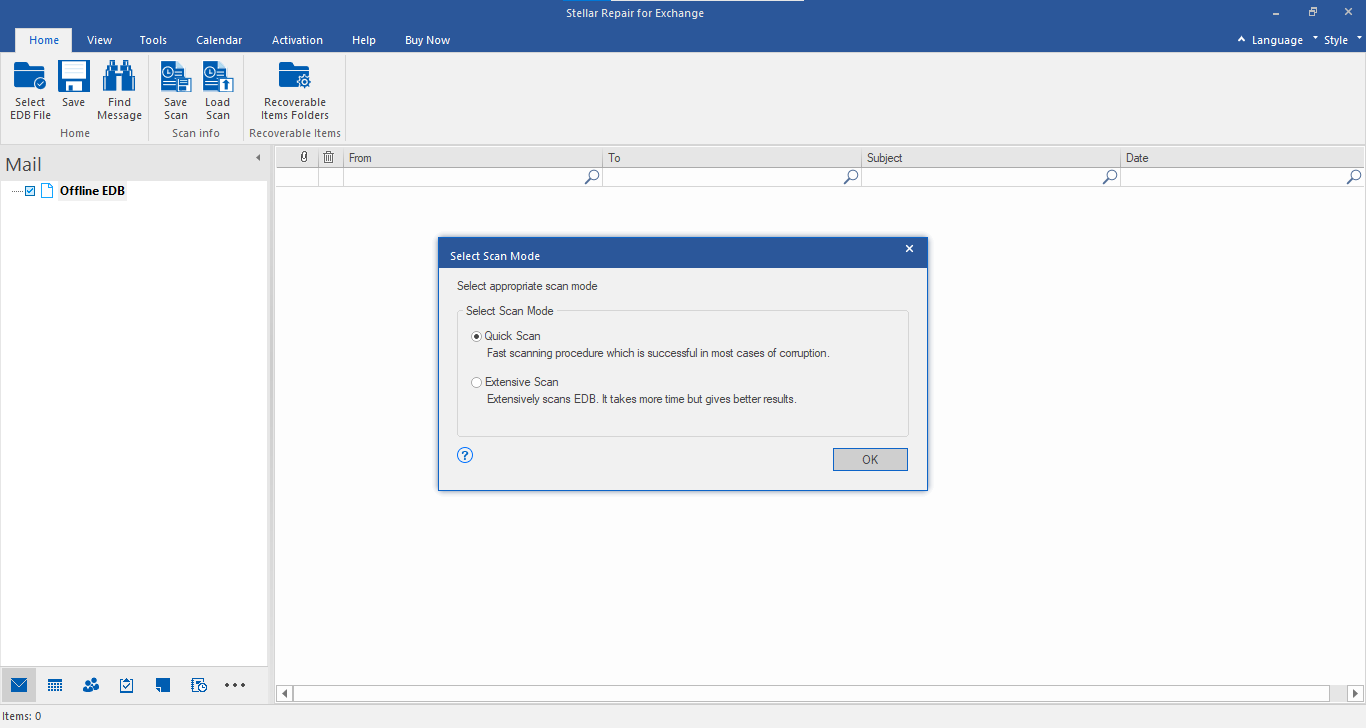
- Click Next and then choose Quick or Extensive Scan. Click Quick Scan for a faster scan of the corrupt database. Extensive Scan is best suited for performing deep scans of severely corrupt database files.
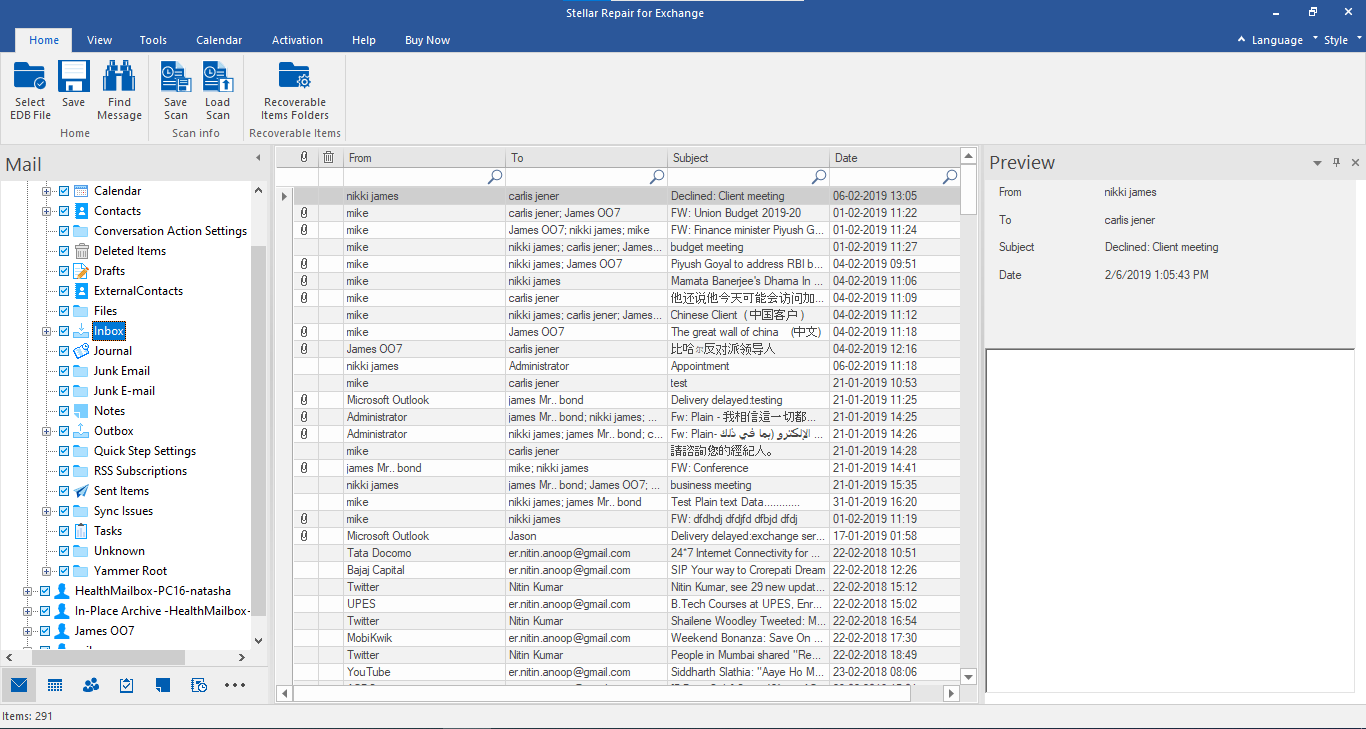
- After scanning, the software will display a preview of all the recovered mailboxes and mail items of repaired EDB in a three-pane view.
- You can preview and select recovered mailboxes for export to the live Exchange server.
Steps to Export Multiple Mailboxes to Live Exchange
- After the scan, select the recovered mailboxes and click Save in the main menu. A Save As dialog box with multiple saving options appears. Choose Export to Exchange Server.

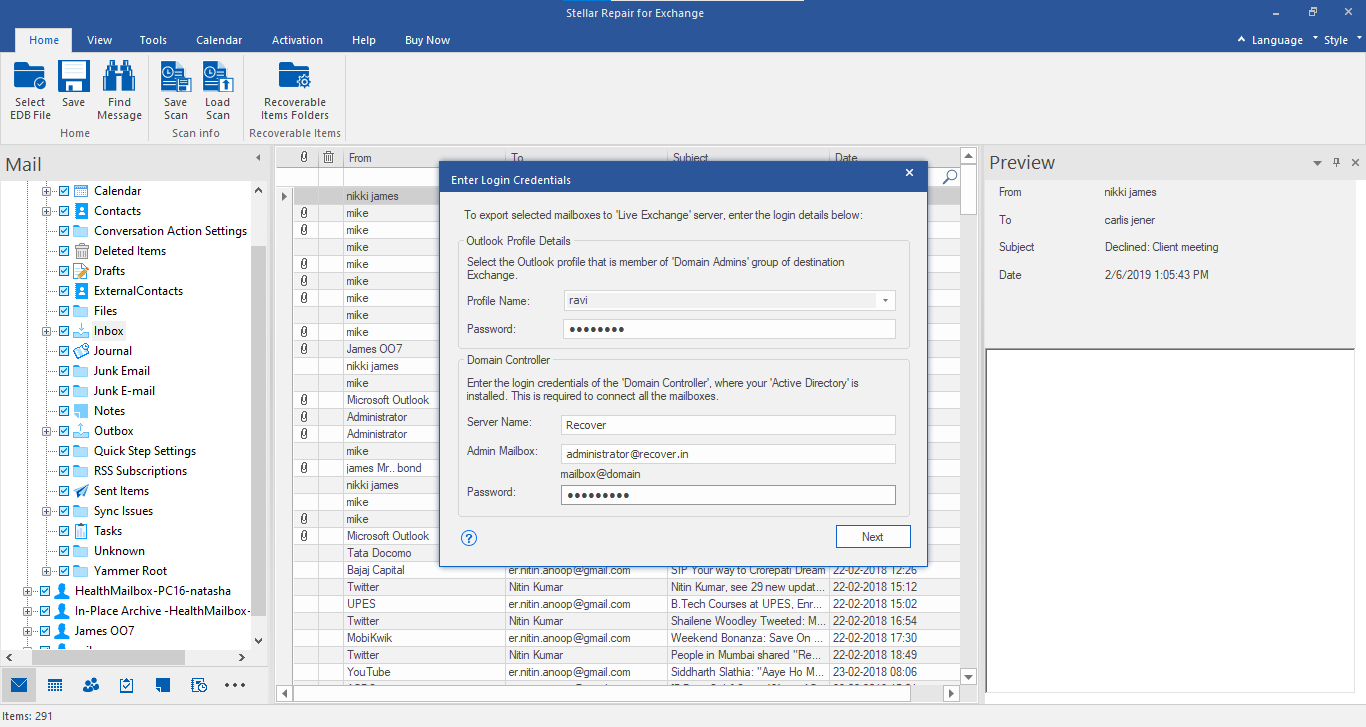
- Click ‘Next’ and enter the login credentials for Live Exchange in Enter Login Credentials dialog box. Choose the configured Outlook profile with Admin Access, enter the password, and then fill Server Name, Admin Mailbox, and Password.
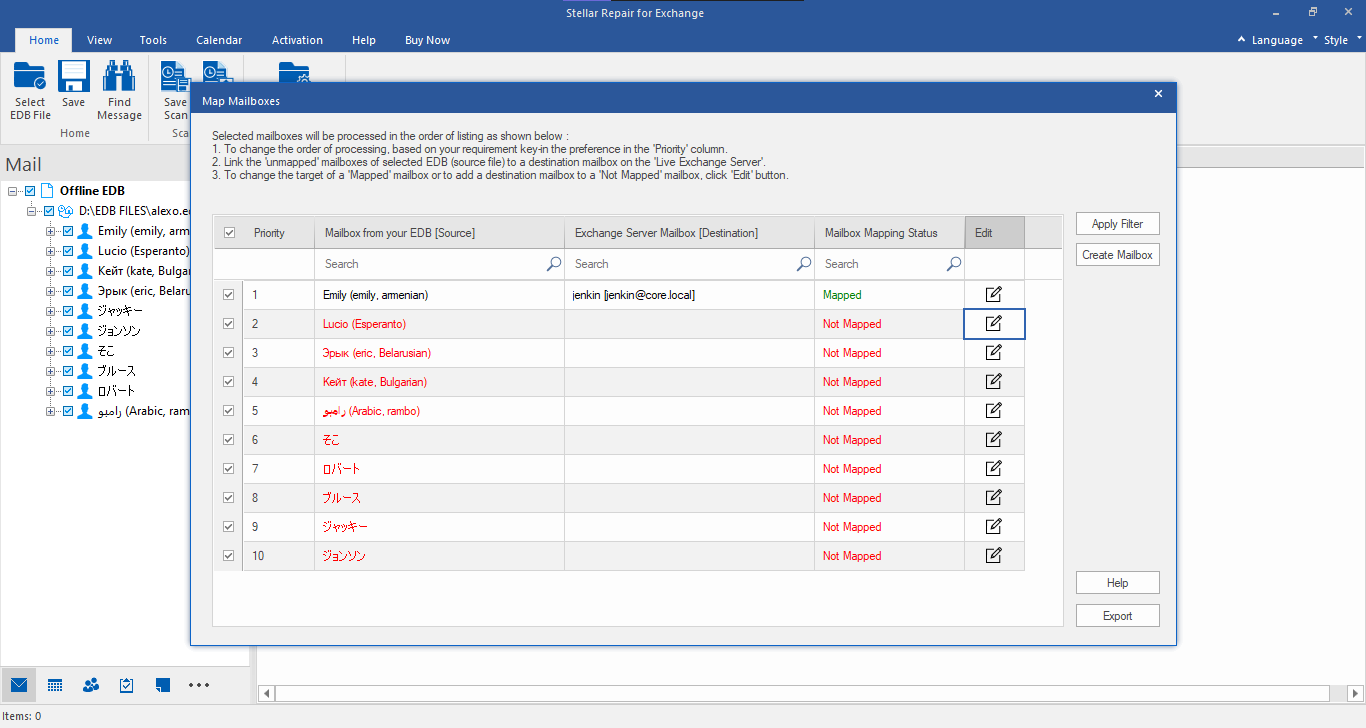
- Click ‘Next,’ a Map Mailboxes window appears. Here, the software auto maps the mailboxes on the destination server. It also provides an option to manually map the mailboxes or create a new user mailbox, if required. You may also change the mailbox recovery priority by changing the Priority value or apply filters to include/exclude specific mails. After mailbox mapping, click ‘Export.’
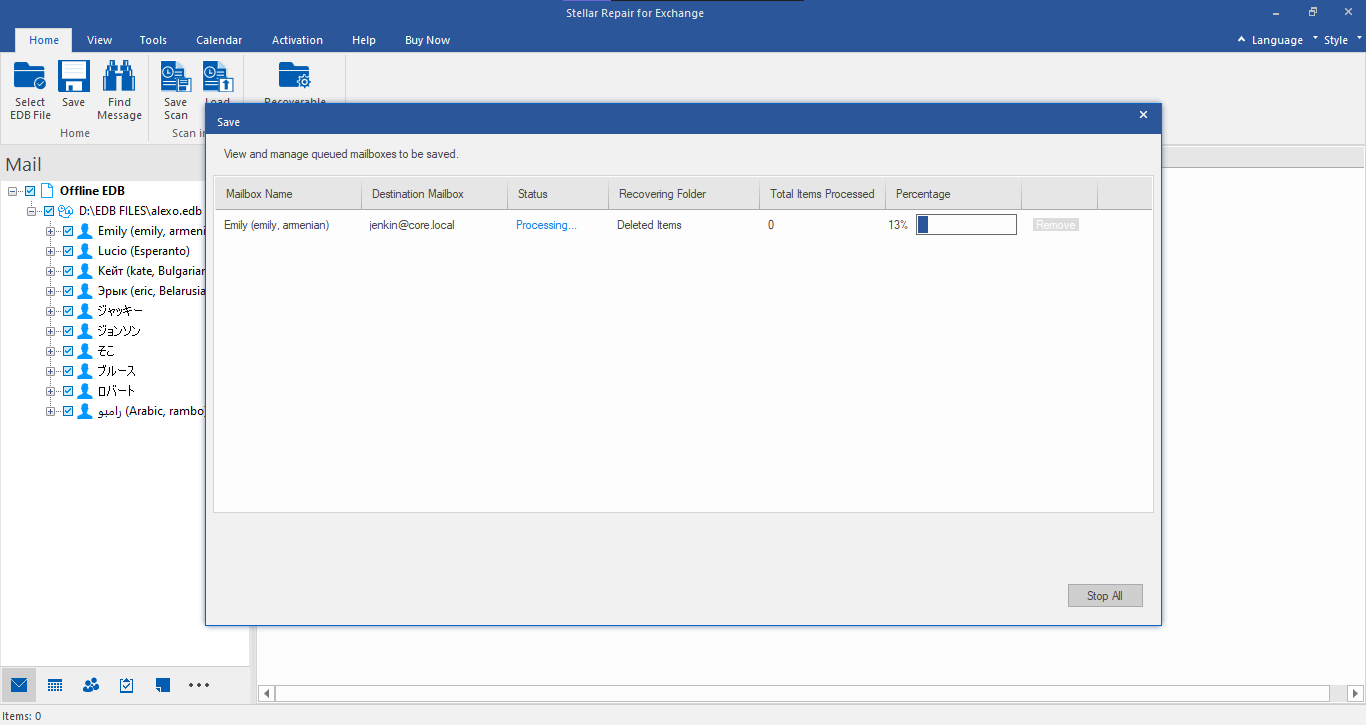
- The software starts saving the mailboxes to Live Exchange. In case you want to remove pending mailboxes, click on the ‘Remove’ action button or click Stop All button to terminate the save process.
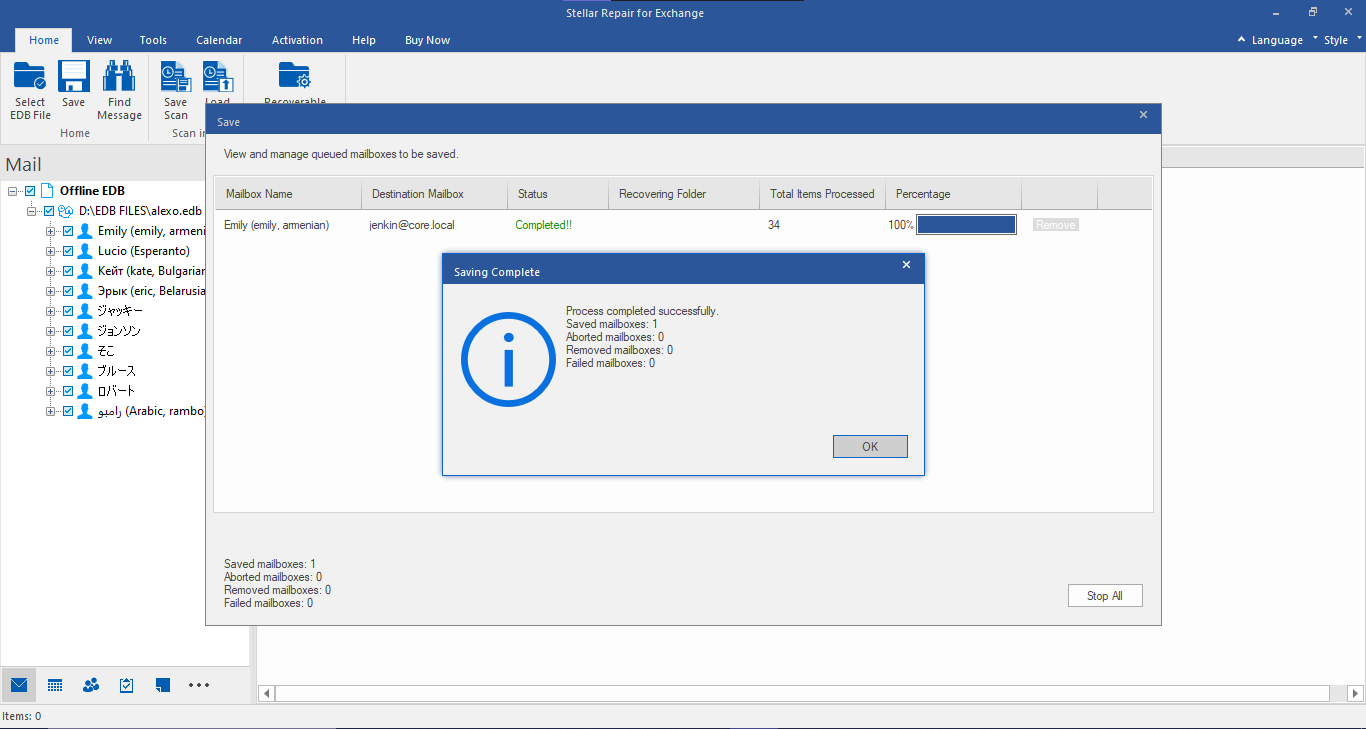
- All the mailboxes are exported successfully.
Steps to Export Single Mailbox to Live Exchange
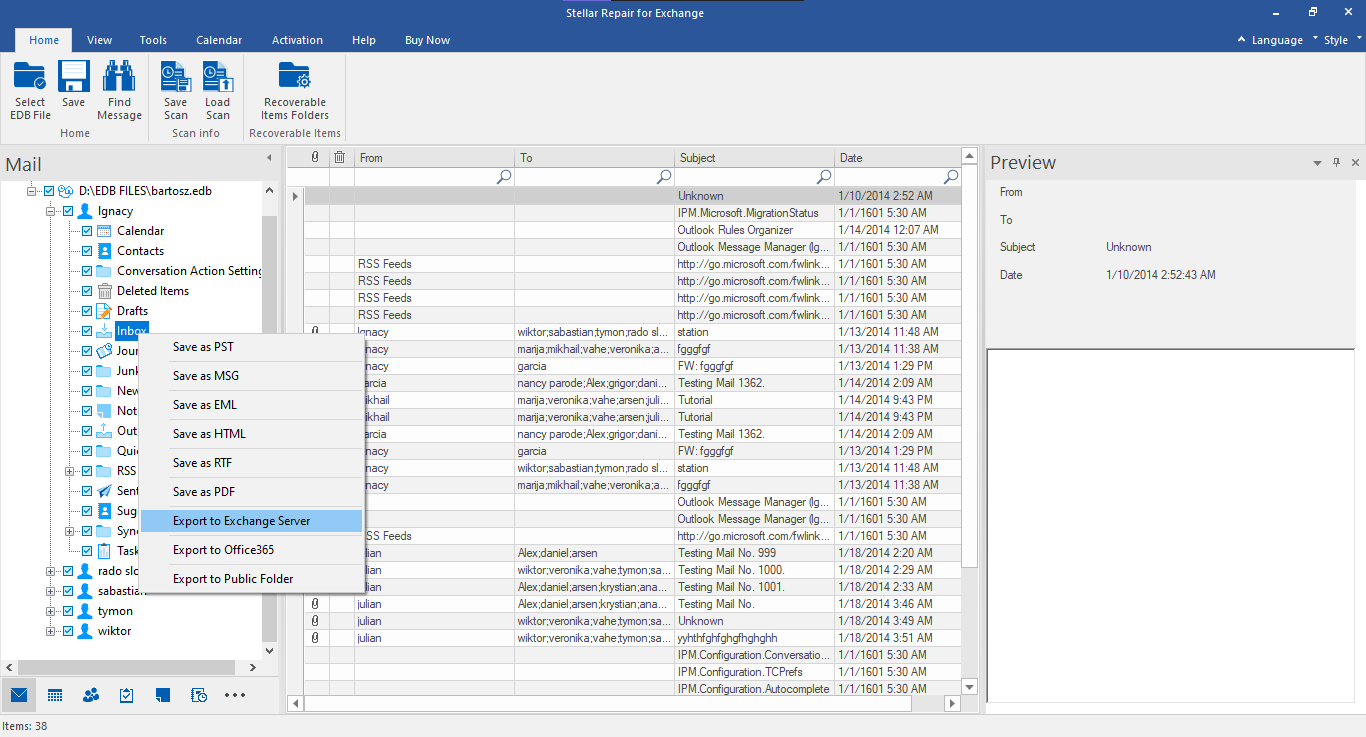
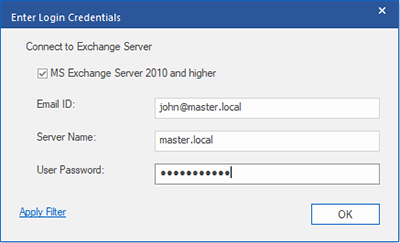
- Right-click on a mailbox after scan and choose “Export to Exchange Server.”
- Enter Email ID, Server name, password, and click OK to export recovered mailbox to live Exchange.
To export recovered Exchange mailboxes to Office 365:
exchange to office 365 migration


