

The size of a PST file has always been the reason for concern for most Outlook users and email administrators. Even the PST files running on Unicode format become susceptible to corruption when they grow large. Other problems with large or oversized PSTs include slow Outlook performance. In order to address these problems, you can split the large PST file into smaller and manageable PSTs. Stellar PST File Splitter allows you to split your Outlook PST into multiple smaller PST files based on different criteria, such as Date, Size, Mail ID, and Folder.
In case, your PST file gets corrupted due to large size, make sure to first repair the corrupt file using Stellar Repair for Outlook and then split it using Stellar Splitter for Outlook.
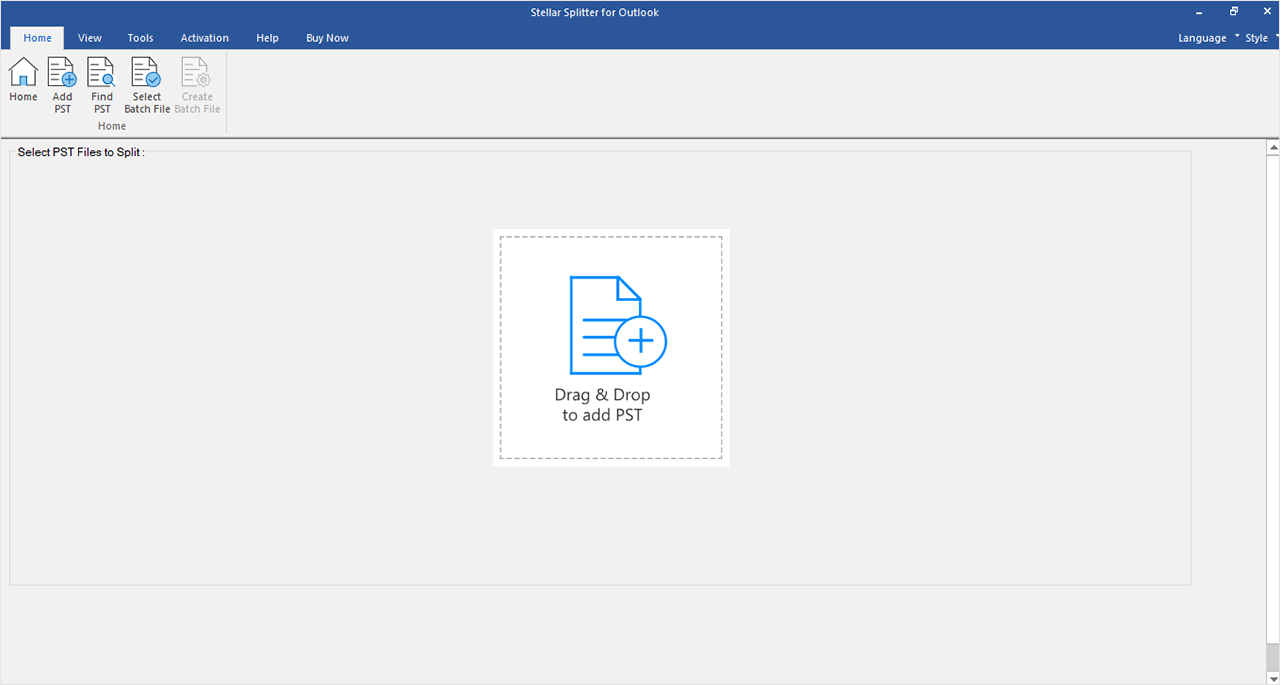
Steps to Split Single Large PST File
- Run Stellar Splitter for Outlook. On the main interface, it will display option to drag and drop PST File.
- Click 'Add PST' to select the PST file you want to split. When you select the file, its path will be shown in the 'Select PST Files to Split' Window. Click 'Find PST' to locate the file if you do not know its exact location.
- By default, the software saves the output PST files in the same folder that contains your original PST. To specify a new location for saving these PST files, click 'Choose Destination' in the same dialog. Next, click 'Split PST File'.
- The screen will show you different splitting criterion also. Select 'By Date' in the 'Select Splitting option' section. The 'Date Range' section will allow you to specify the time duration for which you need your emails. After specifying these options click 'Next'.
- If you choose 'By Size', you need to specify the size for smaller PST files. Multiple output PSTs will be created of the same size that you specify here. You can specify any size from 5GB to 50GB. After specifying the preferred size, click 'Next'.
- If you select 'By Mail Id' in the 'Select Splitting option' section, click 'OK' to start scanning the PST file for all available mail ids. Once the scan is completed, the software displays a list of all the mail ids found in your PST. Select the desired mail ids in this list for which you need to extract mails.
- You can also choose to extract folders by selecting the 'Select & Split' option. After selecting this option, click 'OK' to initiate the scan. Once the scan is completed, a list of folders (including the root folder) in your PST will be displayed. Select the desired folders you need to extract .
- Once you have specified the splitting criteria, click on 'Split'. The software will start scanning the file and will break it on the specified basis.
- When the process is complete, you need to provide the location for saving the log of the process.
You can access these smaller Outlook PST files by importing them into MS Outlook.


