

If you are facing any difficulty in PhoenixDLL.dll file registration or any other related issue then, follow the steps mentioned below:
Step 1: First make sure that you are logged in as an Administrator. Then move to the installation folder (C:\Program Files\Stellar Repair for Outlook) of software.
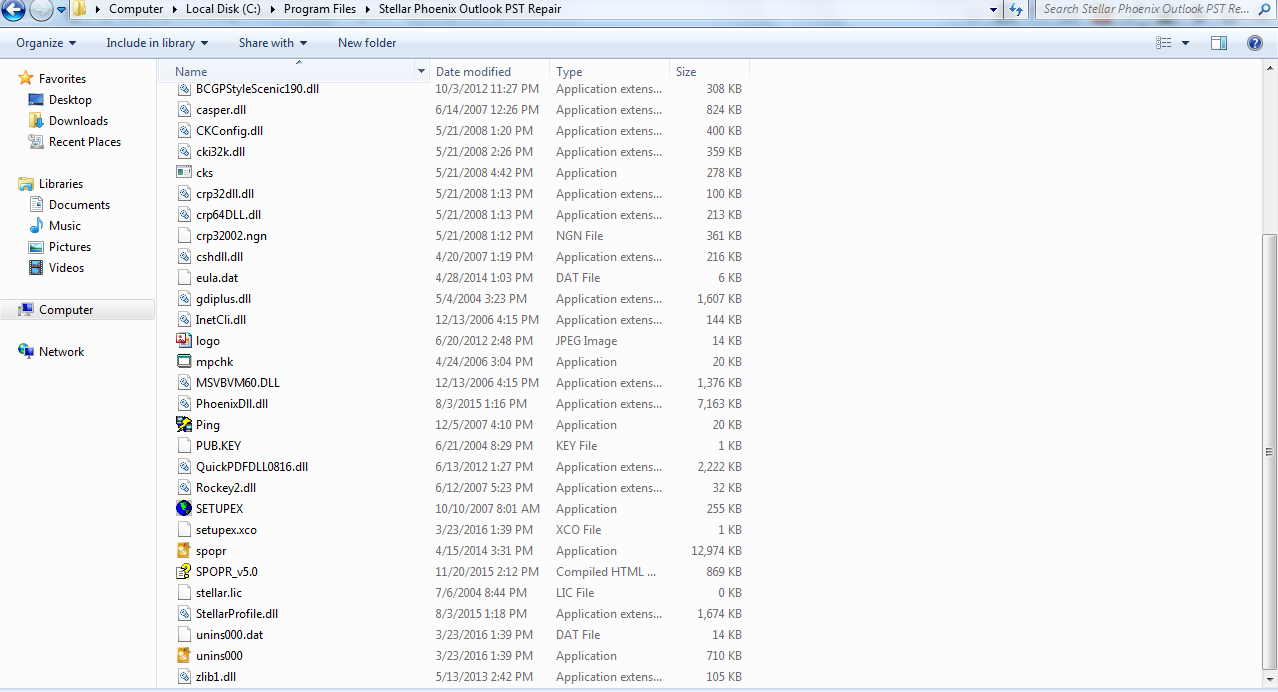
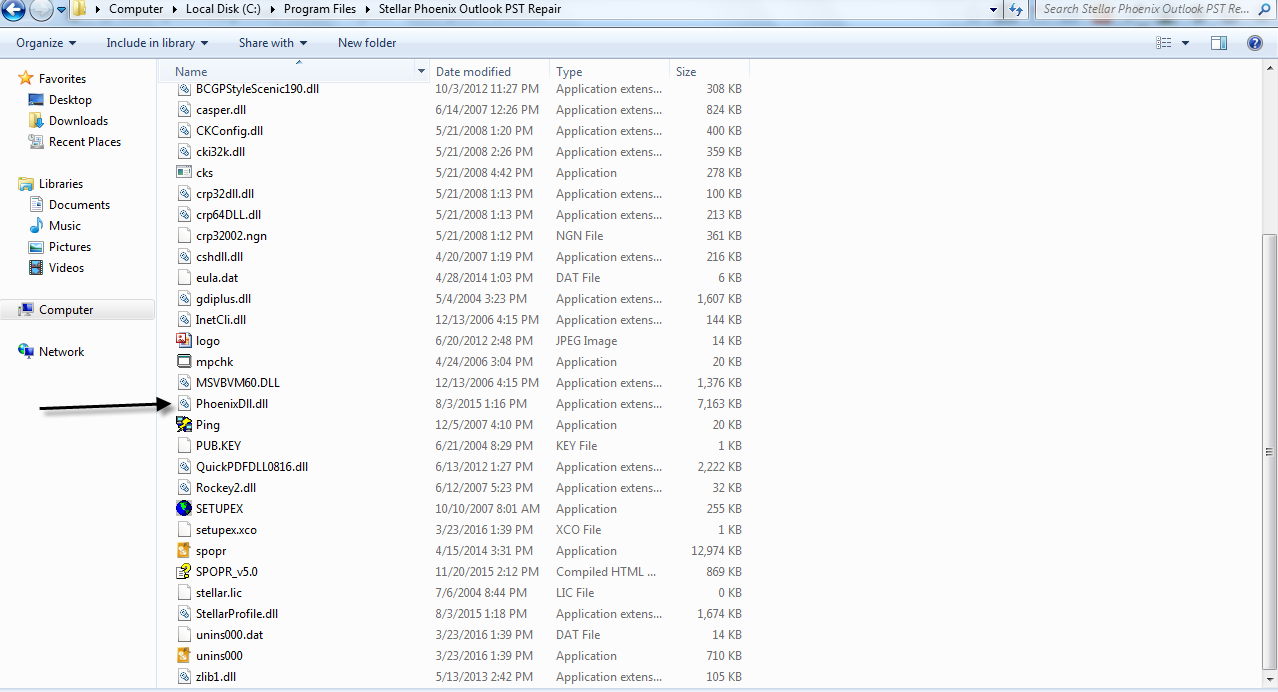
Step 2: Find the PhoenixDLL.dll in the folder
Step 3: Click on ‘Start Button’ and open ‘Run’ Window.
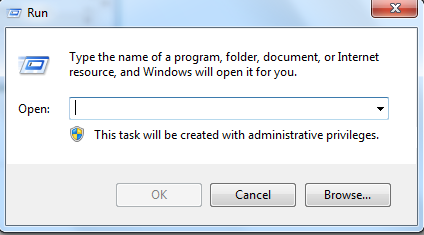
Step 4: Type regsvr32 command in the Run Window

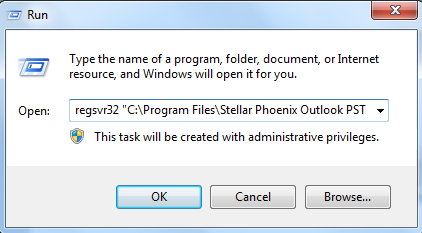
Step 5: Now again open installation folder of ‘Stellar Repair for Outlook Software’ and select PhoenixDLL.dll file. After selecting this file, simply drag the file and drop into Run Windows as displayed in the image given below.
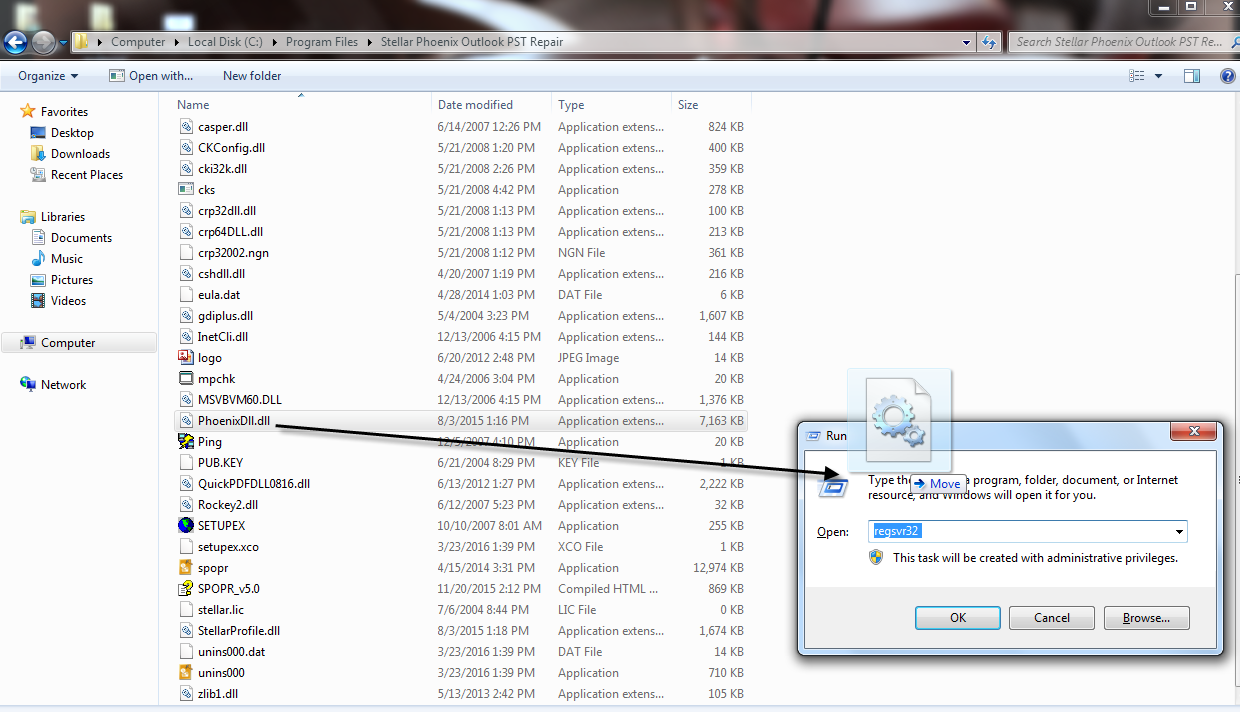
Step 6: After dropping PhoenixDLL.dll file, the path will be displayed - regsvr32 "C:\Program Files\Stellar Repair for Outlook\PhoenixDll.dll".
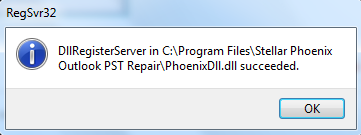
Step 7: Now click on ‘OK’ button. You will receive a pop-up on screen with this message - “DIIRegisterServer in C:\Program Files\Stellar Repair for Outlook\ PhoenixDll.dll succeeded”.
Note: If you are using 64-bit Outlook, then registration of PhoenixDll.dll will be completed through similar process as mentioned above.


