

Stellar Repair for MySQL allows you to repair and restore multiple databases concurrently. You can select multiple databases through the 'Repair corrupt database(s) stored at default location of MySQL' or 'Manual selection of database(s) to repair' option. However, selection procedures for the both the processes are different, which are explained in steps below:
Using Stellar Repair for MySQL-
Steps for selecting multiple databases when you select a database from default location of MySQL:
Follow the below mentioned steps to select database automatically from default location:
- Launch 'Stellar Repair for MySQL'. On main user interface, a window named as 'Select Database(s) Location' opens as:
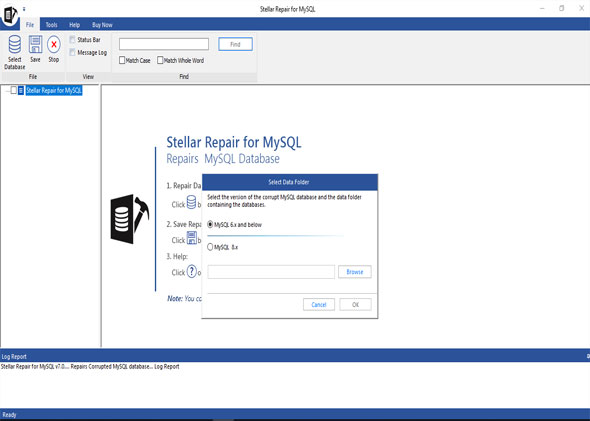
- The 'Repair corrupt database(s) stored at default location of MySQL' option is selected by default. However, if it is not, then select it and click 'OK'.
- A list of all the databases present at this location is shown as:
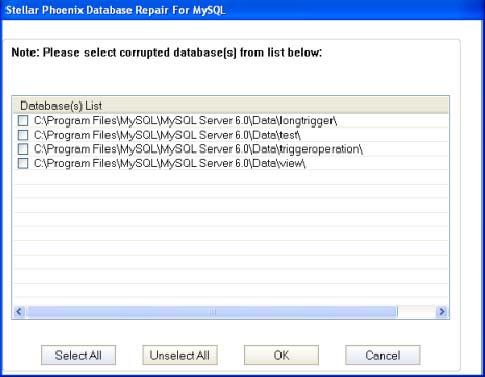
- Check the checkboxes against the databases that you want to repair. You can select all the databases present in this list by 'Select All' option or deselect all the databases through the 'Unselect All' option. After selecting multiple databases, click 'OK' and the software will start the scanning of these databases.
Steps for selecting multiple databases when you select database manually:
- Follow the below mentioned steps to select multiple databases when your file is not saved at default location:
- Launch 'Stellar Repair for MySQL'. With the main user interface, 'Select Database(s) Location' window (as shown above) opens.
- Select the option 'Manual selection of database(s) to repair' and you will find out enabled 'Browse' button.
- Click 'Browse' to browse for the location where the folder containing MySQL databases is saved. A Browse for Folder dialog box opens. Select that folder and click 'OK'.
- A list of all the databases stored in this folder is displayed as shown below:
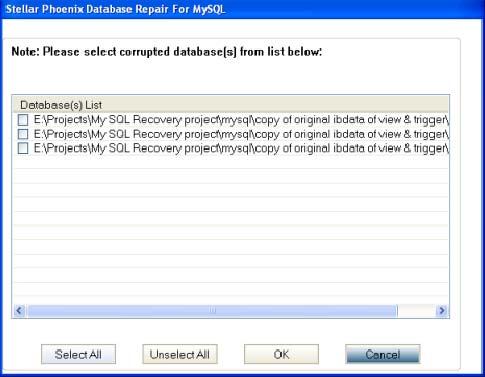
- Select the databases that you want to repair from this list and click 'OK'. Selecting this option enables the software to start the scanning of the selected databases.
Procedure to repair selected multiple MySQL databases:
After completion of the scanning process that you performed through any of the above steps, you can see the preview of scanned databases whether MySQL is installed in your system or not. Start repairing the databases by following the below steps:
- Click 'Repair' button provided under 'File' menu on the main user interface of the software. 'Stellar Repair for MySQL' dialog box opens, click 'Yes'.
- This dialog box prompts for 'User Login' information of MySQL database. Provide all the required information and click 'OK'.
- The dialog box indicating successful completion of the repair process of selected database(s) opens. However, click 'OK' to close this dialog box.
- Selected databases are saved in a newly created folder, which is located at the location where MySQL is installed. This folder is having the same name as of repaired database, but with the prefix repaired.
With the help of above steps, you can select and repair multiple MySQL databases using Stellar Repair for MySQL.


