

Wiping sensitive files from hard drive is important to safeguard your data privacy. Your hard drive contains personal and sensitive information such as your Social security number, tax and health records, personal photos and videos, etc. If this data is leaked, it can cause you a lot of emotional and financial harm.
There are many scenarios where your data can be leaked from your hard drive. These include browsing the Internet without proper protection, selling off or exchanging an old computer, etc. In order to protect yourself from such data loss, you should wipe sensitive files from your hard drive.
Why only choose a File Erasure software to wipe your files from hard drive
Only a File Erasure software can erase your sensitive files from hard drive permanently. If you use your system settings to delete your files, then you would be deleting them only temporarily. A data recovery software can easily recover the deleted data and render your effort worthless. Only a file eraser tool like BitRaser File Eraser can do the job and give you complete assurance that your sensitive data has been permanently erased.
Wiping your sensitive files from your hard drive using BitRaser file Eraser
BitRaser File Eraser is one of the best file erasing software which permanently erases files and folders, Internet histories, application and system traces from your PC and Mac. It uses advanced erasing techniques to erase your data and render them irrecoverable. This way, BitRaser File Eraser safeguards your privacy against unauthorized use of your personal data.
In this document, you will see the steps to permanently erase files from your hard drive in your Windows PC using BitRaser File Eraser.
1. Install & Run BitRaser file eraser.
2. Explore the BitRaser File Eraser screen on your PC [Image 1]. You can view the list of items you can delete using the software in the main menu.
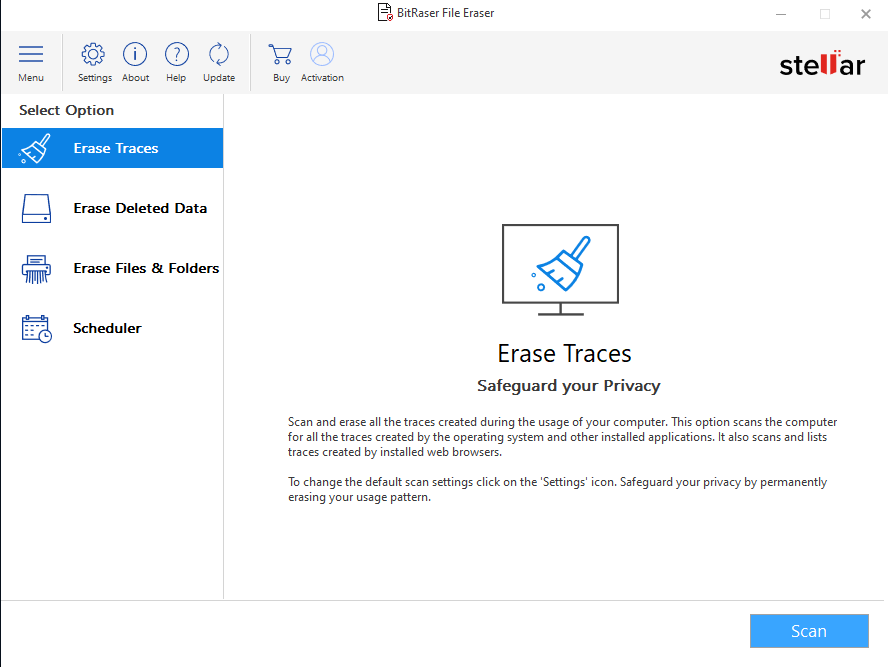
Image 1: BitRaser File Eraser interface
3. Click on Erase File & Folder, the third option on the left pane.
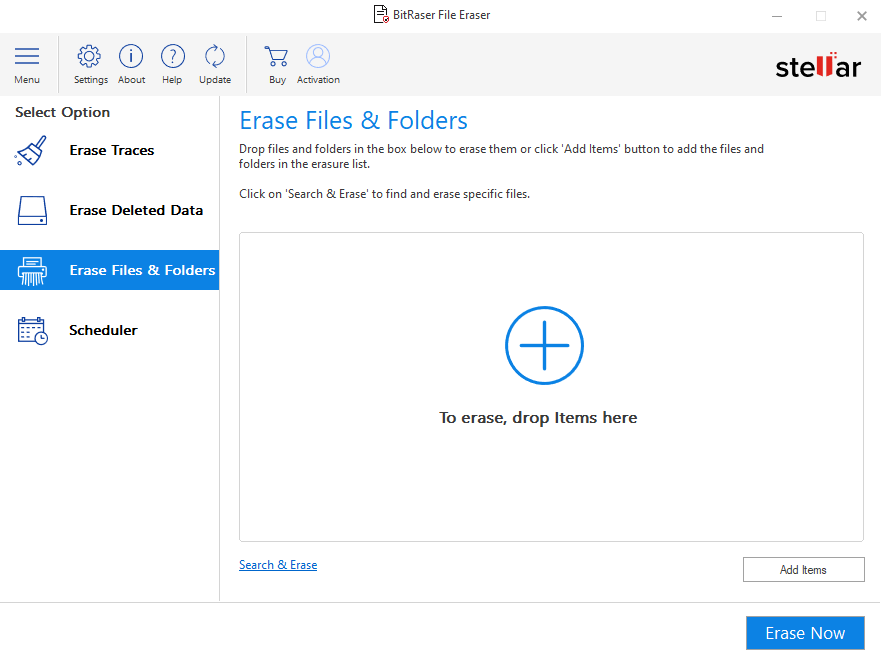
Image 2: Erase Files and Folders feature
4. Click on “Add Items” button and a dialog box will open. Expand the selection under “This PC” and scroll down to access the hard drives [See Image 3]
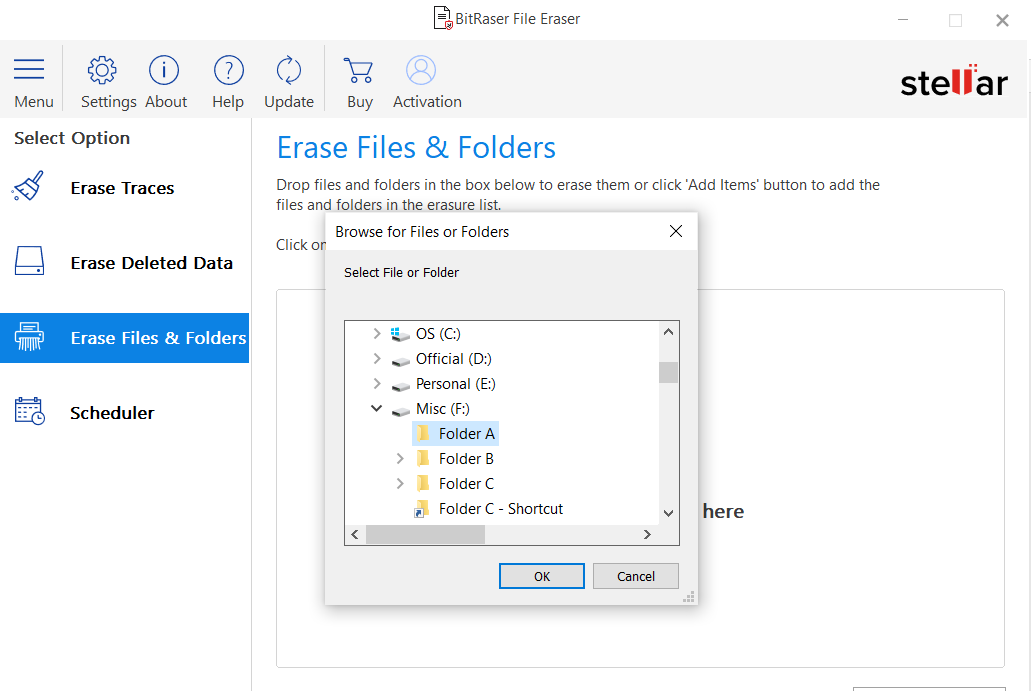
Image 3: Selecting Files and Folders for Erasure
5. Next, select the files and folders you want to erase from the drive. Click on the arrow to expand the specific hard drive volume.
Image 4: Expand the drive to select the Folder or file for Erasure
6. Next, Click “Erase Now” button to Erase the selected file or folder.
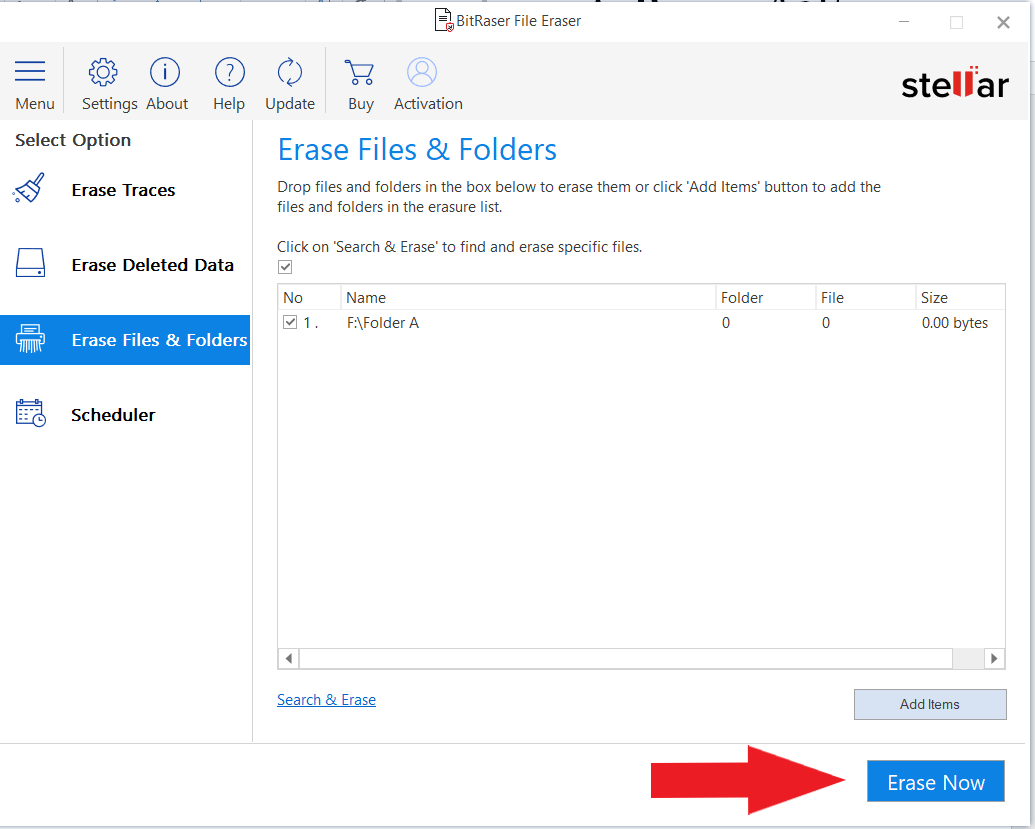
Image 5: Erase Now button to erase the selected folder or file.
7. Next, a dialog box will appear, confirming the Erasure process. Please confirm to proceed.
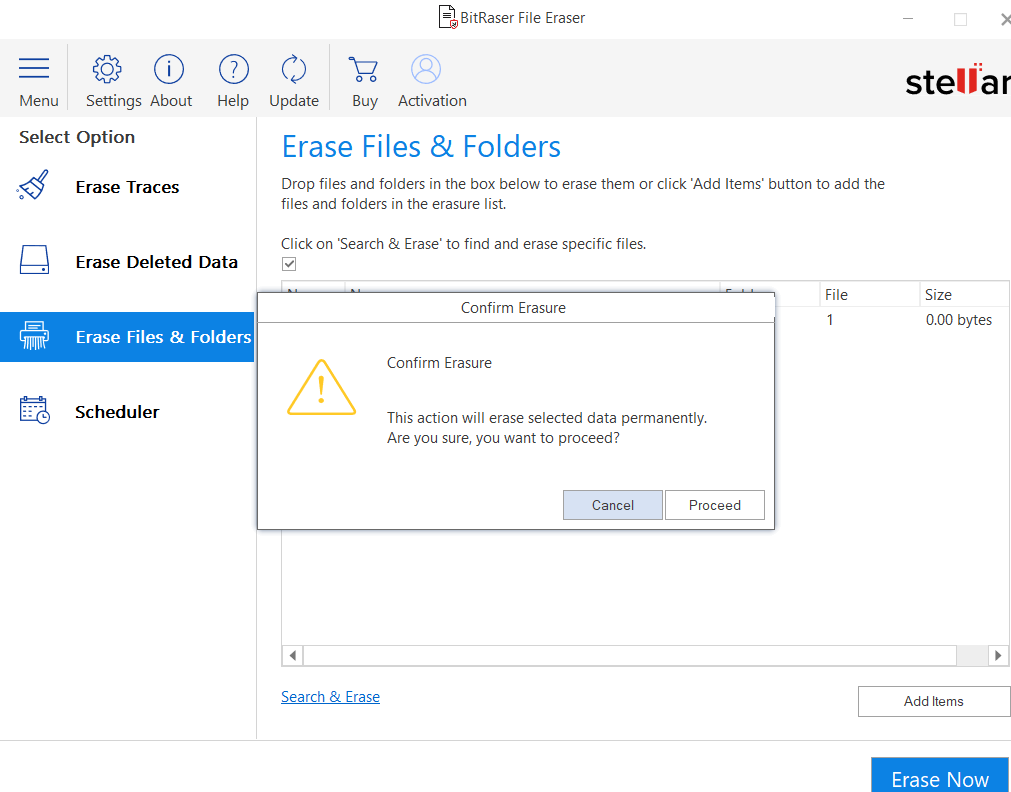
Image 6: Confirm Erasure dialog box.
8. The tool will erase the specified file and you will get an Erasure complete window.
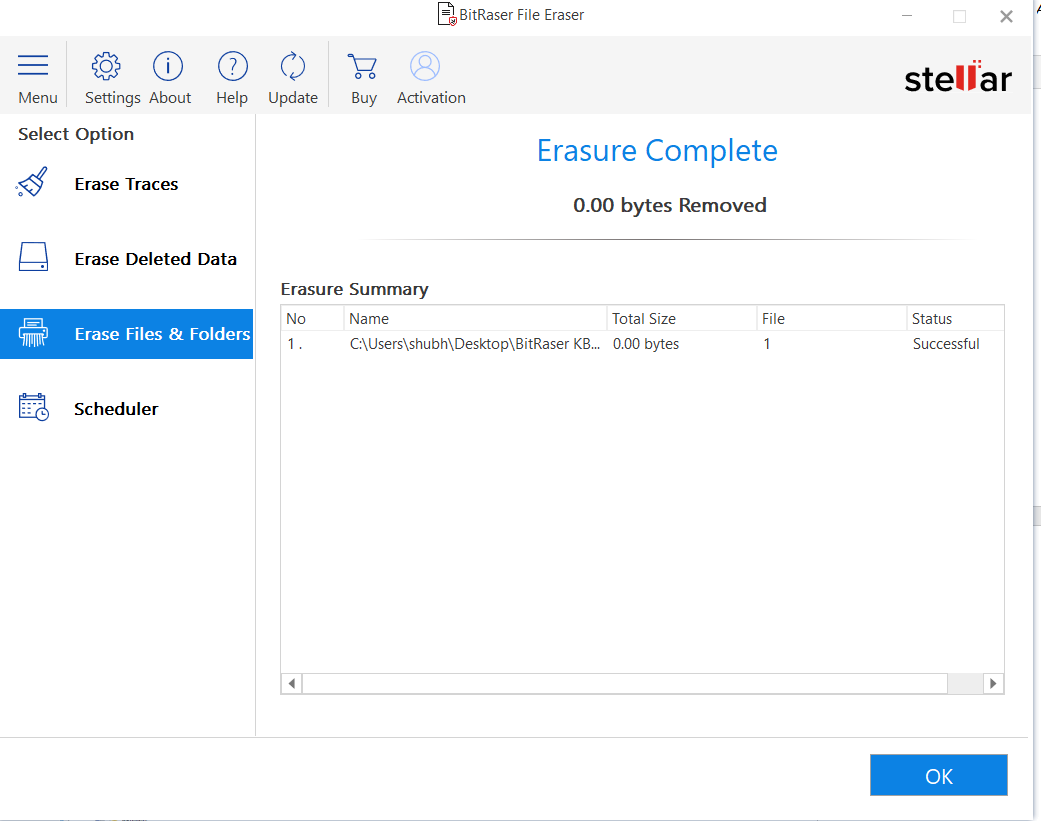
Image 7: Erasure complete confirmation screen


