Suppose you need to capture something on your Mac screen, but a screenshot won’t be enough. In such cases, you need something more dynamic, like a screen recording. When it comes to recording screen on Mac, QuickTime player can come to your aid. QuickTime is a media player with an extensible multimedia framework. Developed by Apple, it’s capable of handling various file formats of video, audio and images.
In this post, we will explore the screen recorder Mac functionality with the help of QuickTime player. We will also cover how to recover deleted screen recording from Mac.
Brief Introduction to QuickTime Screen Recording on Mac
The screen recording feature of QuickTime allows you to record whatever happens on your Mac screen so that you can share the recording with your team or save it for later reference. The tool has three different modes for screen recording:
- New Movie Recording uses the inbuilt webcam to record.
- New Audio Recording is used to record audio. You can either record screen audio or external audio with this function.
- New Screen Recording is used to record the Mac’s screen while the user is working on it.
Let’s now see how to use each of these modes on Mac.
New Movie Recording
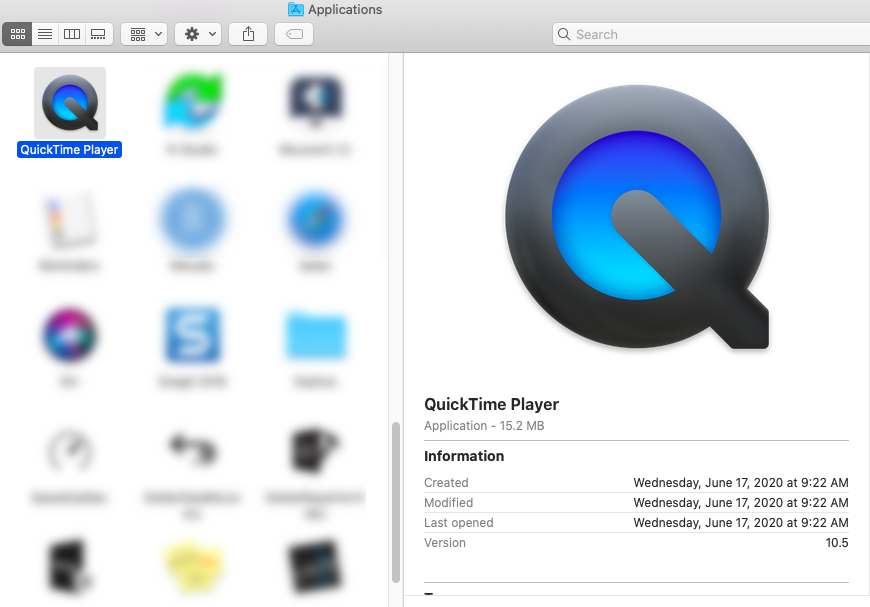
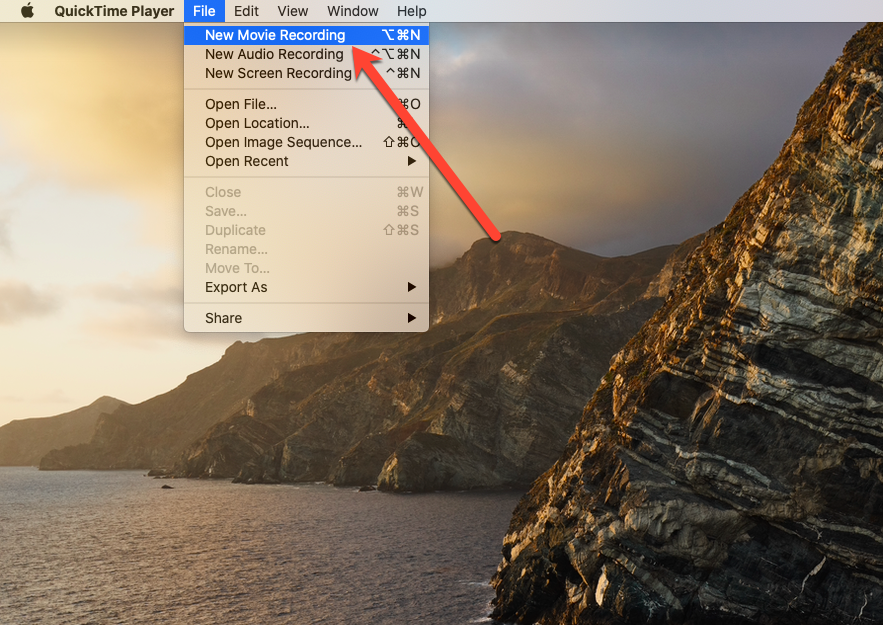
- Launch QuickTime Player and click on File -> New Movie Recording from the main menu.
- Make sure that your webcam is turned on. The recording window will pop-up showing the camera’s view. You can adjust your settings by clicking on the down arrow or start recording by clicking the Record button next to the down arrow.
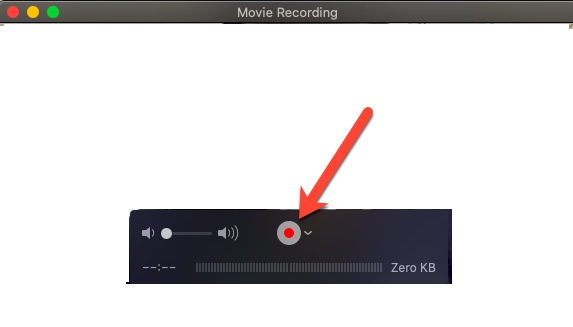
- You can stop recording by clicking the Record button.
- Press Command + S to save the recording to a destination on your Mac.
New Audio Recording
- Launch QuickTime player and click on File -> New Audio Recording from the main menu.
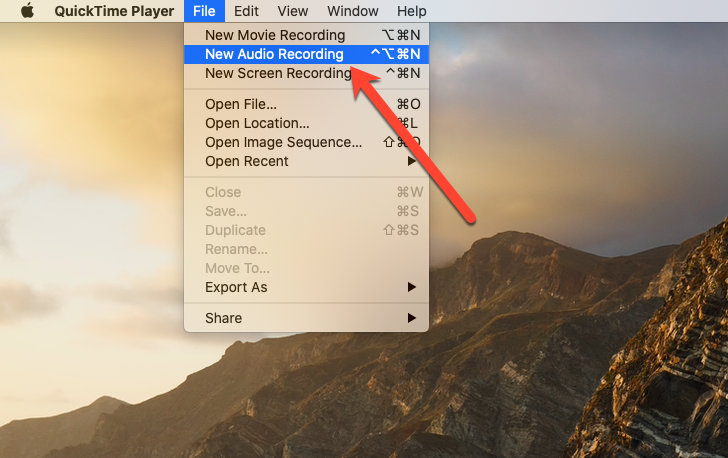
- If the microphone is connected then you will see a green indicator. Click on the red button to continue the recording.

New Screen Recording
- Launch QuickTime player and click on File -> New Screen Recording from the main menu.
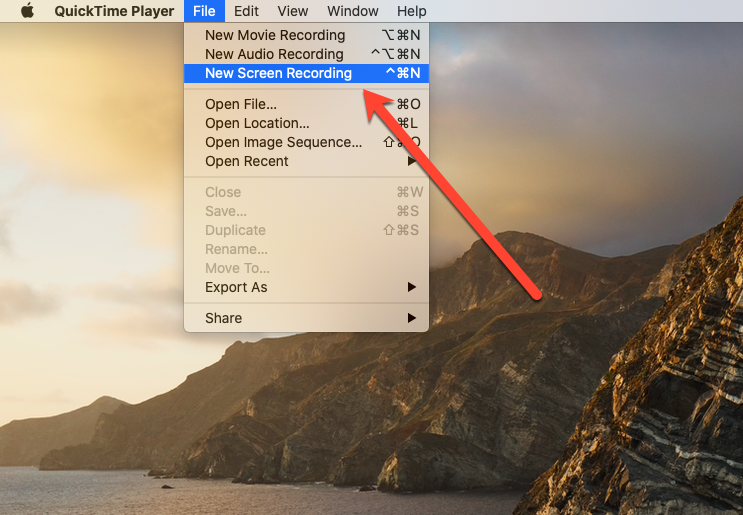
- You'll notice a pop-up window labeled Screen Recording. Here, you can change the settings according to your needs and then continue by clicking on the red button.
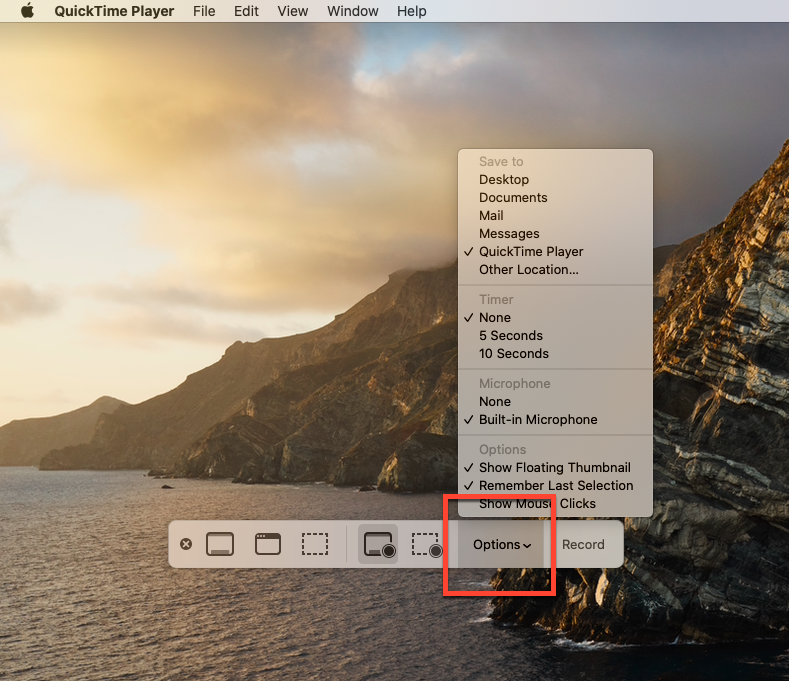
- Click anywhere on the screen to record the complete display. You can also record any specific area of the screen.
- Click and drag the pointer to construct a window. You can resize or move this window and continue by clicking on the Start Recording button in the middle of that window.
- When finished, you can stop the recording by pressing the Command + Control + Esc keys simultaneously or clicking the Stop button on the top menu bar.
How to Save the Recording?
Once you’ve captured a new movie, audio, or screen with QuickTime, you must save it to a destination folder of your choice to prevent it from saving to the autosave folder. Here are the steps you should follow:
- After you've finished recording, you can edit the video or audio by navigating to the top of the page and selecting the Edit option.
- Once you're done editing, continue by saving the video. The default format for a video and audio is .MOV. If you want a different format, export the file to the required format.
If your QuickTime player crashes or your Mac shuts down abruptly while recording a movie, audio, or capturing the screen, you could lose the current recording as well as any other unsaved QuickTime recordings. In such a case, you will need to look for easy methods to recover unsaved or deleted QuickTime recordings.
Ways to Recover Accidentally Deleted QuickTime Screen Recordings
1. Recover from the Autosave Folder
If the QuickTime player halted or crashed unexpectedly, you might be able to find your unsaved video/audio recording in the autosave folder. Here's how to recover your QuickTime recordings from autosave folder:
- Navigate to your Mac's Finder.
- Now press Command + Shift + G keys on your keyboard simultaneously. A pop-up of the Go-to box will appear on the screen.
- Paste the following command in the Go-to box:
/Library/Containers/com.apple.QuickTimePlayerX/Data/Library/Autosave Information/
This path will lead you to the QuickTime autosave folder which contains the files that haven’t been saved yet. It's possible that you'll see several files here that hasn't been saved. You can select your recording by looking at the date it was created on. Once you've found the file you want, save it to your desktop.
2. Recover from a Time Machine Backup
If your Mac is automatically set to backup all your data every day, you might just be saved from the catastrophe. In the case of missing unsaved QuickTime recordings, simply restore the files from the Time Machine backup of that day. Here are the steps:
- Launch Time Machine by navigating to it from the System Preferences from the menu.
- Once it's open, you can start to restore the files. You can use the onscreen up and down arrows to locate the files you want to restore.
- When you've located the files, press the Spacebar to preview them and then restore.
3. Recover Deleted Recordings with Stellar Data Recovery Standard for Mac
Stellar Data Recovery Standard is a powerful software that enables Mac users to recover vital data that has been deleted accidentally. The Standard version of the software can recover all the popular file formats associated with images, documents, audio, and video files, assuming the data hasn't been overwritten.
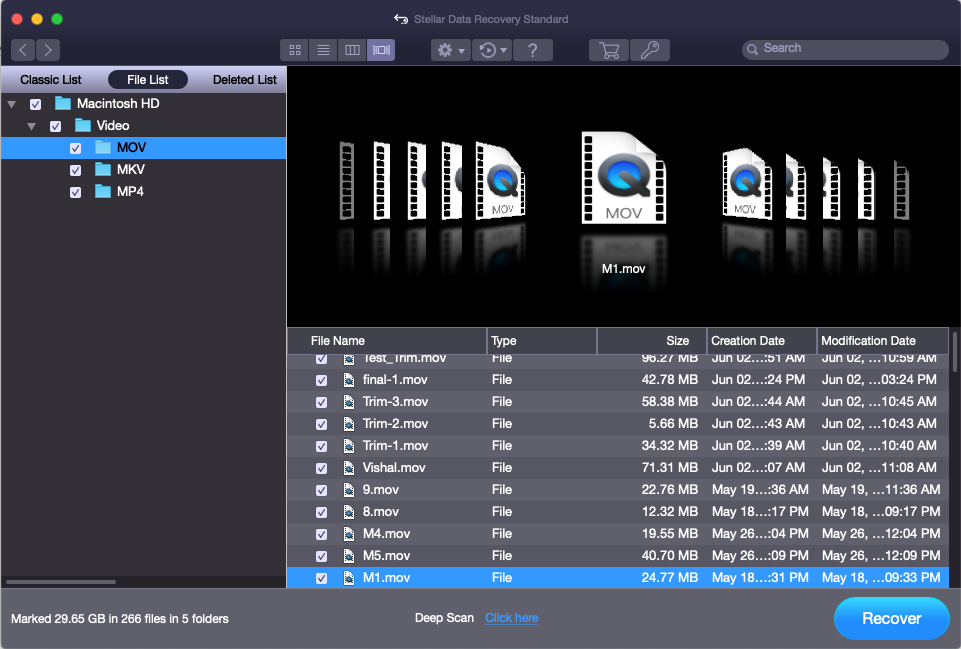
Here's how you can use Stellar Data Recovery Standard to restore screen recordings on Mac:
- Stellar Data Recovery Standard can be downloaded from the official website. After the download is finished, install the software with the help of the proprietary Setup Wizard.
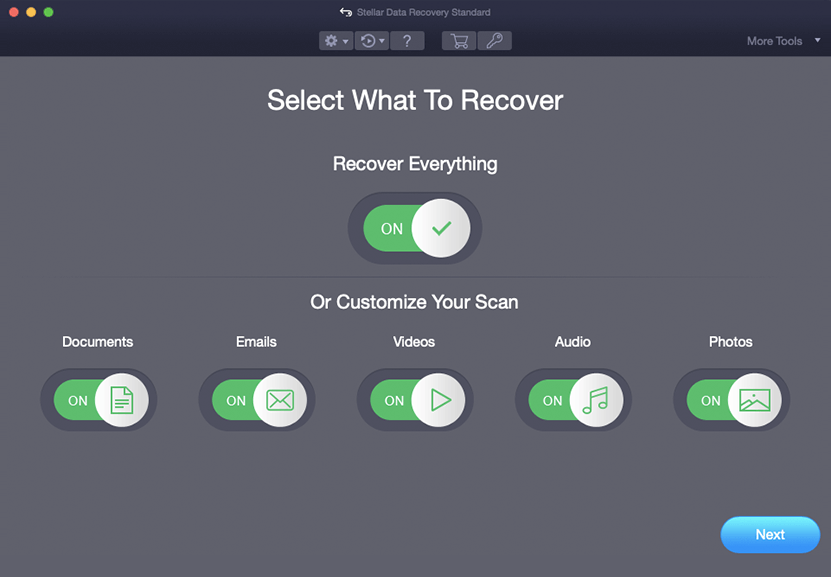
- When you launch the tool, the home screen will show you options to select the type of data you wish to recover. Here, select videos and audios, and click on Next to continue.
- Next, select the drive where the deleted files were initially saved. Toggle the "Deep Scan" button and then click on "Scan".

- After the scan is complete, you can preview the recovered files. Select the ones you wish to save and click on Recover.
People also ask
To Conclude
If you’ve misplaced or accidentally deleted your QuickTime screen recordings, there's no need to be concerned. You can use the methods outlined above to recover the screen recordings on Mac. Unsaved QuickTime recordings are usually stored in a separate “autosave” folder on your Mac. If the manual recovery solutions don’t work, don’t hesitate to use Stellar Data Recovery Standard for Mac to recover QuickTime screen recordings.


 6 min read