Summary: Is your Windows 10 PC refusing to shut down normally? Does it automatically restart when you try to shut it down? There are several reasons that might be causing this issue. In this blog, you will find the most suitable solutions to fix the issue. Also, you will get to know about a data recovery software that can help you recover data lost due to this problem.


Contents
- Solutions to Fix the Shutdown Problem on Windows 10 PC
- Method 1: Force Shutdown your PC
- Method 2: Disable Fast Startup
- Method 3: Use Windows Update Troubleshoot and Install the Latest Updates
- Method 4: Disable Automatic Restart
- Method 5: Use Command Prompt to Shut Down Windows 10
- Method 6: Repair Windows 10 System Files
- Method 7: Reset BIOS to Default
- Method 8: Disable Automatic Running of Applications on Boot Up
- Method 9: Stop Windows Delivery Update Optimization
- Method 10: Perform System Restore
- Recover Data Lost due to Windows 10 not Shutting Down Issue
There are several instances of Windows 10 not shutting down issue reported on multiple forums by the Windows users. The most prominent reason for Windows 10 not shutting down issue is a problem with the software. However, the issue may also occur due to a problem with the power button or an app is interfering with the normal shutting down process. If your PC is refusing to shut down normally, then it might lead to various other problems. Read further to know the possible reasons behind the issue and the solutions to resolve it.


Reasons for Windows 10 not Shutting Down Issue
Here, we have enlisted some major reasons behind the issue:
- Error during Windows 10 update
- Taskbar not working
- Malfunctioning apps
- Fast Startup is enabled
- Broken Windows system files
- File transfer through Windows Delivery Optimization
- Corrupt or deleted system files
Solutions to Fix the Shutdown Problem on Windows 10 PC
Below, we?ve discussed various methods to resolve the Windows 10 PC won?t shutdown issue.
Method 1: Force Shutdown your PC
The first and simple thing to do is to try to force shutdown your PC. Here is what you can do.
- Press and hold the power button until your Windows PC turns off.
- Remove all power sources by unplugging the power supply, removing the battery, etc., and leave your system idle for at least 10-12 minutes.
- Re-attach all the power sources and restart your computer.
If this has resolved the problem, you are good to go. However, if this didn?t work for you, read ahead to apply the comprehensive fixes.
Note: As force shutdown of Windows 10 does not allow your PC to shut down securely, it might result in data loss. You can use Stellar Data Recovery Professional for Windows to get your lost data back.
Method 2: Disable Fast Startup
Fast Startup is a feature in Windows that is used to enhance the system’s performance. However, sometimes, Fast Startup causes hibernation failure or trouble with normal shutdown of PC. If the feature is enabled on your system, disable it to fix the Windows shutdown issue. Here is how you can disable the Fast Startup feature.
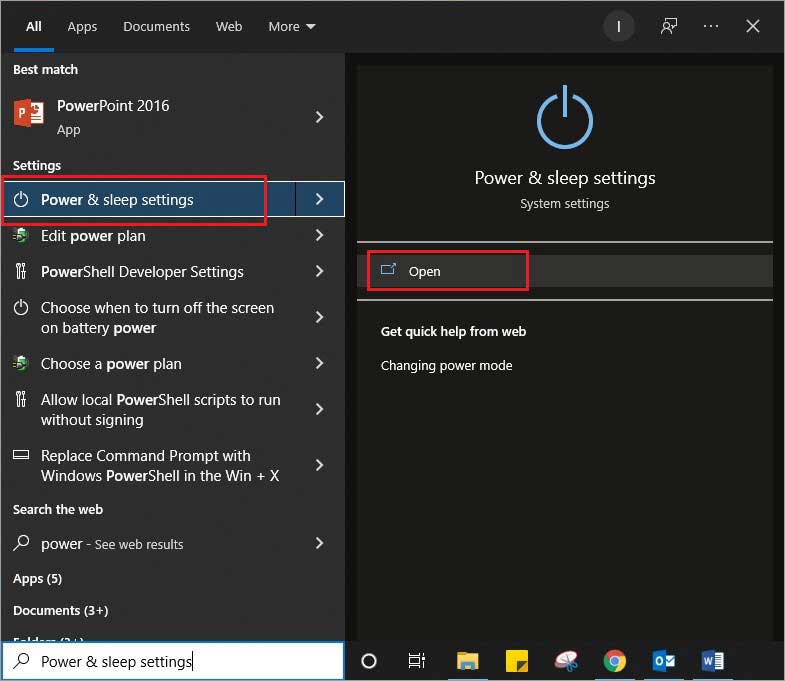
Step 1: In the Cortana Search box, type Power and select Power & Sleep Settings from the search results. Alternatively, press Windows + X, click Search, type Power, and select the Power & Sleep Settings.

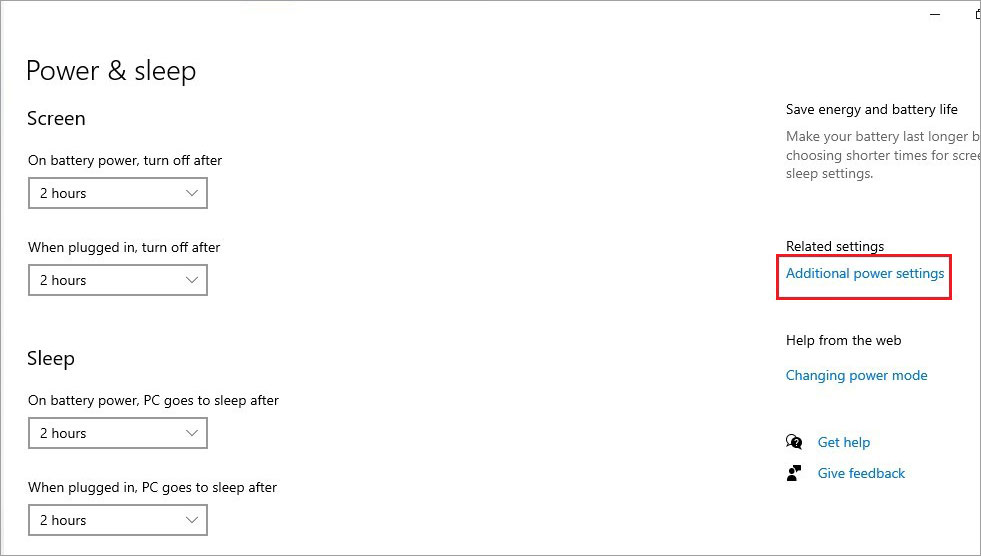
Step 2: In the Settings window, select Additional Power Settings.

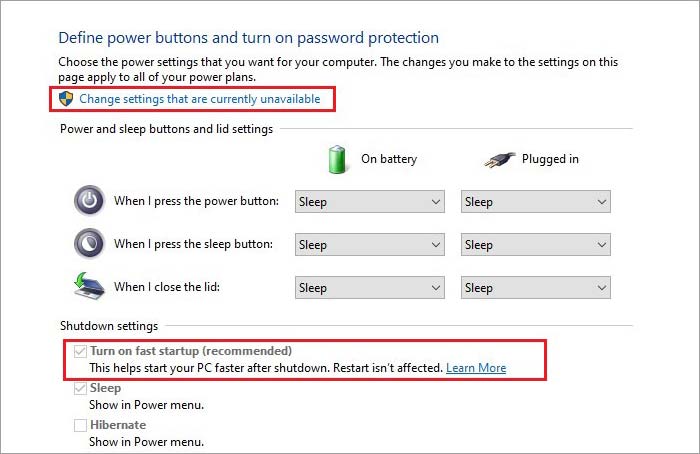
Step 3: In the Power Options window, click Choose what the power buttons do from the left pane.


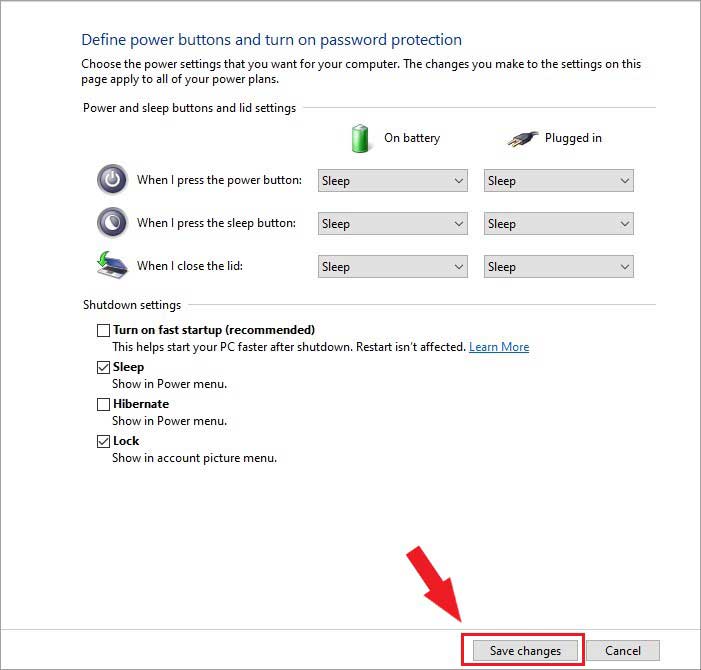
Step 4: Click Change settings that are currently available and uncheck the Turn on fast startup (recommended).

Step 5: Click Save changes and close the window.

Method 3: Use Windows Update Troubleshoot and Install the Latest Updates
If you have recently updated your Windows and faced an error during the update, it might be the reason for Windows 10 is not shutting down. In this case, you can first troubleshoot to identify and repair any broken files, and then install the updates. Follow the below steps:
Run Troubleshooter to Fix the Error
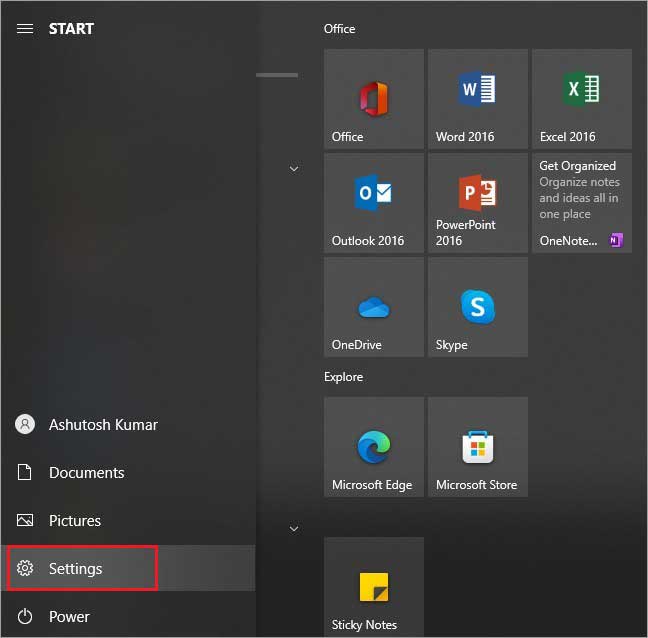
Step 1: On your desktop, click the Start menu icon and select Settings.

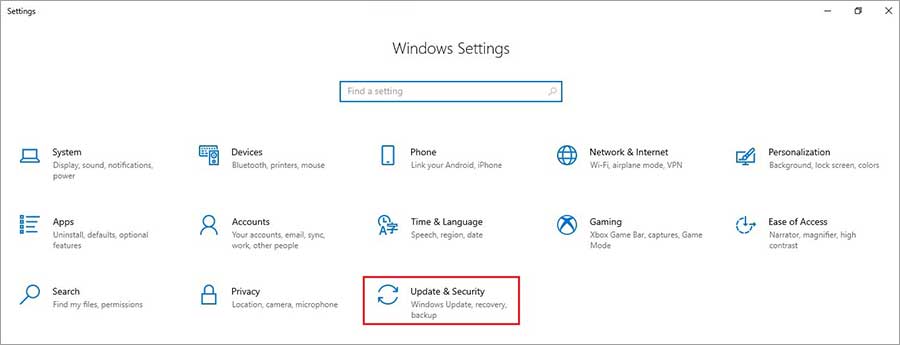
Step 2: Choose Update & Security from the available options.

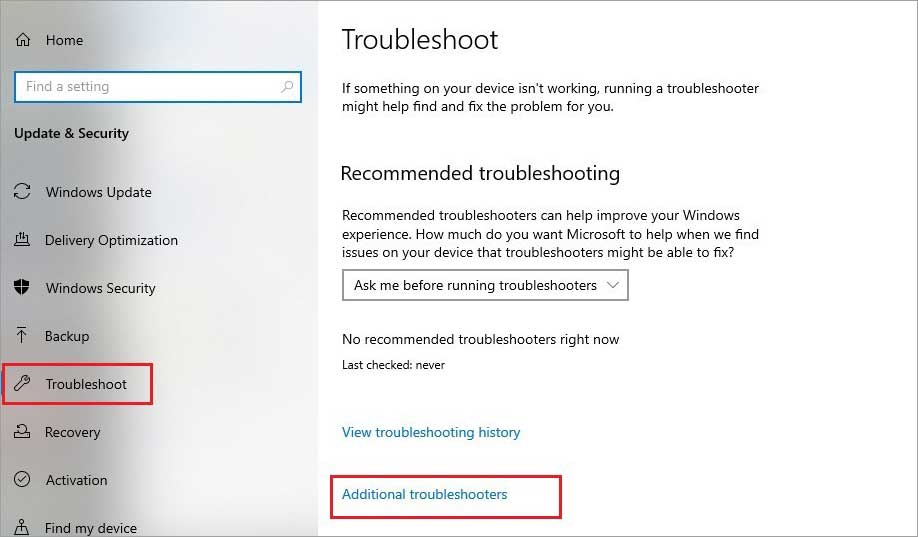
Step 3: Select Troubleshoot from the left pane and select Additional Troubleshooter.

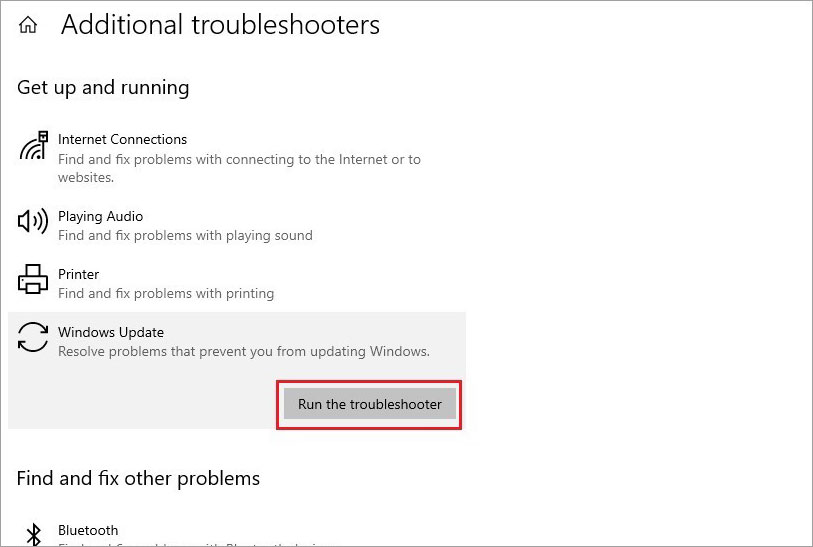
Step 4: Click Windows Update under the Get up and running section and select Run the Troubleshooter.

Once the problem is detected, troubleshoot it and check if your Windows PC is now shutting down normally.
Install Latest Windows 10 Updates
To install the updates, follow the steps below:
Step 1: Open the Windows Start menu and click Settings.
Step 2: Click Updates & Security option.
Step 3: Select Windows Update from the left pane and click Check for Updates. Your system will check and suggest if there are any updates available.

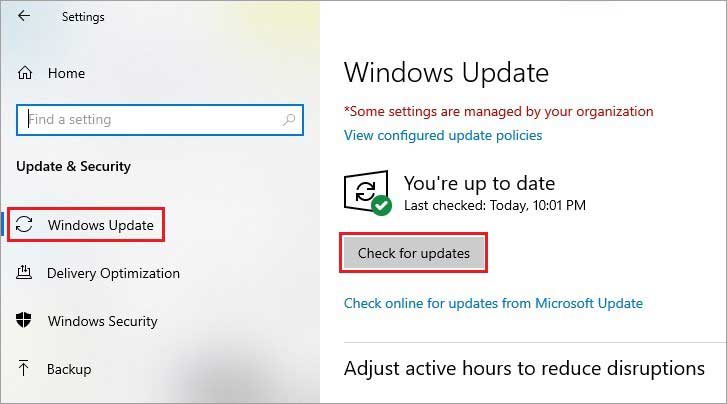
Step 4: If updates are available, click Install Now. The Windows will automatically download and install the updates.
For changes to take effect, Restart your PC.
Method 4: Disable Automatic Restart
If your PC keeps on restarting every time you shut it down, it means that the Automatic Restart option is enabled. You need to disable Automatic Restart by booting your Windows PC into Safe Mode. Here are the steps:
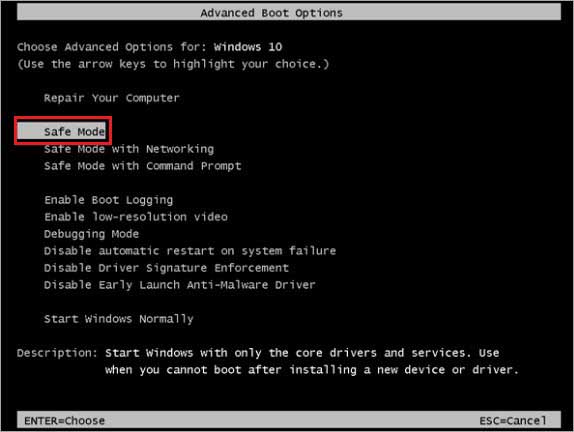
Step 1: Shut down your PC and when it restarts automatically, keep on pressing the F8 key repeatedly until the Windows logo appears.
Step 2: From the boot menu, select Safe Mode and press Enter.

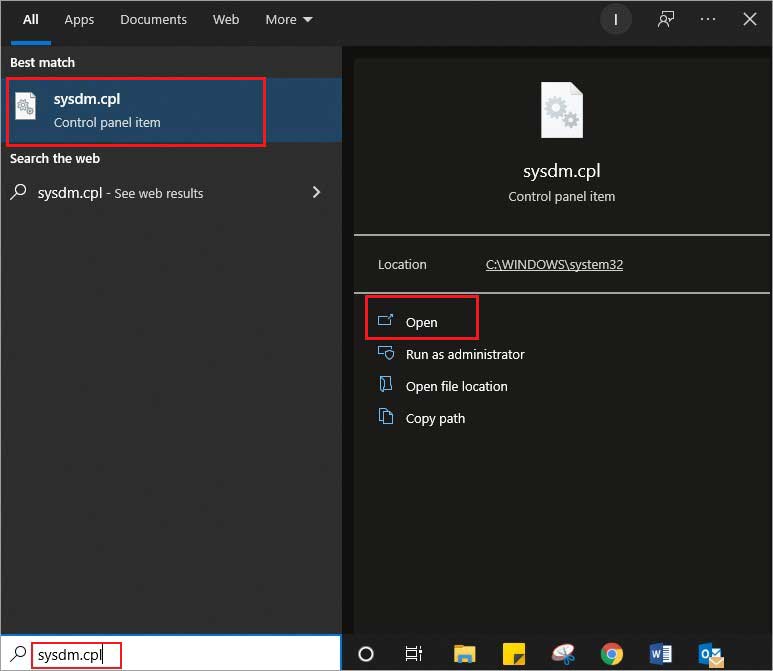
Step 3: Once your PC is booted into Safe Mode, type sysdm.cpl in the search bar and hit Enter.

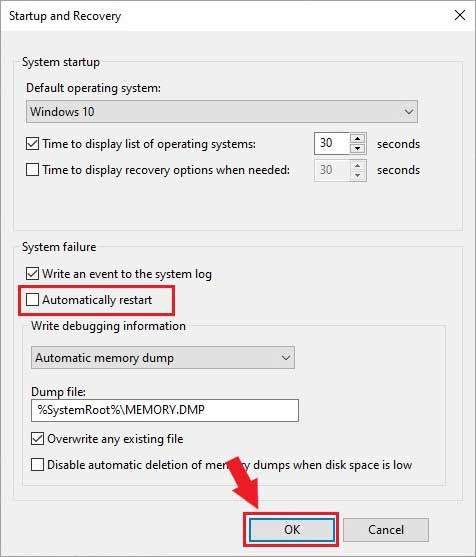
Step 4: Select the Advanced tab and click Settings under the Startup & Recovery section.

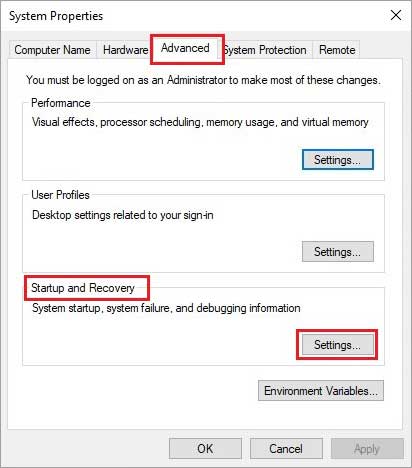
Step 5: Uncheck the Automatically Restart checkbox. Click OK and restart your system.

Check if the Windows 10 not shutting down problem is resolved. If not, move to the next solution.
Method 5: Use Command Prompt to Shut Down Windows 10
You can use Command Prompt to force shut down a Windows PC directly. It closes any running applications and immediately directs the OS to shut down the PC. Follow the steps below:
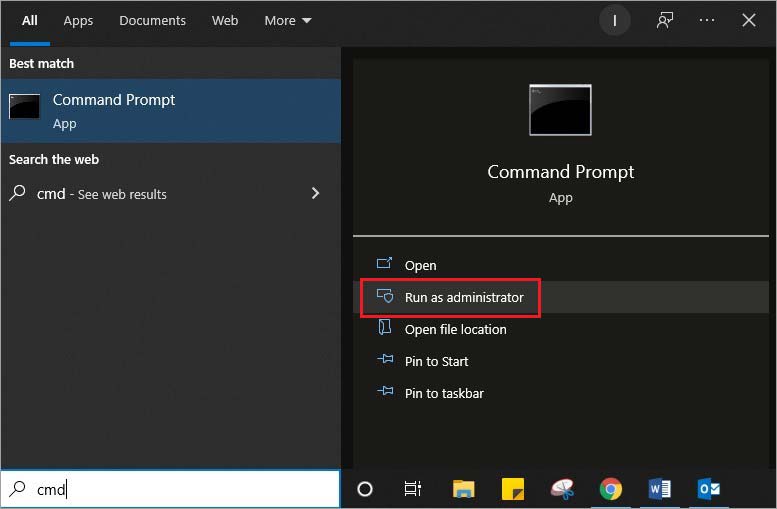
Step 1: Type cmd in the Search Bar and choose Run as Administrator.

Step 2: Insert the command shutdown /p and hit Enter.

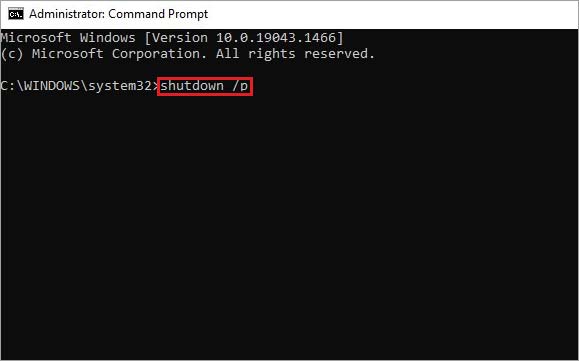
Your Windows 10 PC will shut down without attempting to install or process updates or any other action.
Method 6: Repair Windows 10 System Files
You may also face the Windows 10 not shutting down issue due to corrupt system files. You can use Windows System File Checker to repair corrupt system files. Follow the steps below:
Step 1: In the Search bar, type cmd, right-click Command Prompt option, and select Run as Administrator.
Step 2: Enter the command sfc /scannow and hit Enter.

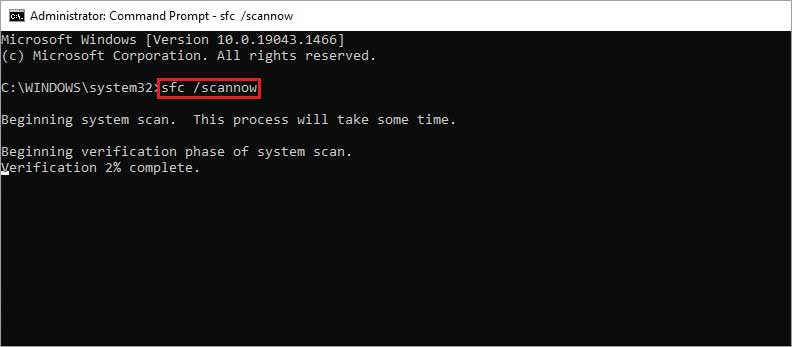
Step 3: Wait for the process to complete and then shut down your computer.
Method 7: Reset BIOS to Default
You might be facing the Windows 10 PC shutdown problem due to incorrect BIOS settings. You can reset the BIOS settings to default by following the steps below:
Step 1: Force shut down your PC by long pressing the power button.
Step 2: Restart your PC and press F1, F11, or Del to enter BIOS.
Step 3: Click Settings > Boot and select The Default or HDD for Boot Option #1 under the Fixed Boot Order Priorities.

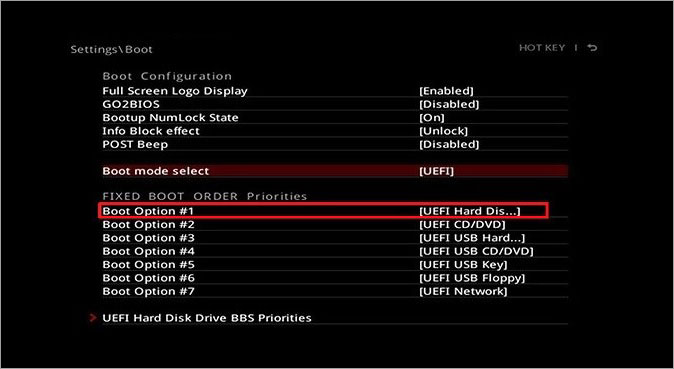
Step 4: Press F10 or click Save to apply the changes and exit BIOS.
Step 5: Restart your PC and try to shut it down normally.
Method 8: Disable Automatic Running of Applications on Boot Up
Some users tend to permit various applications to run automatically when the PC starts up. While the trusted applications run harmlessly, some other applications from untrusted source running in the background may create trouble. You can easily control and disable such applications that start automatically on booting up of your PC. Here is how to do it.
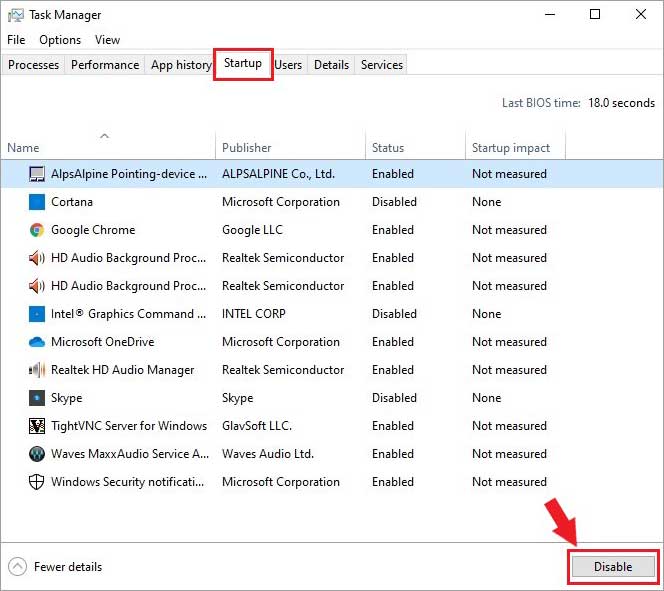
Step 1: Press Control + Shift + Esc simultaneously to launch Task Manager or simply type task manager in the Windows Search box and hit Enter.
Step 2: Click the Startup tab. Check if there is any unnecessary app present in the list.
Step 3: Select the app you want to disable and select Disable at the bottom-right.

Close the Task Manager and try to shut down your Windows PC.
Method 9: Stop Windows Delivery Update Optimization
Windows Delivery Update Optimization service enables the PCs on the same network to get updates from other PCs and avoid the requirement of multiple downloads. If you are using your Windows PC on a network, then the Windows Delivery Update Optimization service might disrupt PC shutdown. You can turn off this feature as explained below.
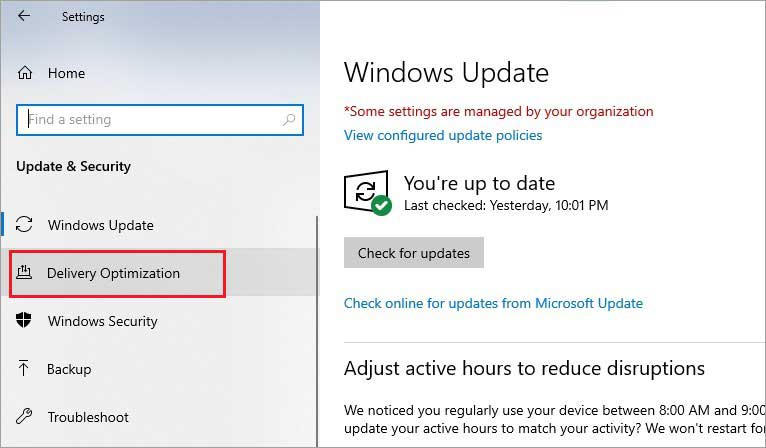
Step 1: Click on Start Menu > Settings and select Update and Security.
Step 2: Click Delivery Optimization from the left pane options.

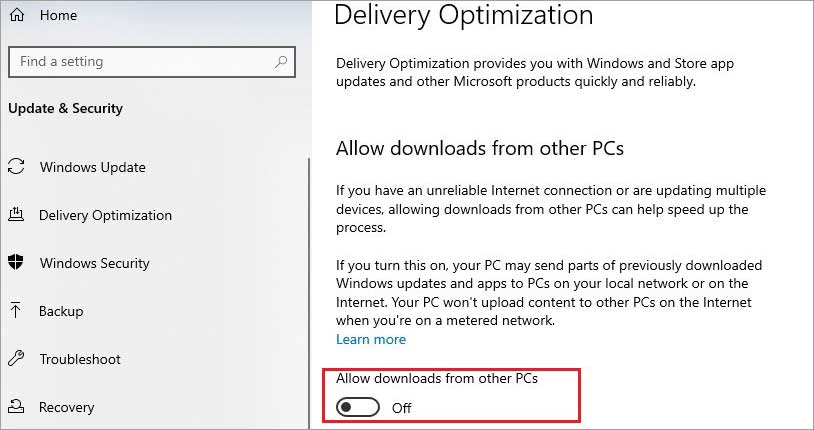
Step 3: Toggle-off the Allow downloads from other PCs switch to stop downloads from other systems on the network.

Now, check if your Windows 10 PC is shutting down normally.
Method 10: Perform System Restore
To resolve the Windows 10 won?t shut down issue, you can also perform System Restore. Applying System Restore will take back your PC?s settings to the condition when you were not facing the issue. Here is how to do it.
Step 1: Type Control Panel in the Search Box on taskbar and select Control Panel.
Step 2: Locate Recovery and click it to open Advanced recovery tools.

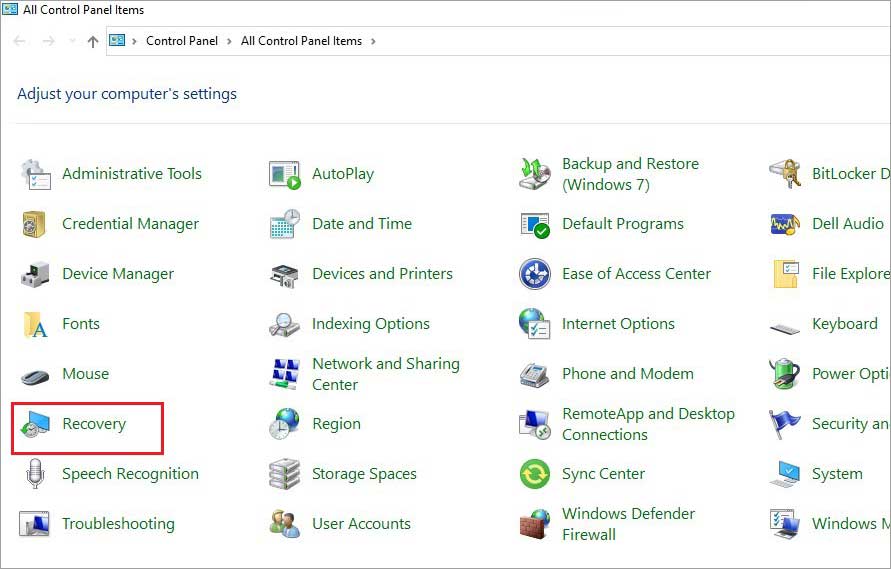
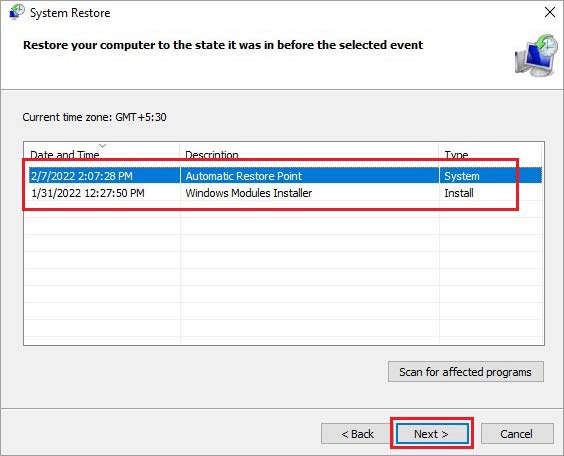
Step 3: Select Open System Restore and click Next.


Step 4: Select the restore point before the emergence of the shutdown problem and click Next > Finish.

Recover Data Lost due to Windows 10 not Shutting Down Issue
You might encounter data loss while trying to resolve the Windows shut down problem. However, you can easily recover any type of data using Stellar Data Recovery Professional for Windows. This DIY software is compatible with Windows 11, 10, 8.1, and earlier versions. You can recover your data in just a few simple steps. Moreover, Stellar Data Recovery Professional for Windows allows you to preview your data before recovery and confirm that it?s the same data you were looking for.
FAQ
1. Will updating my Windows 10 to the latest Windows 10 21H2 version resolve the shutdown problem?
Yes. According to Microsoft, the issues reported till January 2023 have been resolved. The update is stable and safe to install. However, the Windows 10 version 21H2 is available for users having Windows 10 version 2004 or higher. It can be installed manually through the Check for updates option in Windows update.
2. If I update my Windows 10 to resolve the shutdown issue, should I be worried about System Updates in near future?
Microsoft will continue to provide regular updates for Windows 10 till Oct 14, 2025. After that, Microsoft might reduce the frequency of the updates to be available only once a year.
3. If I upgrade to Windows 11 instead of updating my Windows 10, what issues will I face? There has been no major issue reported after the Ryzen processor incompatibility problem in the initial phase of the Windows 11 launch. However, every new OS has some minor developmental problems that can be easily fixed. Accordingly, we have listed the Windows 11 problems and fixes to help you compare and decide on an upgrade to Windows 11.

