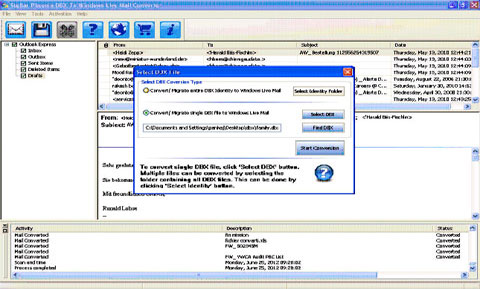
Step 1:- When you launch Stellar DBX to Windows Live Mail Converter, the main interface of the software appears as above. In the 'Select DBX File' dialog box, click 'Select DBX' to select a single DBX file for conversion. You can also choose 'Select Identity Folder' to convert multiple DBX files. Click 'Start Conversion' to initiate the conversion process.
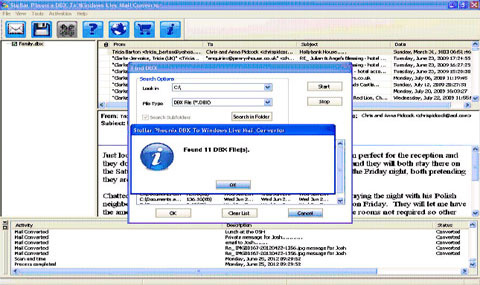
Step 2:- In case you do not know the exact location of DBX file, click 'Find DBX' in the same dialog box. The 'Find DBX' dialog box will be displayed. Specify the search options, such as drive and file type. Click 'Start' to begin the search process. All the found DBX files will get displayed in the dialog box. Choose the desired DBX file from this list and click 'OK'.
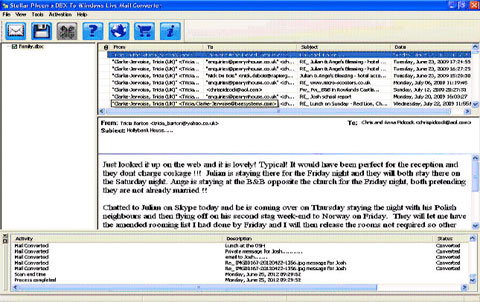
Step 3:- All emails in the selected DBX file will be displayed in the top-right pane. You can select any email to preview its contents at the bottom. The bottom-most pane shows log of the conversion process.
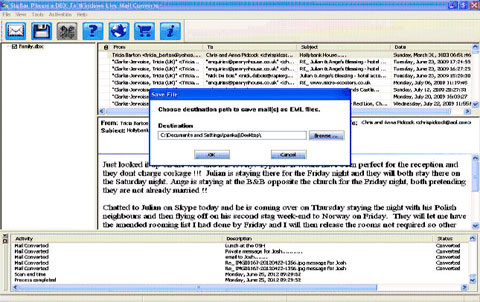
Step 4:- Click 'Save Mails' button on the toolbar and specify a desired destination to save the converted emails. Click 'OK'.
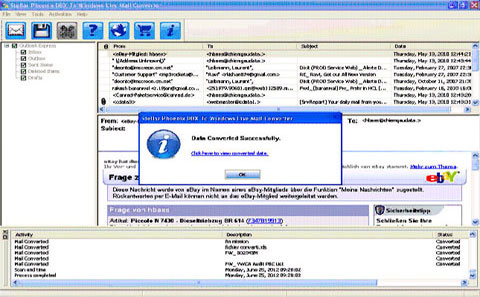
Step 5:- After completion of the process, you will get the message 'Data Converted Successfully'. Click on the link provided in the dialog box to view your converted data.