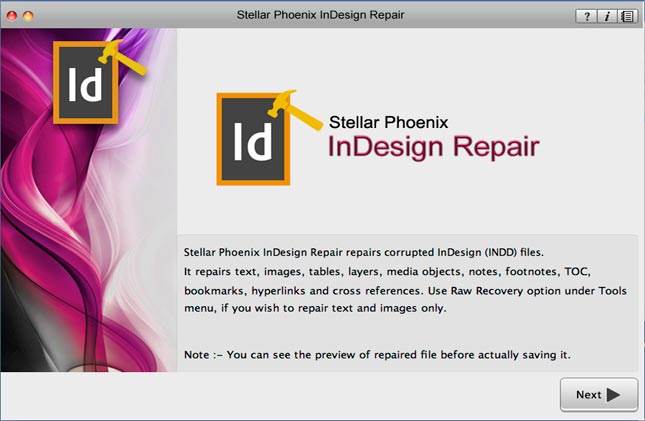
Step 1:- The main software interface gives about a brief idea about the software features and capabilities. Click 'Next' to proceed.
Step 2:- In this section, you can click the 'Select File' button to browse through the desired destination in your Mac and select the corrupt INDD file.
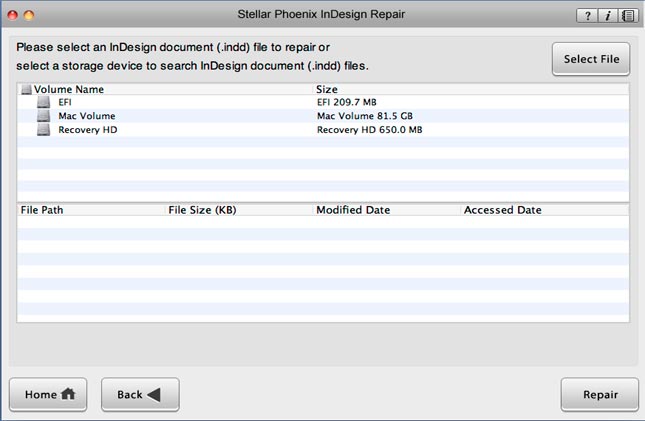
Step 3:- Alternatively, you can also select the hard drive or individual volume to check for all INDD files. After the files are listed, select the troubled one and click the 'Repair' button.

Step 4:- After the file is repaired, the software opens up the repaired file with Adobe InDesign to show its preview.

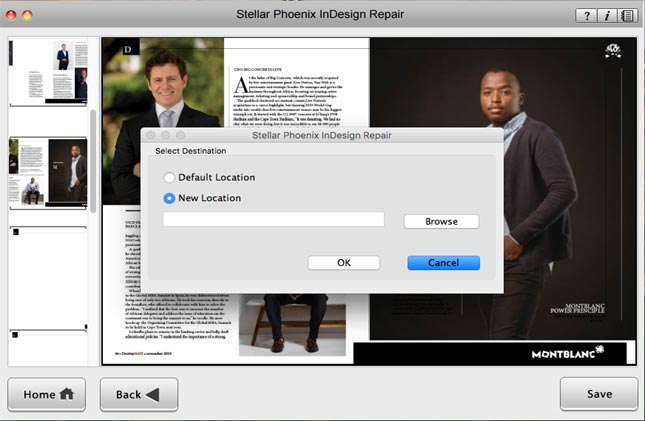
Step 5:- As you click 'Save', the tool then save the repaired INDD file to the default location or to any other location specified.