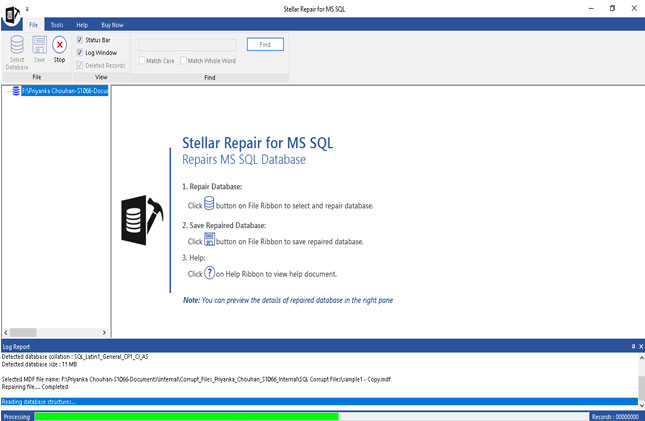
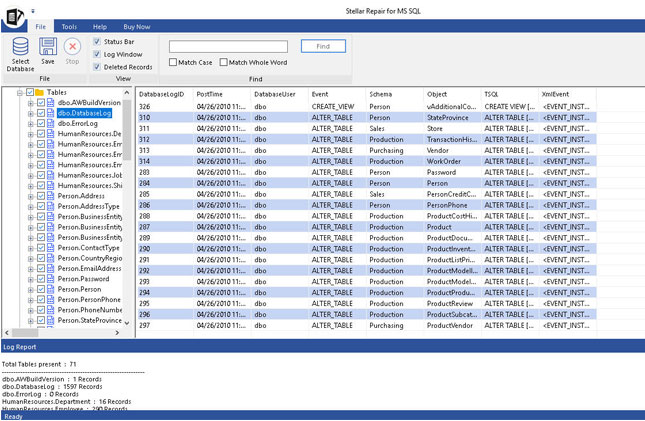
Step 1:- This is the main interface of Stellar Repair for MS SQL.
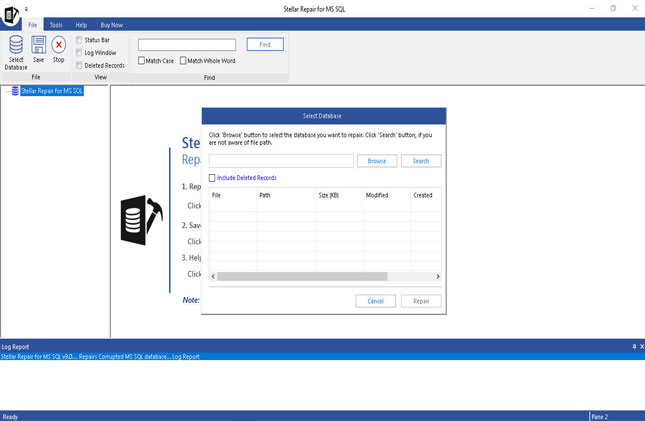
Step 2:- You can select corrupt database file using 'Browse' or 'Search' options. If you know the location of corrupt database then choose 'Browse' option. To find the database in a particular folder or drive then, you need to use 'Search' option.
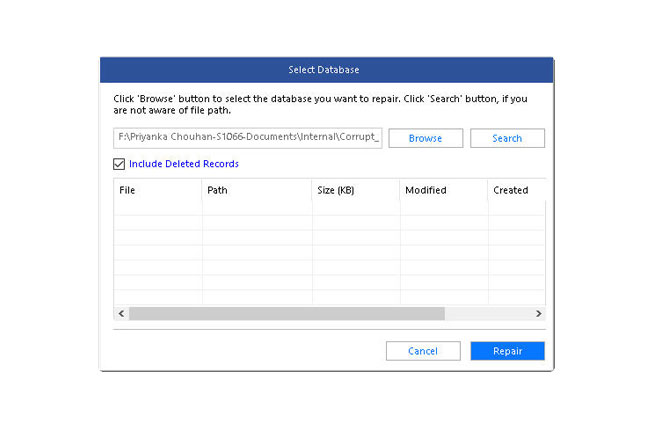
Step 3:- After selecting the file, click on the 'Repair' button to start the repairing process.
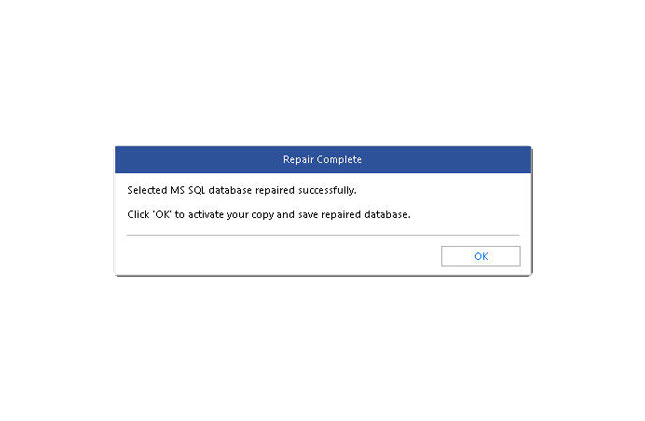
Step 4:- A message Window will pop-up on the screen. Click on 'OK' button to register the software.
Step 5:- This is preview of selected database. Click on the 'Save' to save the repaired database.
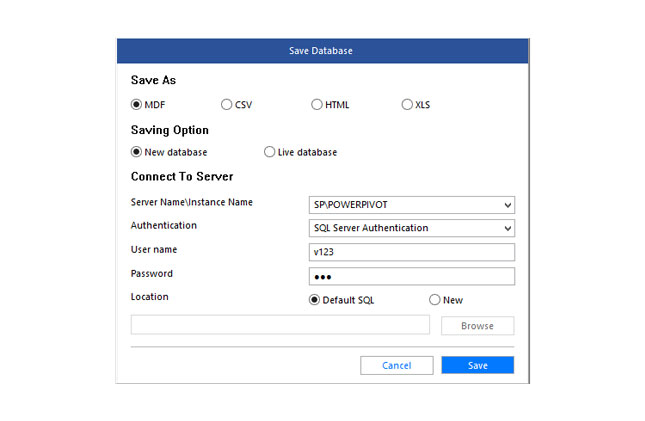
Step 6:- You can save repaired database in four different options: MDF, CSV, HTML & XLS. Choose any according to your requirement.

Step 7:- You can also save repaired database in 'New database' or 'Live database'.
Step 8:- After saving the database at the selected location, the software prompts the message "File Saved at the desired path".
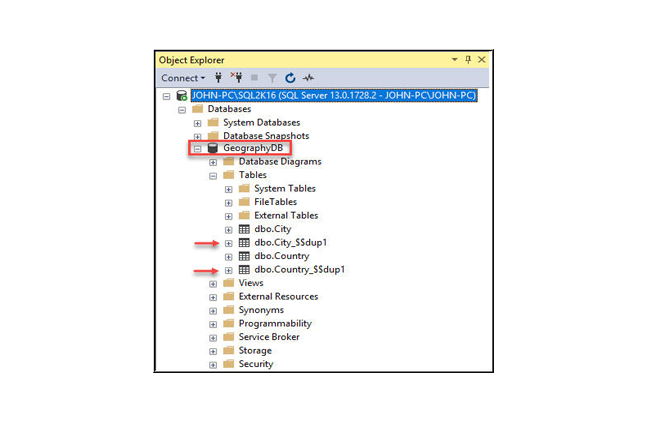
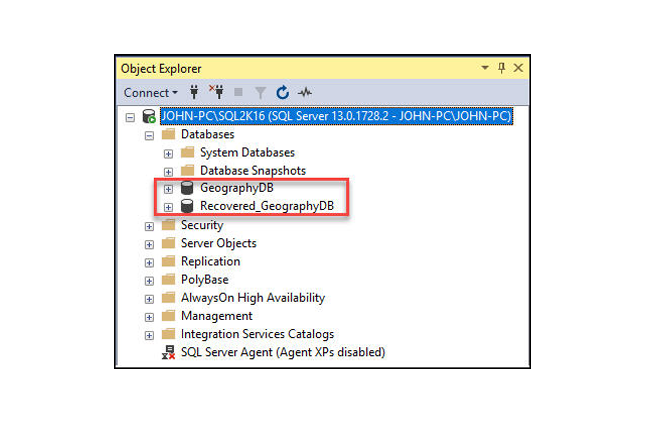
Step 9:- In New Database option, the software creates a new database with the prefix ‘Recovered’ and saves the repaired database in it.
Step 10:- In Live database option, the software saves the repaired database into the existing database