

Whether you are using the Professional, Premium, or Technician edition of Stellar Data Recovery for Mac, you could preview all your recoverable files and folders in three different views.
Top left pane: It shows Classic List, File List, and Deleted List tabs that display scanned items in a tree format.
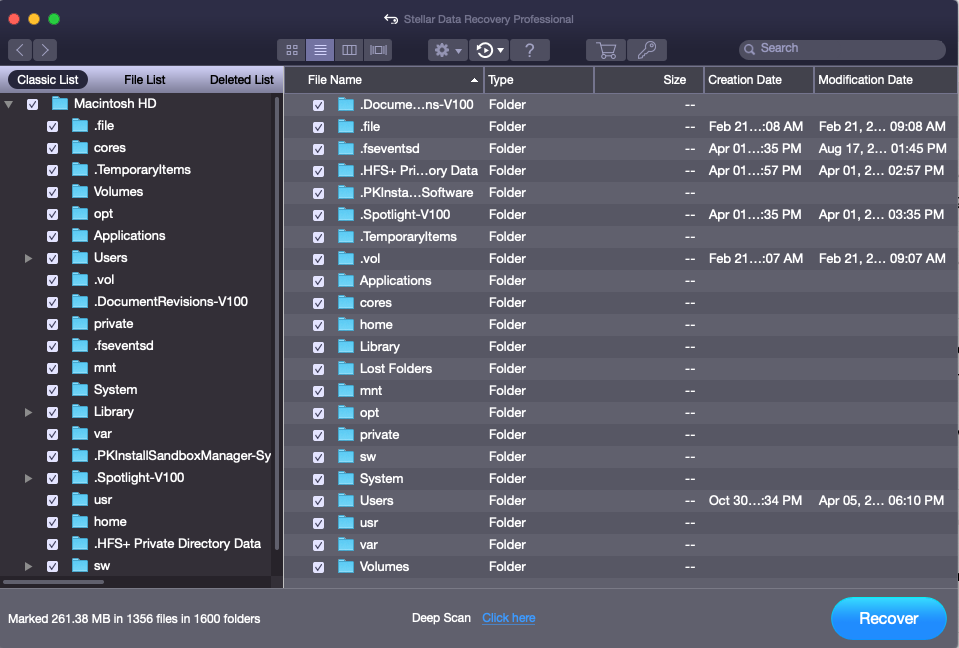
1. Classic List: In this view, you’ll see all files and folders structured in the same manner as they were present in your scanned storage medium. To see the Classic List preview, click the Classic List tab from the top-left pane.
2. File List: In this view, you’ll see all files and folders listed according to their types, such as Document, Photo, Video, Audio, Archive, and so forth. To see the File List preview, click the File List tab from the top-left pane.

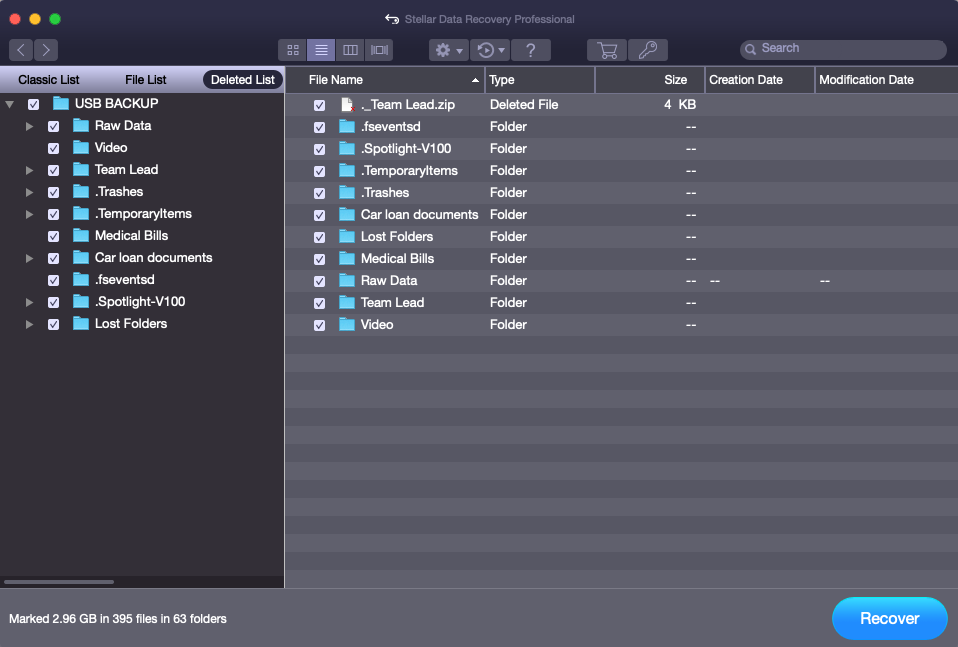
3. Deleted List: In this view, you’ll see all the deleted and RAW files and folders present on the selected drive. To see the Deleted List preview, you need to run Deep Scan. And once the scan is over, click the Deleted List tab from the top-left pane to view all the deleted items.
Top-right pane: It shows a preview of the selected file. The demo version allows a file preview of up to 10 MB file size while the activated version displays a preview of up to 100 MB.
Bottom-right pane: It shows all files and folders that are present in the selected folder. You can double-click any file from here to launch its preview window.
Once you’ve selected all the required files and folders, click the Recover button and then specify a distinct save location. Finally, click Save to save your selected recoverable items.
For any further queries on Stellar Data Recovery Professional for Mac software, please contact Stellar Data Recovery Support.


