

If you have created a video to upload on YouTube and want to add subtitles to it, use Stellar Converter for Audio Video.
The easy-to-use software allows you to add English language subtitles using SRT files created using TextEdit/ Notepad/ or Notepad++.
First, translate your YouTube video’s audio into text and create a transcript. Next, make an SRT file to add subtitles with the help of the audio video converter software.
How to create a .SRT file:
- After, you create a transcript of your video, open TextEdit/ Notepad/ Notepad++ on your computer.
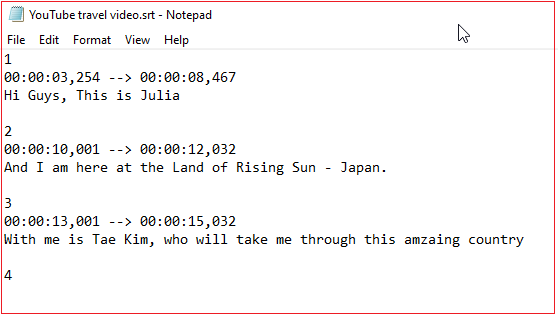
- In the Notepad file, type “1” for the first caption in sequence. Press Enter.
- Type the beginning and end time in the below format: hours:minutes:seconds,milliseconds ––> hours:minutes:seconds,milliseconds
- Press Enter. Write your caption. Try to limit it to a 32-character.
- Press Enter. Again press Enter to leave a blank line before the second caption.
- Type “2”. Write the second caption in sequence using the same format
- Repeat the steps to further complete your video transcript.
- Next go to File > Save to save the file.
- Enter file name and use .srt as the file extension.
- Under Save as type, select All Files. Click Save
Step-by-step: Add subtitle to YouTube video with software:
- Download the YouTube video to which you want to add subtitles and save it in your local or external drive.
- Create the SRT file in TextEdit or Notepad.
- Download Stellar Converter for Audio Video on your computer.
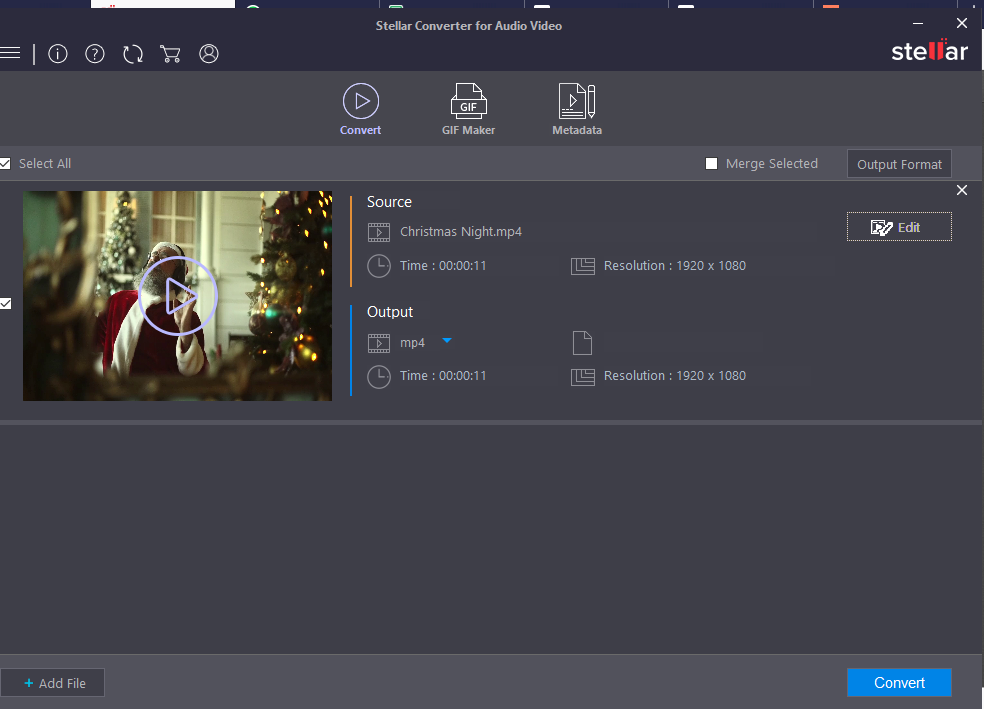
- Click on Add File to insert the YouTube video file.
- Click on Edit
- Click the Subtitle tab.
- Across Select SRT File box, click on the 3 dots. Browse to add the SRT file that you created.

- The subtitles will automatically appear in the video preview. Select the desired font style, size, and color of the text.
- Click Apply and then OK to save the video settings.
You can now upload your video with subtitles on YouTube.


