

With Stellar Converter for Audio Video, not only can you convert between various audio & video formats, but also add watermark to videos. Watermark is essential to protect videos and create your brand identity. It also helps to know the original creator of video. The Watermark tool of Stellar Converter for Audio Video is easy to use. The software allows you to add the desired text, image, or logo in the video. Further, you can choose the opacity of the image, text font style, size, and color. The software supports JPEG, JPG, BMP, and PNG image formats for watermarks. Steps to add watermark on videos:
Step 1: Click Add File to select the video on which you want to add a watermark.
Step 1: Click Add File to select the video on which you want to add a watermark.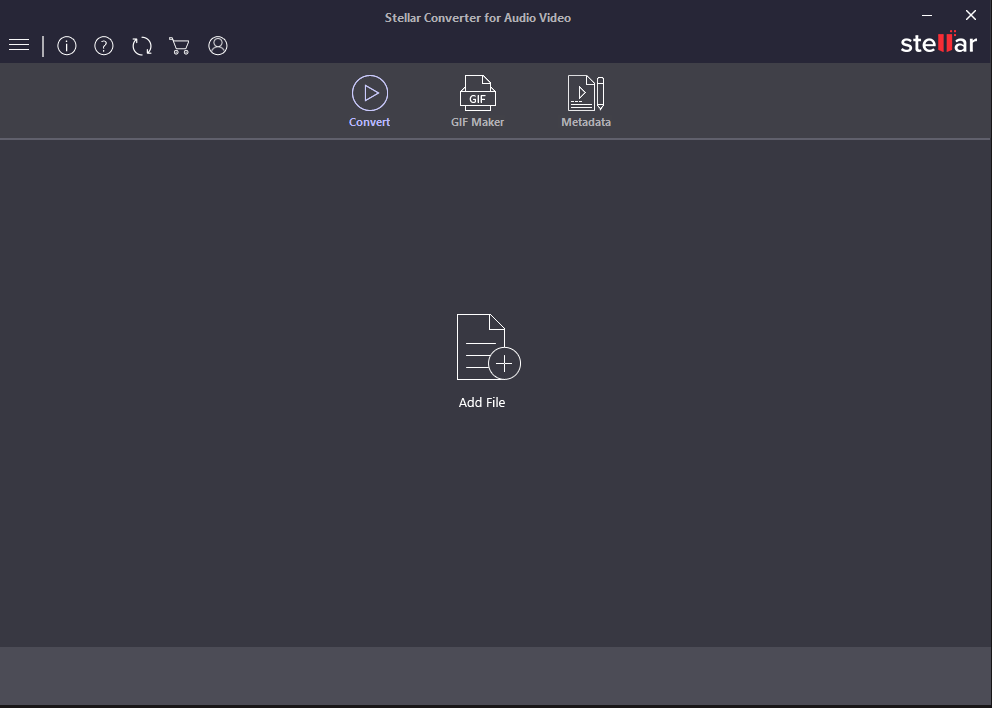
Step 2: Click the Edit button.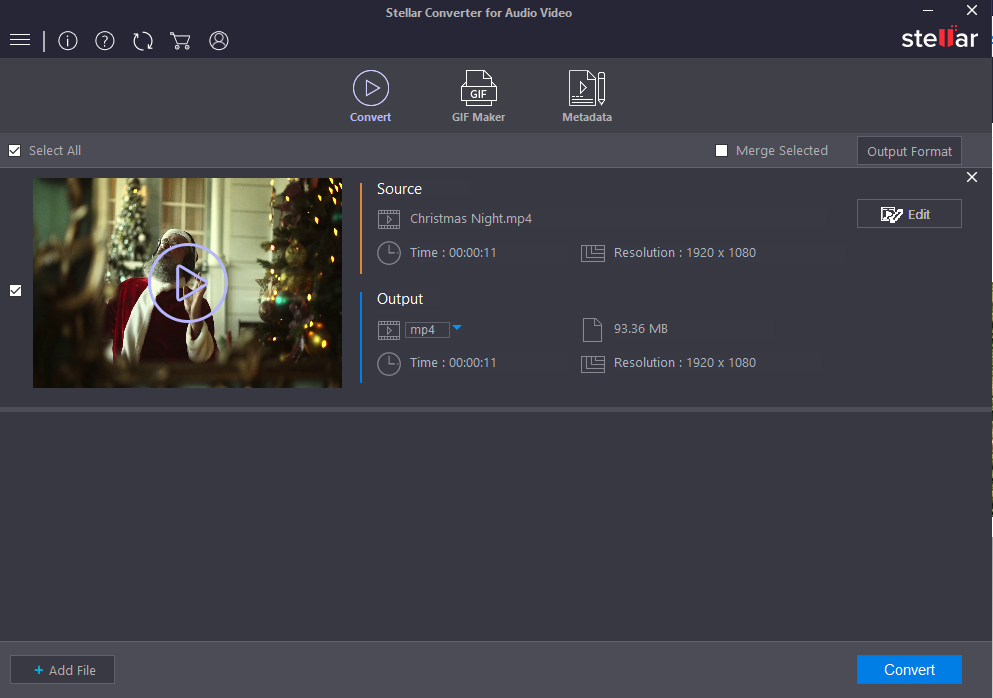
Step 3: Click on the Watermark tab.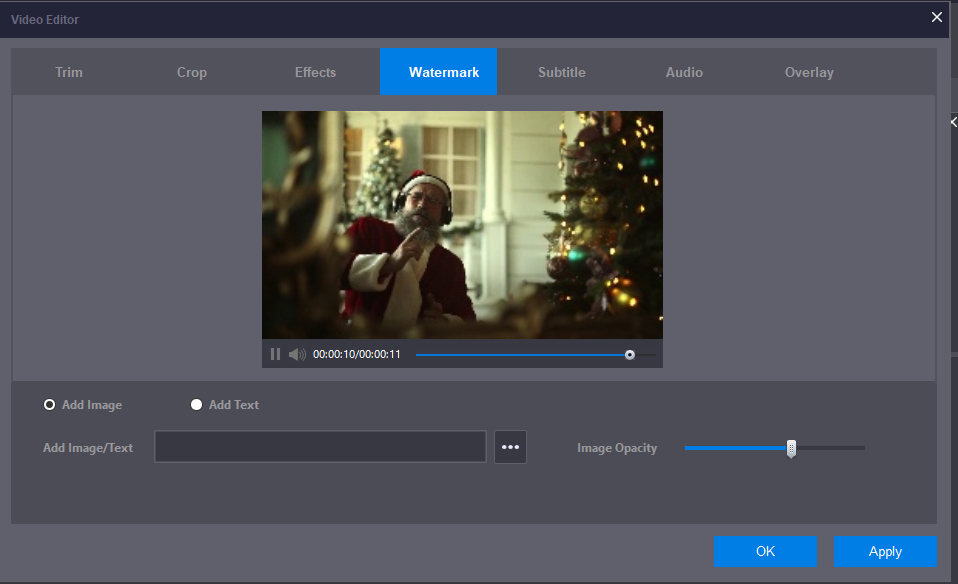
You will see 2 types of watermarks option- Add Image and Add Text. Select the watermark type you want in the video and follow the below steps as per your selection.
Step to ‘Add Image’ as watermark in video:
1. Select Add Image. Click on 3 dots to browse the image you want as watermark, and click Open.
2. Drag and place the Watermark over the video at the desired location.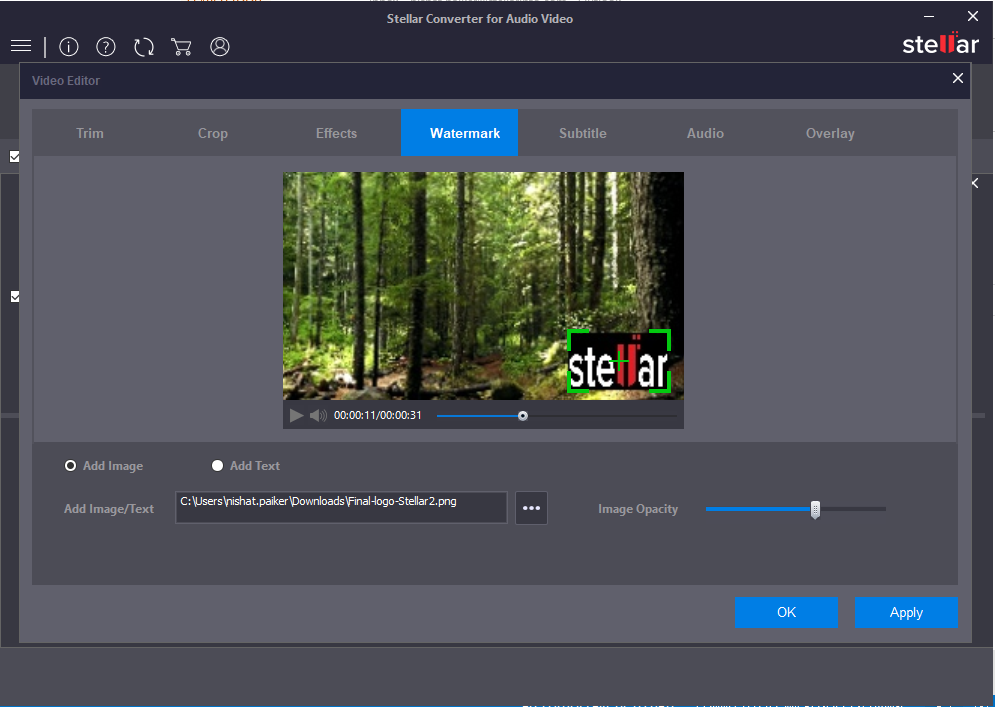 3. Choose the Opacity of the image.
4. Once satisfied with the result, click Apply to enable the settings. To undo the changes, click on the Reset button.
5. Click OK to save the settings.
6. Next, click Convert.
7. Destination Path dialog box appears. Browse to select the save location. You can also save the watermarked video at a default video location.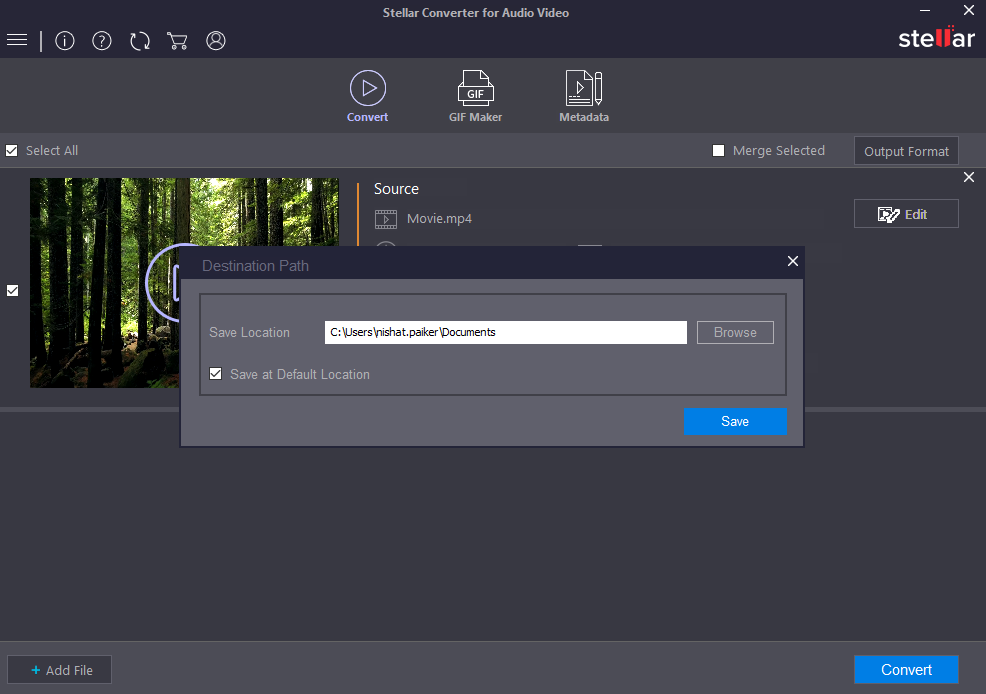 8. Click Save. You can access your watermarked video from the saved location.
Steps to ‘Add Text’ as watermark in video:
1. Select Add Text and write the text you want as watermark in the video.
2. Choose the font style, size, and color.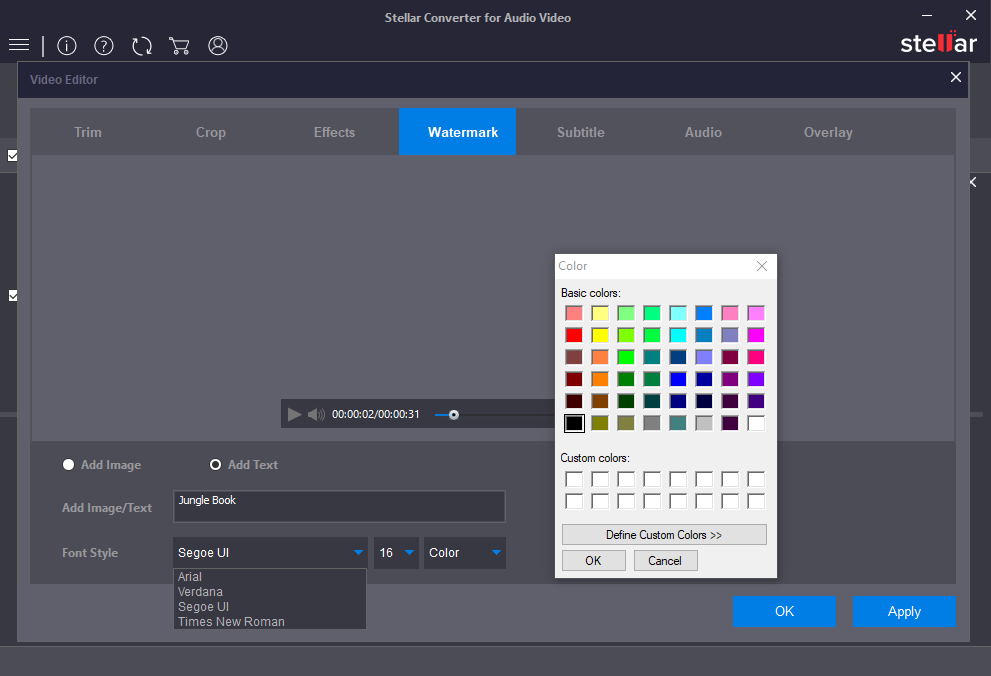
3. Drag the watermark to the desired space in your video.
4. Once satisfied with the output, click Apply. To undo the changes, click on the Reset button.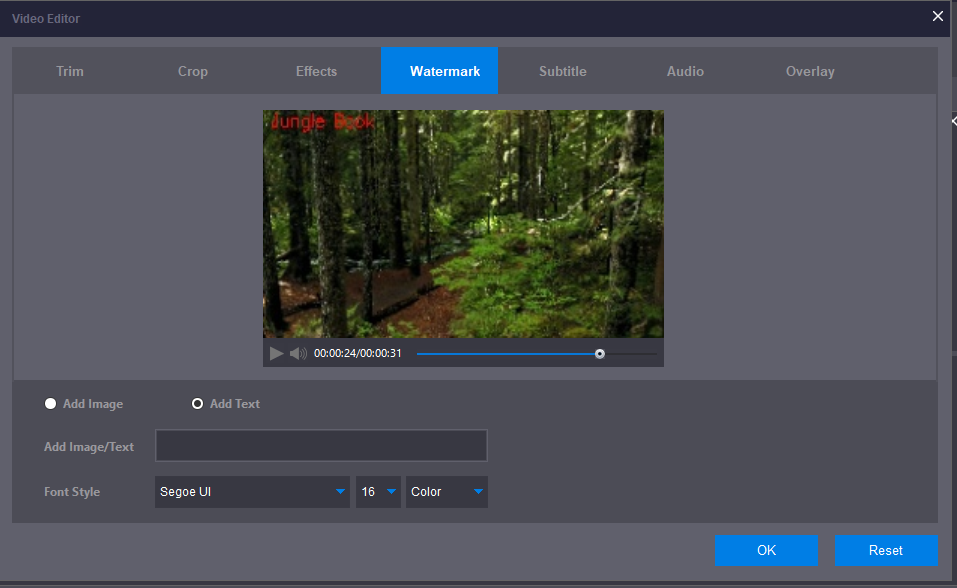
5. Click OK to save the settings.
6. Next, click Convert.
7. Destination Path dialog box appears. Browse to select the save location. You can also save the watermarked video at a default video location.
8. Click Save.


