

If you are looking for a direct or an easy method to convert OLM files to Office 365, you may use Stellar Converter for OLM Technician software to perform the conversion.
Steps to convert OLM files to Office 365 by using Stellar Converter for OLM Software
Step 1: Download and install Stellar Converter for OLM software
Step 2: Launch Stellar Converter for OLM
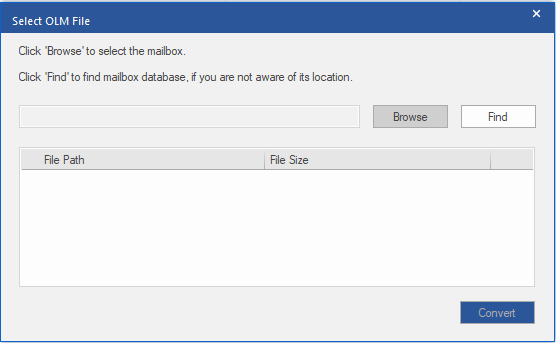
Step 3: In Select OLM File window, click Browse to select the OLM file you want to export to Office 365
NOTE: Click ‘Find’ to search for OLM file, if the file location is unknown.
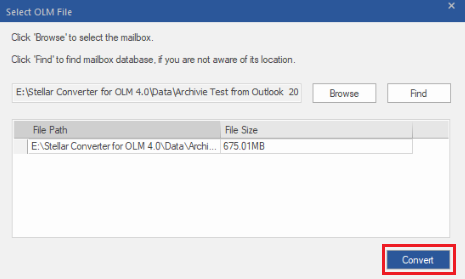
Step 4: Once the OLM file is selected, click Convert to initiate the conversion process.
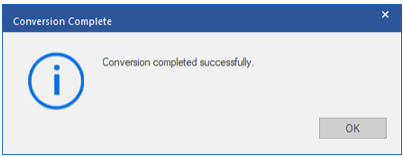
Step 5: When ‘Conversion completed successfully’ message is displayed, click OK.
Step 6: The software will display preview of converted mail items, including mails, calendars, tasks, notes, etc.
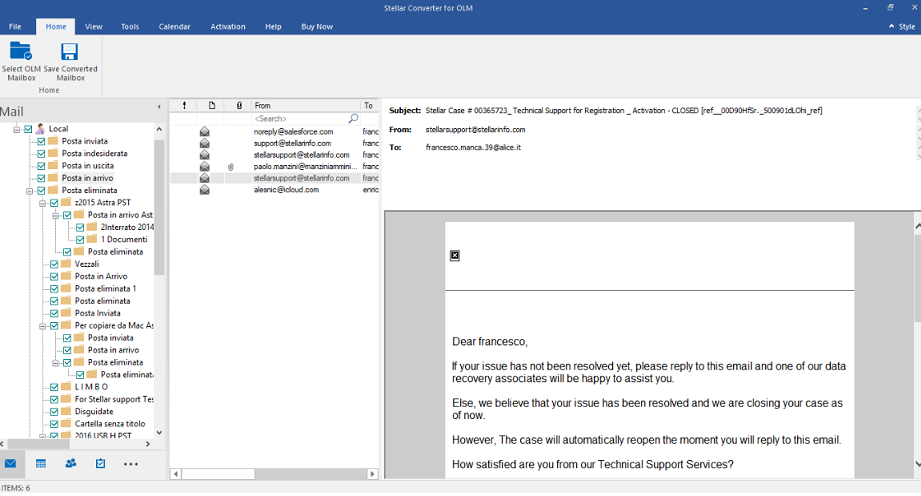
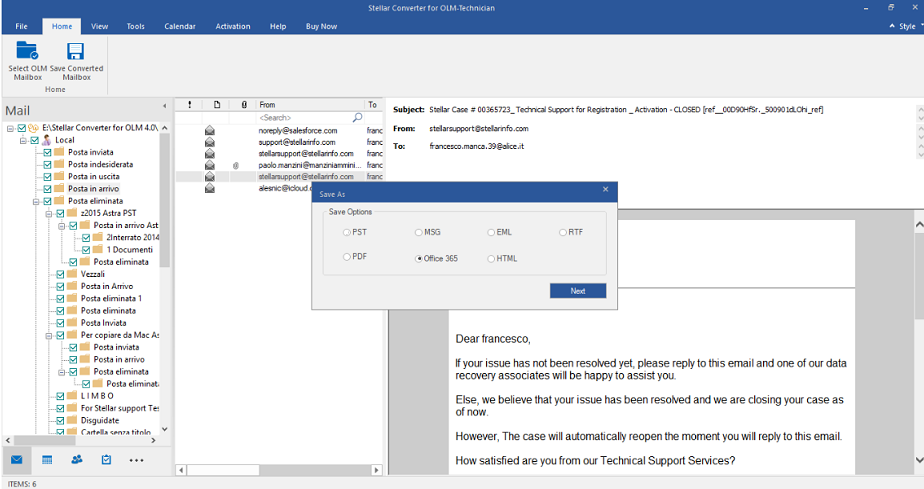
Step 7: Select complete or specific mailbox components you want to convert, and then click Save Converted Mailbox on Home menu.

Step 8: In Save As window that appears, select Office 365 under Save Options, and then click Next.
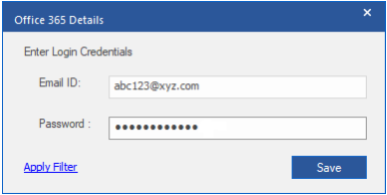
Step 9: In Office 365 Details window that appears, enter login credentials of your Office 365 account, and then click Save.
The converted mail items will be saved in Office 365 account.


