

The additional options in Advanced Settings make Stellar Photo Recovery an exceptionally competent and convenient software to recover lost files. The software allows you to set your preferences for recovery through its Advanced Settings.
The advanced options in the software help you to:
• Speed up the recovery process
• Recover exactly what you want
What are Advanced Settings options in Stellar Photo Recovery?
Advanced Settings in Stellar Photo Recovery contain below options to customize and speed up the recovery process:
1. Preview
2. File List
3. Add Header
4. Resume Recovery
5. Update
6. Languages
What you can do with the Advanced Settings options
1. Preview
-Turn-off/on Preview of recovered files
You can turn-off Preview of files during the scan. This helps to significantly speed up scanning time and hence the recovery process.
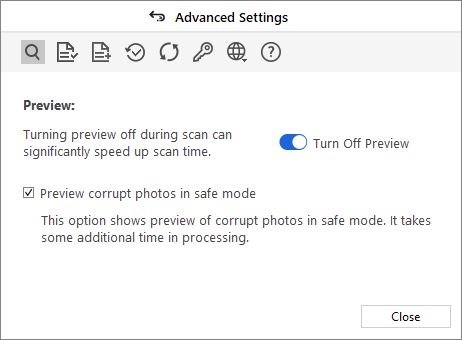
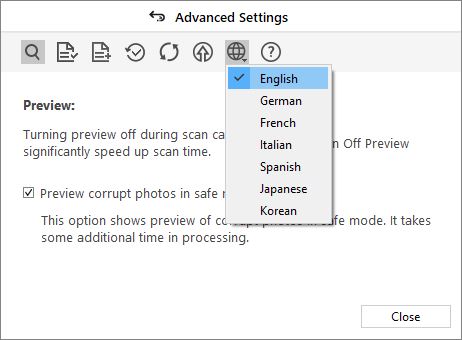
Click on the Preview icon under Advanced Settings and toggle off the Preview. There is also an option to show the Preview of only corrupt photos in Safe Mode.
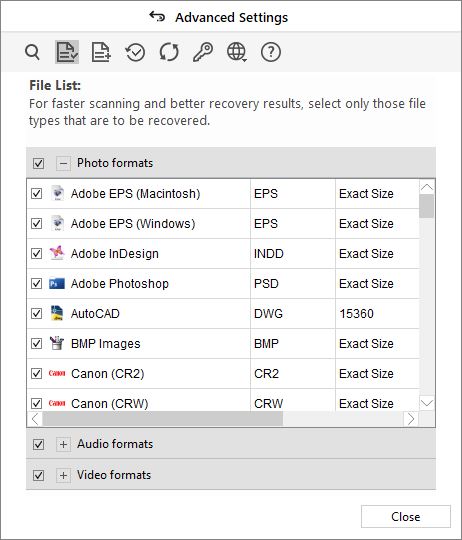
2. File List
-Select file types you want to recover
The file list option of Stellar Photo Recovery lists various file types. You can select the required file types under photo, video and audio formats.
3. Add Header
-Add new file types to recover that are not in the predefined list
You can add new file formats, when you do not see the required formats in the supported list. You can add header either automatically or manually.
You can also change the size of supported file types and remove added file through Edit Header option.
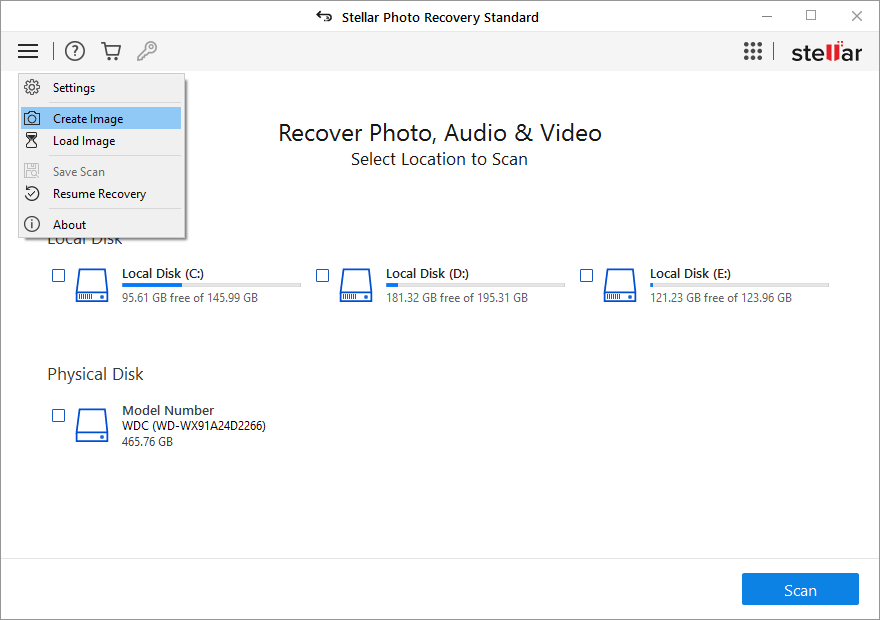
4. Resume Recovery
-Select specific range of drive to recover from
The Resume Recovery dropdown gives the option to Create Image. You can create an image of the select range of the hard drive and save it to recover files from it later. This extremely helpful in recovering photos, videos and audio files from corrupt hard drive or storage media.
Steps to select range of the drive for recovery
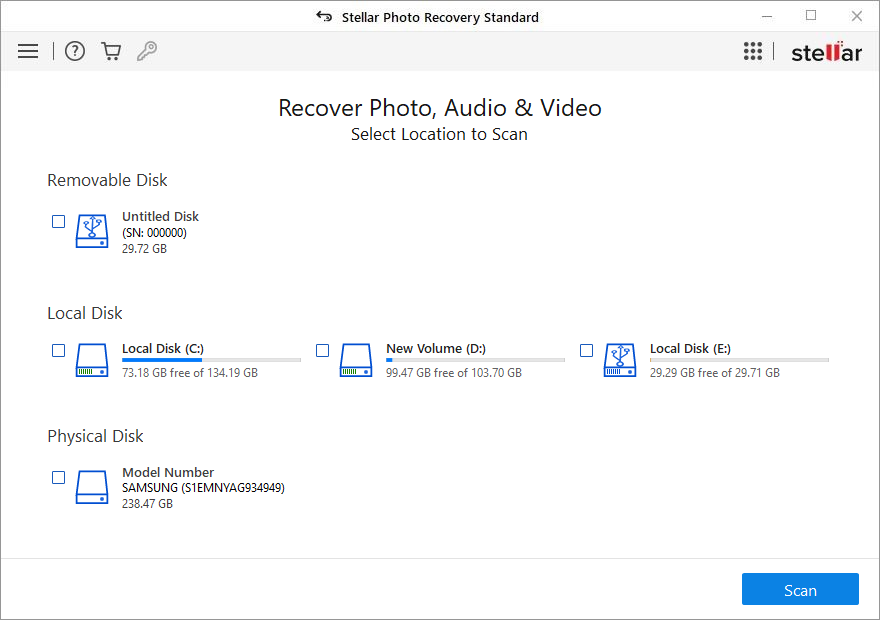
• Select Create Image option from the Select Location screen.
• Select the SD card/drive for which you want to create an image.
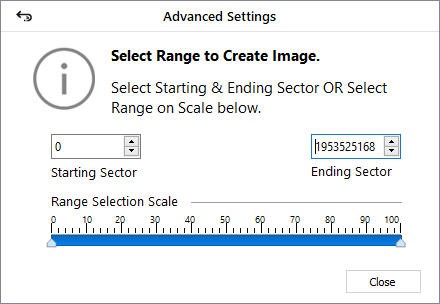
• Click Advanced Settings to select the range of media to create an image for a specified region.
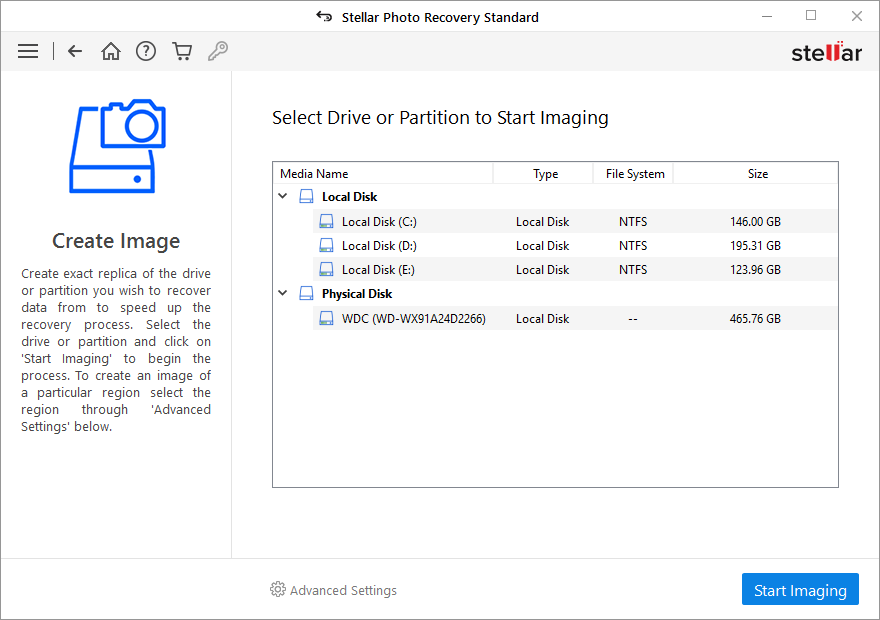
• Select the Range to Create Image in the dialog box.
• Click Start Imaging in the main Create Image window.
• After the process finishes, the image file is saved at your specified location. Next, recover the photos, videos, or audio files from this disk image from the selected range.
5. Update
-Get latest updates of software
Update Update option in the application is capable of checking and installing the latest updates. You need an active Internet connection for performing update.
Steps to Update
• Run Stellar Photo Recovery.
• Click Show more options to expand and click Advanced Settings.
• Select Update icon from Advanced Settings window.
• Click Check for updates.
• Click OK.
6. Languages
-Change the application to your language
The software supports seven languages - English, French, German, Italian, Spanish, Chinese, and Japanese. You can change the entire application to your preferred language under Advanced Settings.
Steps to change Language in Advanced Settings
• Run Stellar Photo Recovery.
• Click Advanced Settings icon.
• Click Languages icon
• From the options displayed, select the required language.
For any queries related to ‘Advance Settings’ in Stellar Photo Recovery, feel free to comment in the box below.


