

To use Stellar Converter for NSF software that allows you to convert the IBM Notes NSF file to Outlook PST format, you first need to download and then install the software.
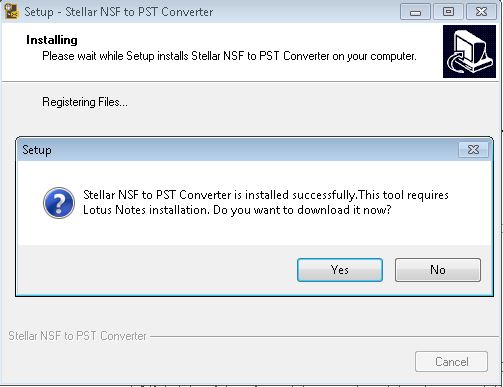
Also, you would have to install the IBM Notes email client on your system if it is not present, which is an important criterion. The reason being, after Stellar Converter for NSF software, is installed, it comes up with a message that the tool requires IBM Notes installation as is shown in the below image:
To install and configure IBM Notes 9 email client on Windows OS, execute the following steps:
- Locate and run the installation setup file for the IBM Notes 9.0 release: Download lsndad
With this, IBM Notes 9.0 Social Edition – Install Wizard will appear on the screen.
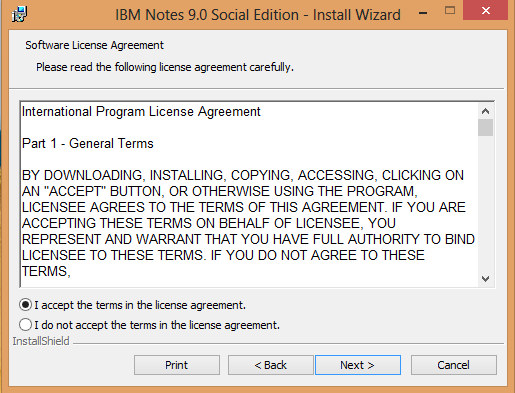
- Click on the Next tab of IBM Notes 9.0 Social Edition - Install Wizard as shown in the below image:

- Select I Accept the terms in the license agreement option and then click on the Next tab that appears in the IBM Notes installation wizard:
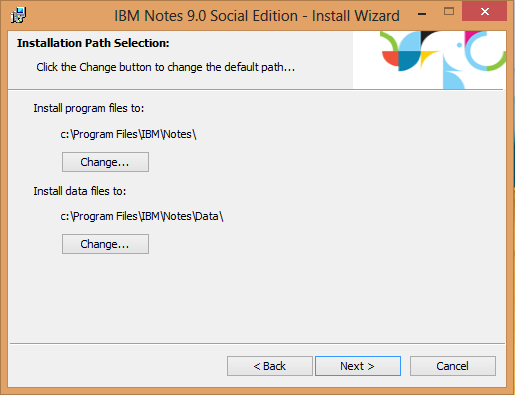
- Install Program files and Data files to the default or desired location and then click on the Next button. The Change tab can be used to change the default path or location:
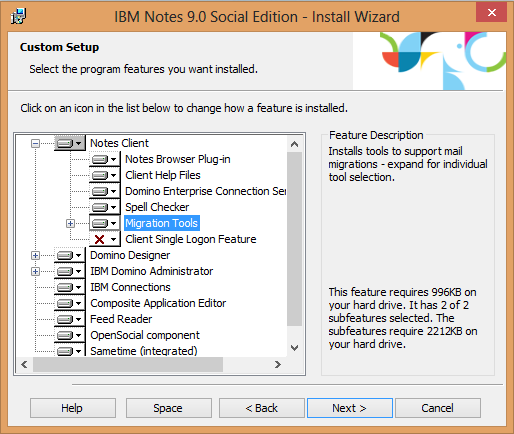
- Select the Program features you want to have installed and then click on the Next tab:
- Select all the settings of Notes and then click on the Install tab so that IBM Notes email client gets installed successfully.

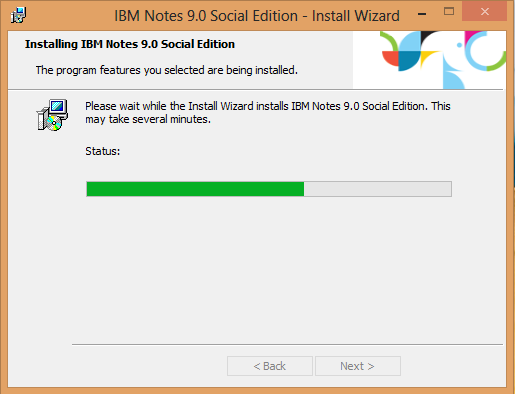
- The Notes installer begins to extract both Program files and Data files to the hard drive. Depending on the features selected in Step 5, the Progress bar resets a number of times.
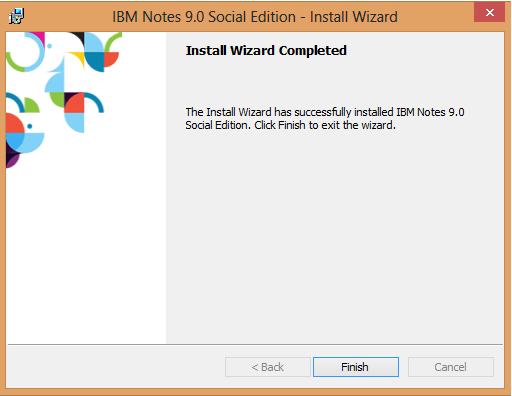
- IBM Notes email client gets installed and displays ‘Install Wizard Complete.’ Then, click on the Finish tab to close the wizard.
Now that the IBM Notes is installed on your Windows system, you need to configure the Notes email client.
- To configure IBM Notes, start Notes 9 either from the Start screen or the Desktop icons, which will display the new ‘splash’ screen that is displayed in the image below:
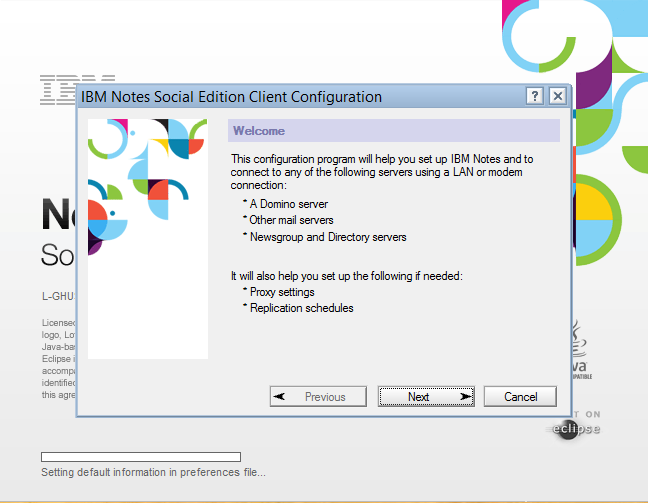
- The configuration wizard displays the ‘Welcome’ screen in which you need to click on the Next tab.
- Enter IBM Notes and Domino server name if you wish to connect Notes client to Domino Server and click on the Next tab.

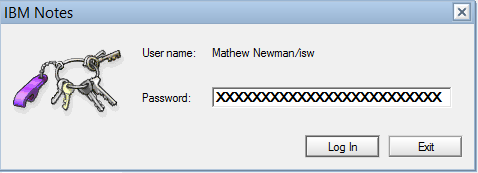
- Type the Password for IBM Notes and click on the Log In tab.
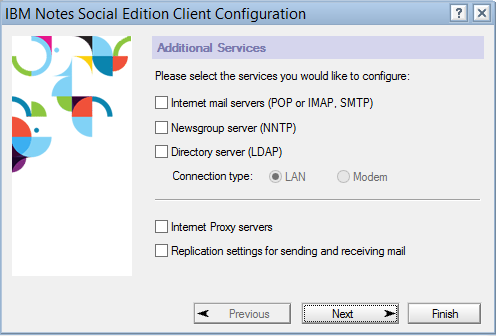
- Select the Internet Services you wish to configure and click on the Next tab.
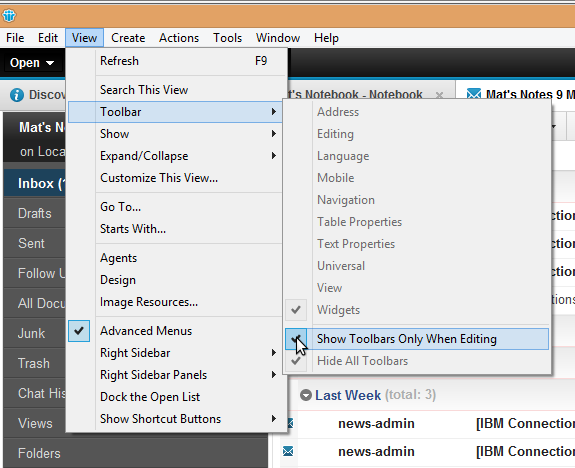
- Notes 9.0 client owns additional features that are provided through Toolbar. Turn them ON by turning ‘Show Toolbars Only When Editing’ option OFF. With this, the configuration process of IBM Notes 9 gets completed.
After configuration of IBM Notes, run Stellar Converter for NSF software.
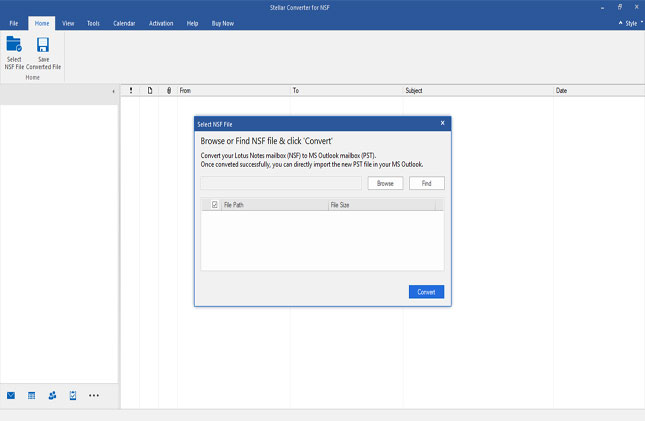
- Double-click on Stellar Converter for NSF icon. Click on the Select NSF tab and click on the Start Conversion tab to start the process of NSF to PST file conversion. In case you do not know the location of NSF file, click on the Find NSF tab for the software to locate all the NSF files on the system.
- Select the drive from the Look in the dropdown, and click on the Start tab to search the NSF files. Further, you can select the required NSF file from Find Results section and then click on the OK tab.
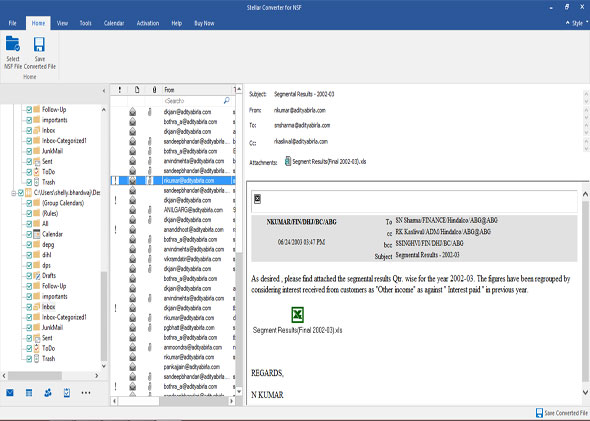
- All existing mailbox folders of IBM Notes will be enlisted as folder hierarchy in the left side. Select only the preferred folders or full NSF file for conversion. Then, click on the Save tab.
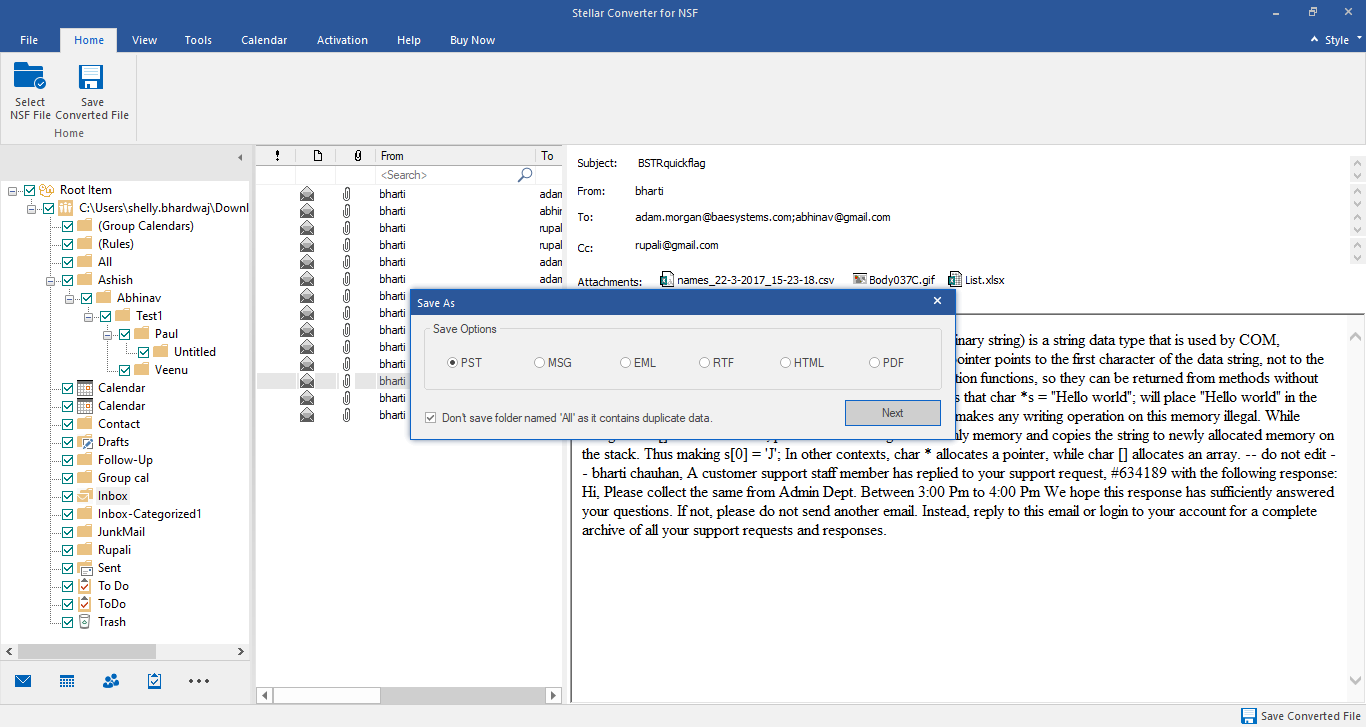
- The software will list three options: Append data to existing profile, Create new PST file, and Save Data to existing PST file to save NSF file as PST format.
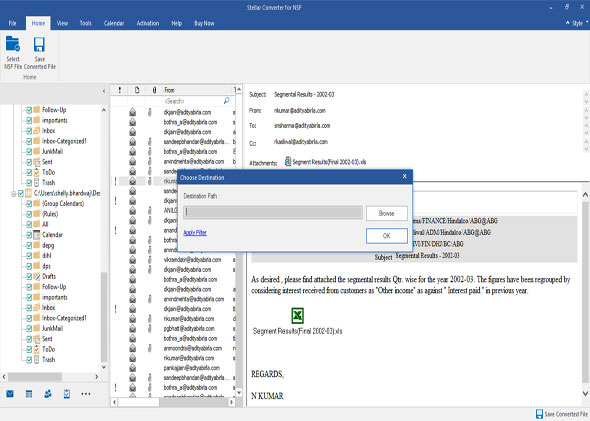
- Select Append data to existing profile if you wish to add data to the existing PST file. Then, select the Destination Location and click on the OK tab.
- Select Create new PST file to save data to a new Outlook PST file.
- Select Save Data to existing PST file to save data in existing PST file.
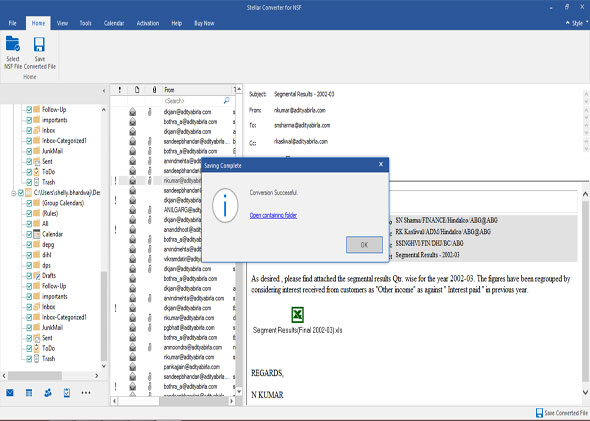
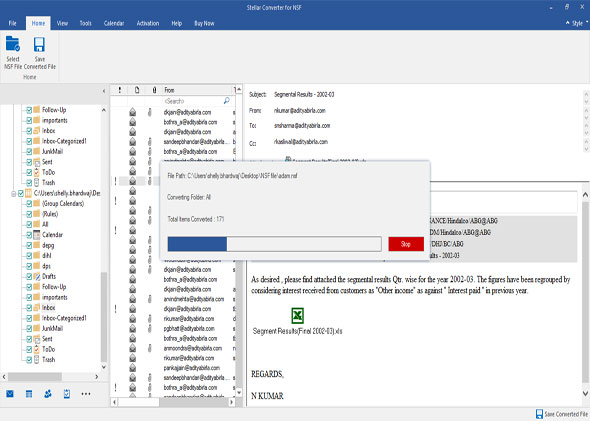
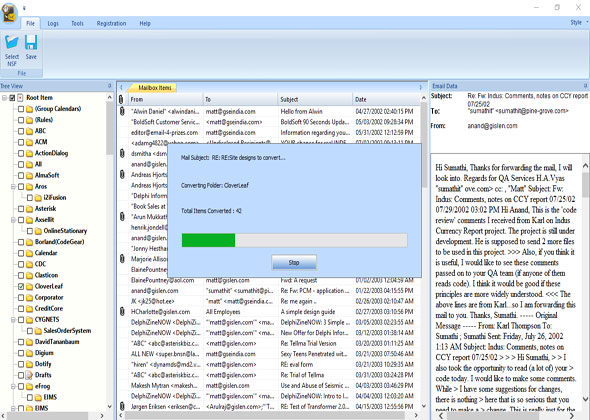
- Next, the progress bar in green color shows the status of saving mailbox items in PST file.
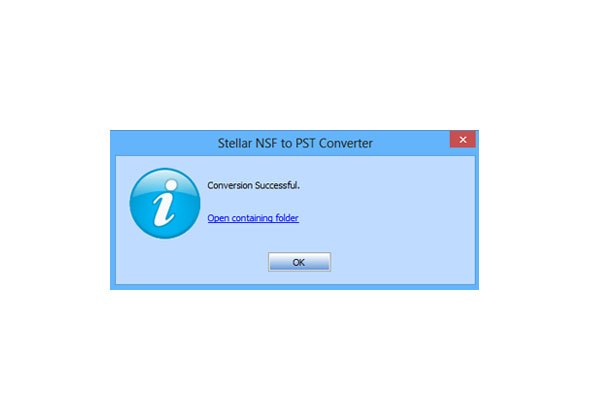
- Finally, all the mail items will be saved at the stated location, and this is confirmed with the ‘Conversion Successful’ message.
You can now access the data of IBM Notes in Windows Outlook with the NSF file converted to the PST format.


