‘Mail’ (known as ‘Apple Mail’) is the inbuilt email client app of Mac OS X that runs on SMTP, POP3, and IMAP Protocols and therefore, it enables you setting up a Gmail, Yahoo, AOL, MobileMe or an Exchange account and access your mailbox right through the desktop. The Mail app features setting up multiple email accounts simultaneously with easy switching between them. Apple Mail stores all email messages in a single file in /Library/Mail folder.
In case you are looking for a way to migrate Apple Mail to Outlook, you can go for it easily and in an efficient manner. Simply Export all email messages in an MBOX file (the default export file), and then convert the MBOX file to its corresponding PST file using MBOX to PST Converter.
Important: For this, copy or move the identity folder in Apple Mail to a Windows based computer, and then proceed to export Apple Mail to Outlook followed by PST conversion process with Stellar Converter for MBOX:
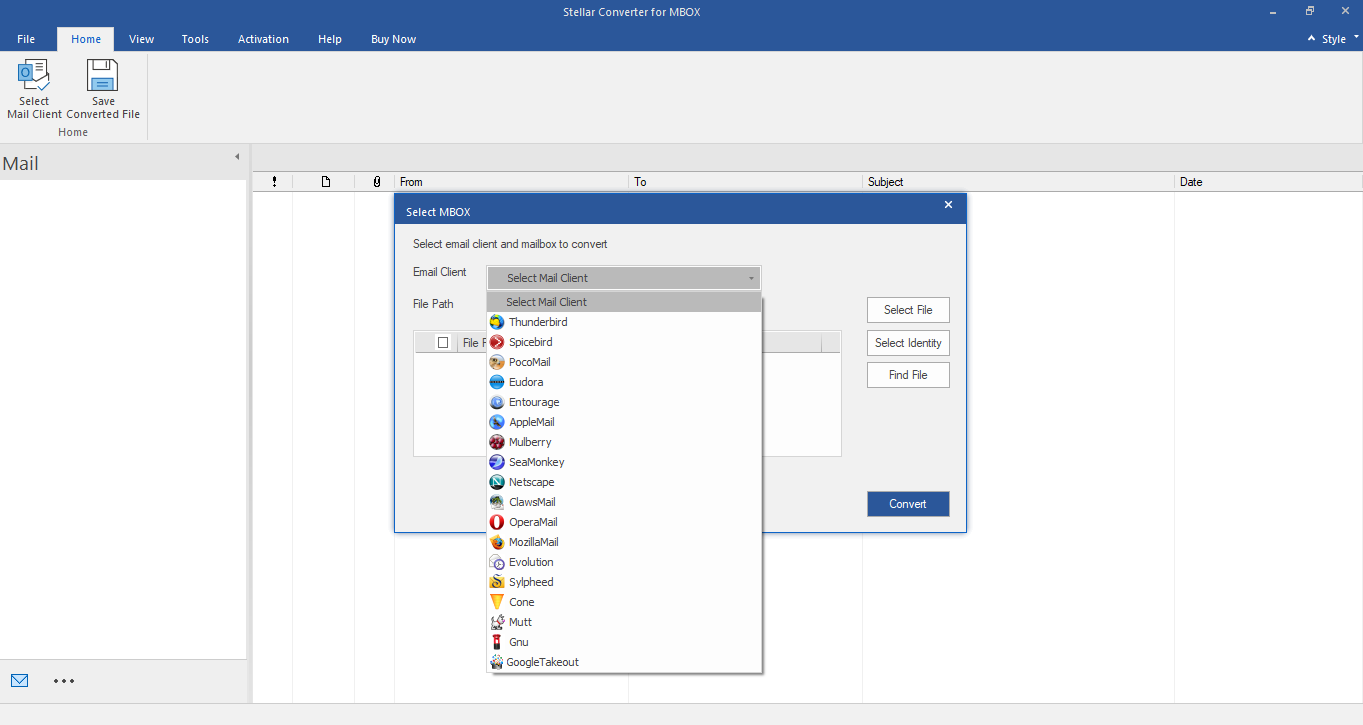
Step1: Launch Stellar Converter for MBOX and choose AppleMail in the ‘Select Mail Client to be converted to Outlook’ window. See the screenshot below:
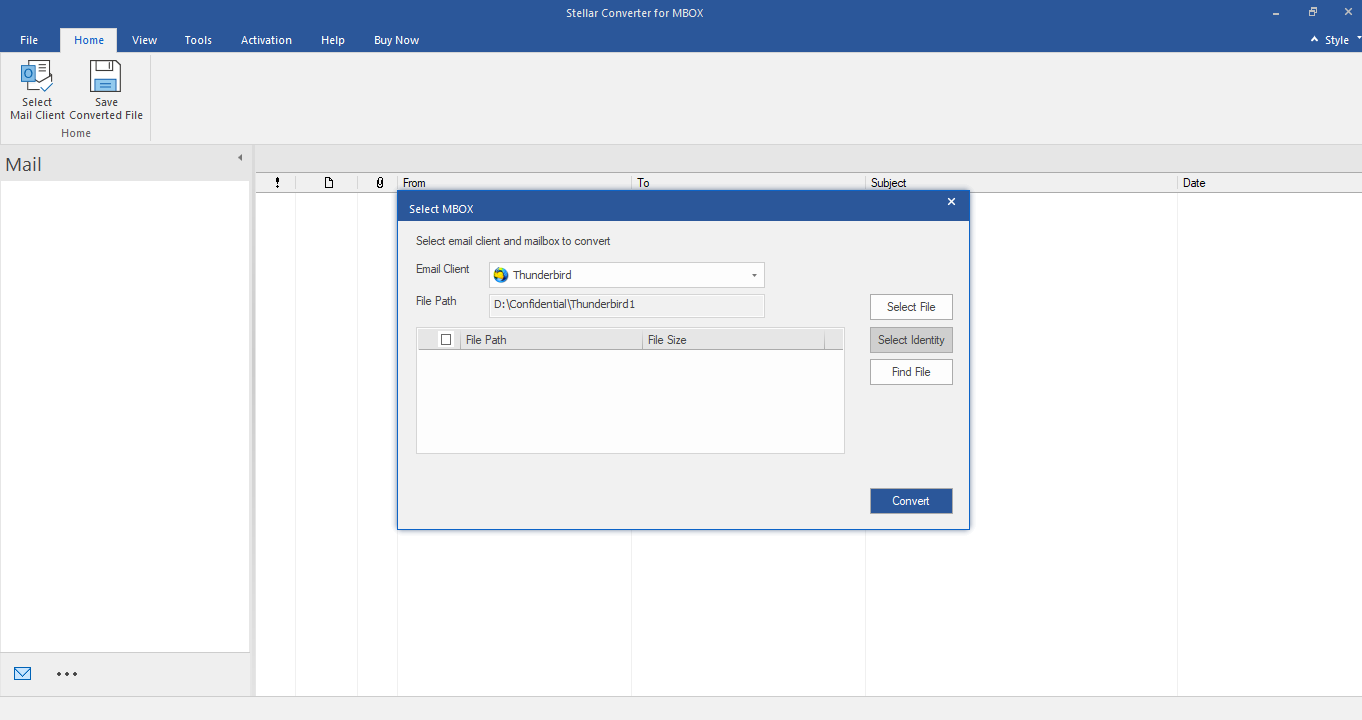
Step 2: Click the ‘Select Identity Folder’ button and locate the same on your computer. Once you select the identity folder (copied/moved from Mac computer), click the ‘Convert’ button and proceed with the PST conversion process. See the screenshot below:
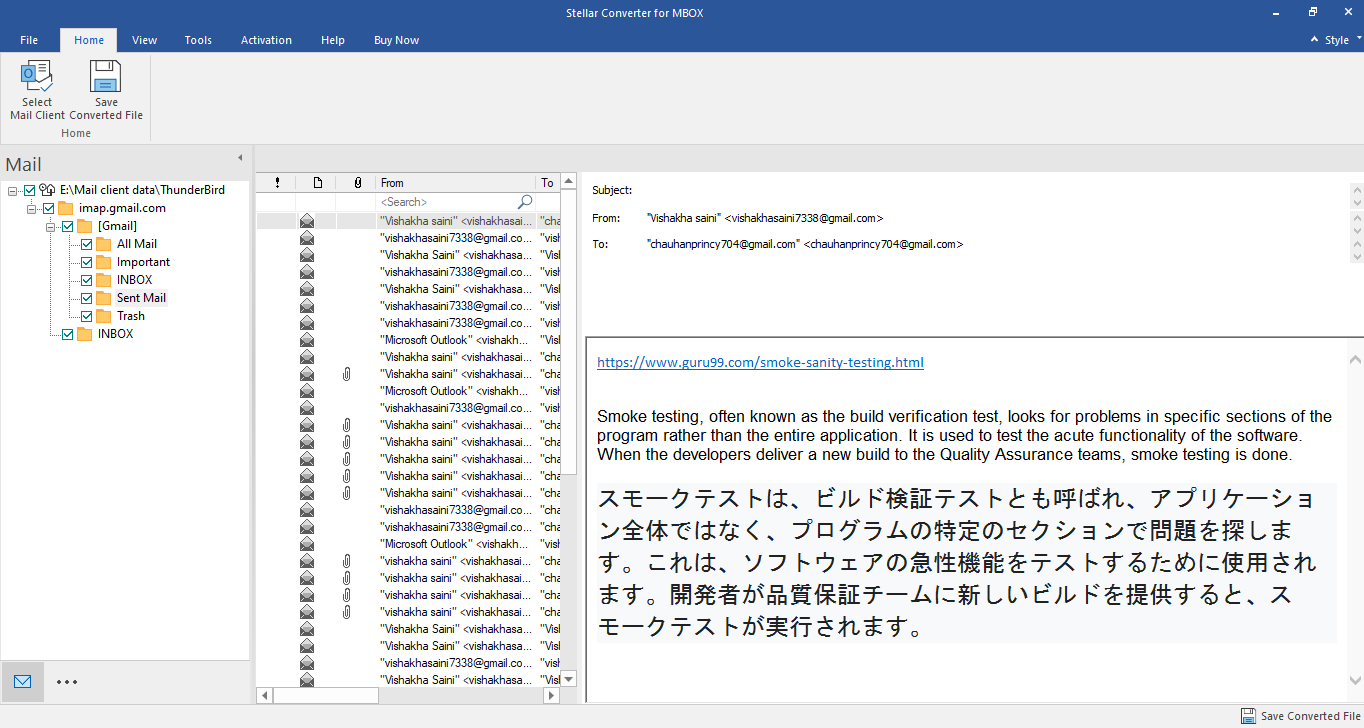
Step 3: The software quickly converts all email messages and takes you to a three-pane window that enables you to preview individual email messages. See the screenshot below.
Click the ‘Save’ button on the toolbar.
Step 4: Stellar Converter for MBOX allows you save converted email message as a Save as PST file. Or else, you can go with the alternative – ‘Export to Existing Outlook Profile’. See the screenshot below:
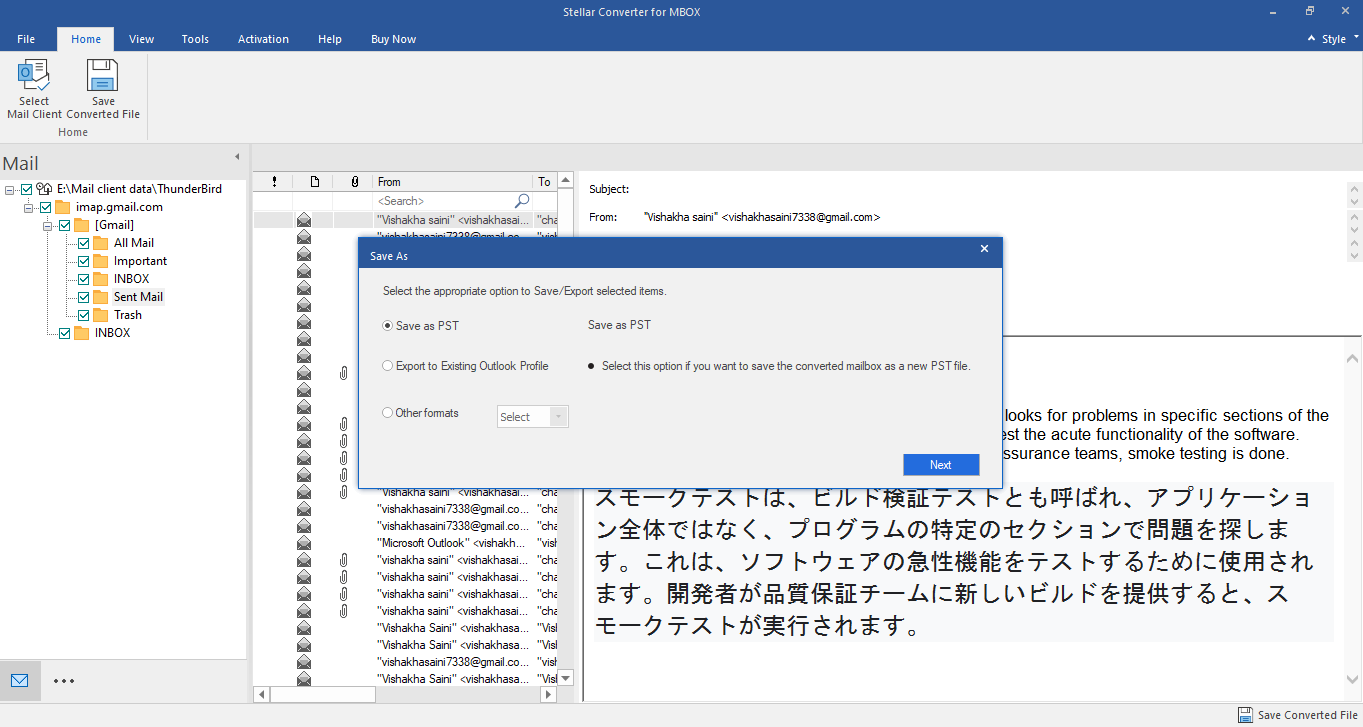
Choose ‘Save as a new Outlook PST File’ and browse a location on your computer to save the PST file. Alternatively, choose ‘Export to Existing Outlook Profile’, and then click the OK button.
Step 5: If you choose ‘Export to Existing Outlook Profile’, then select either an MS Outlook profile or an Outlook PST file to append converted data into it.
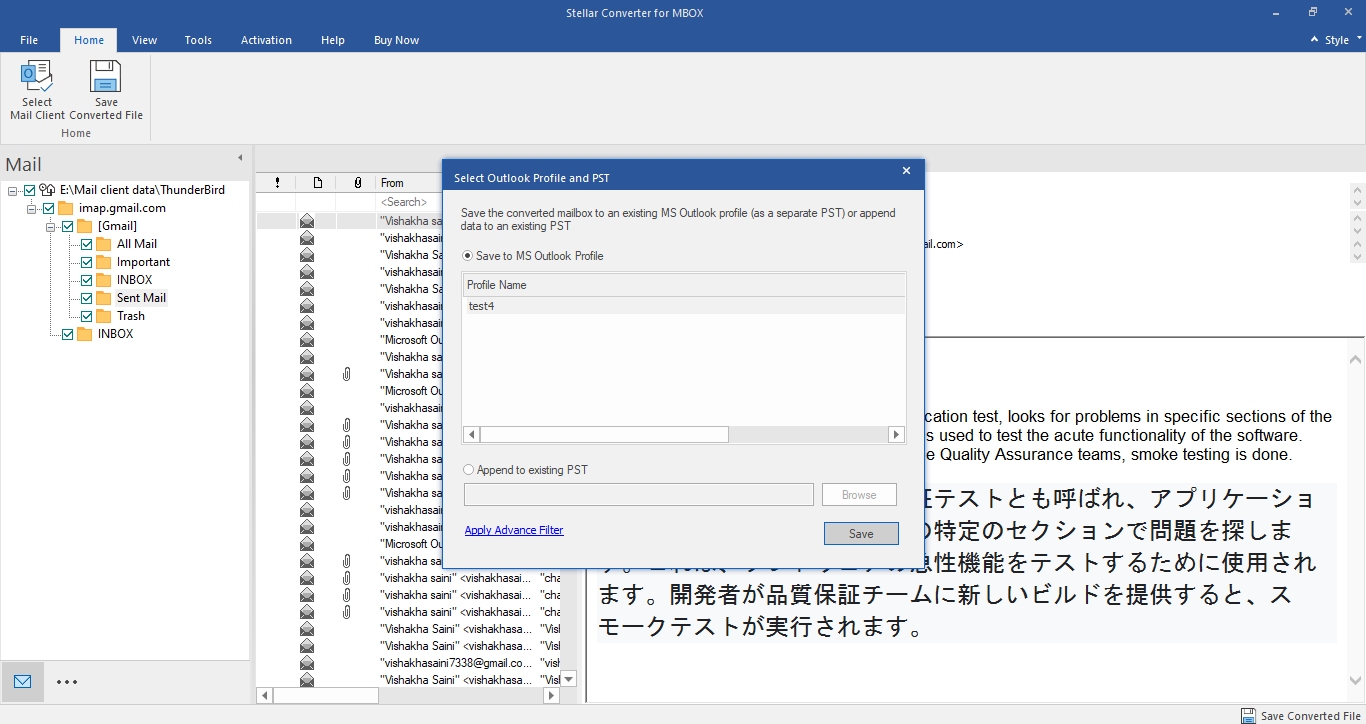
Click OK to proceed with the selected option.
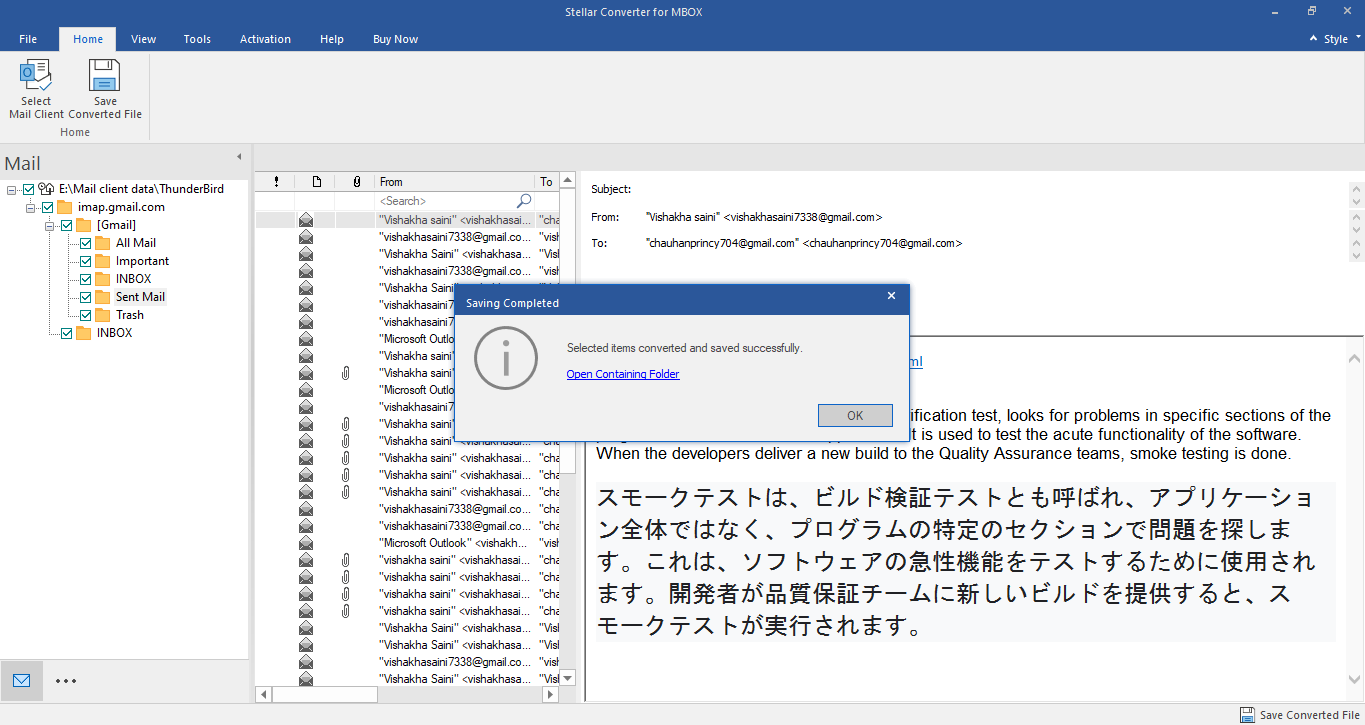
Step 6: Now, the software shows a dialog box with the message "Data Saved successfully"