

Stellar Repair for Exchange provides an option to migrate or export all the recovered mailboxes and mail items from a repaired EDB file directly to Exchange 2013 with 100% integrity and consistency.
Follow the below-mentioned steps to migrate recovered EDB mailboxes to MS Exchange:
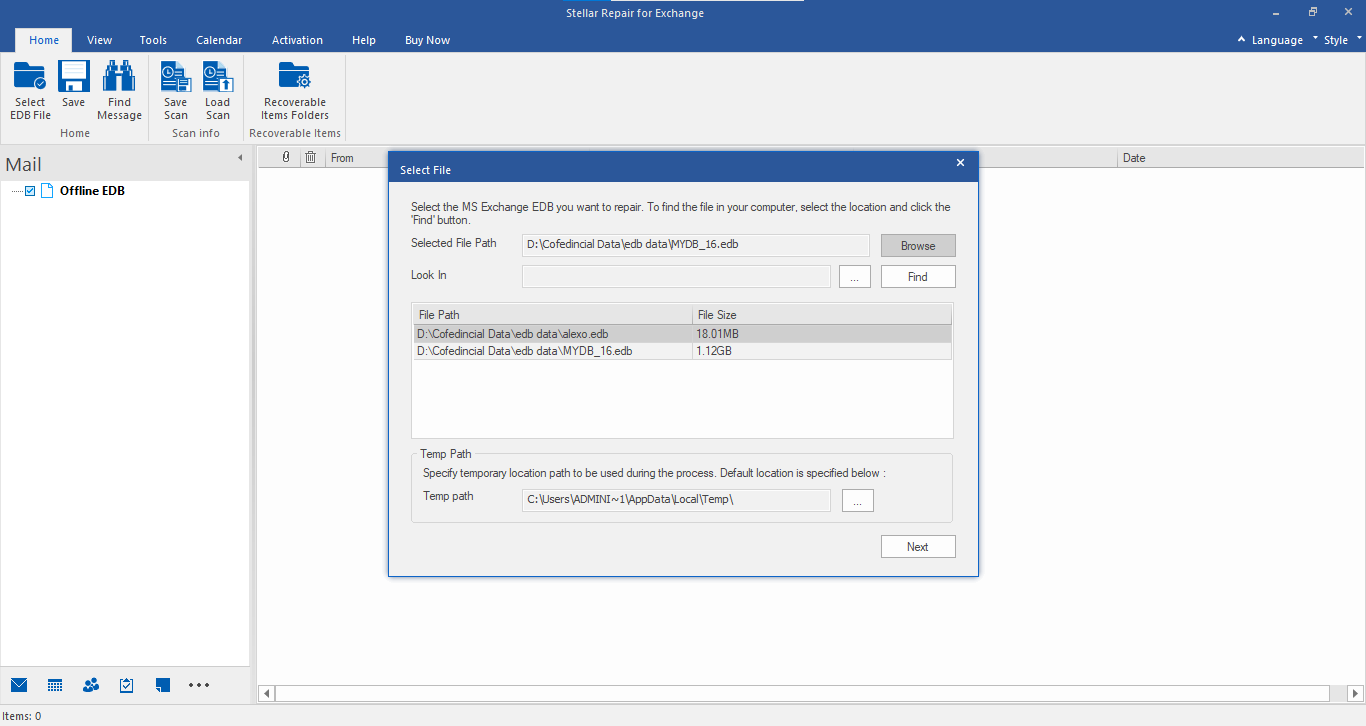
- Launch Stellar Repair for Exchange and click the “Browse” button to select the EDB file or use the “Find” button to search the EDB file on the available drives.
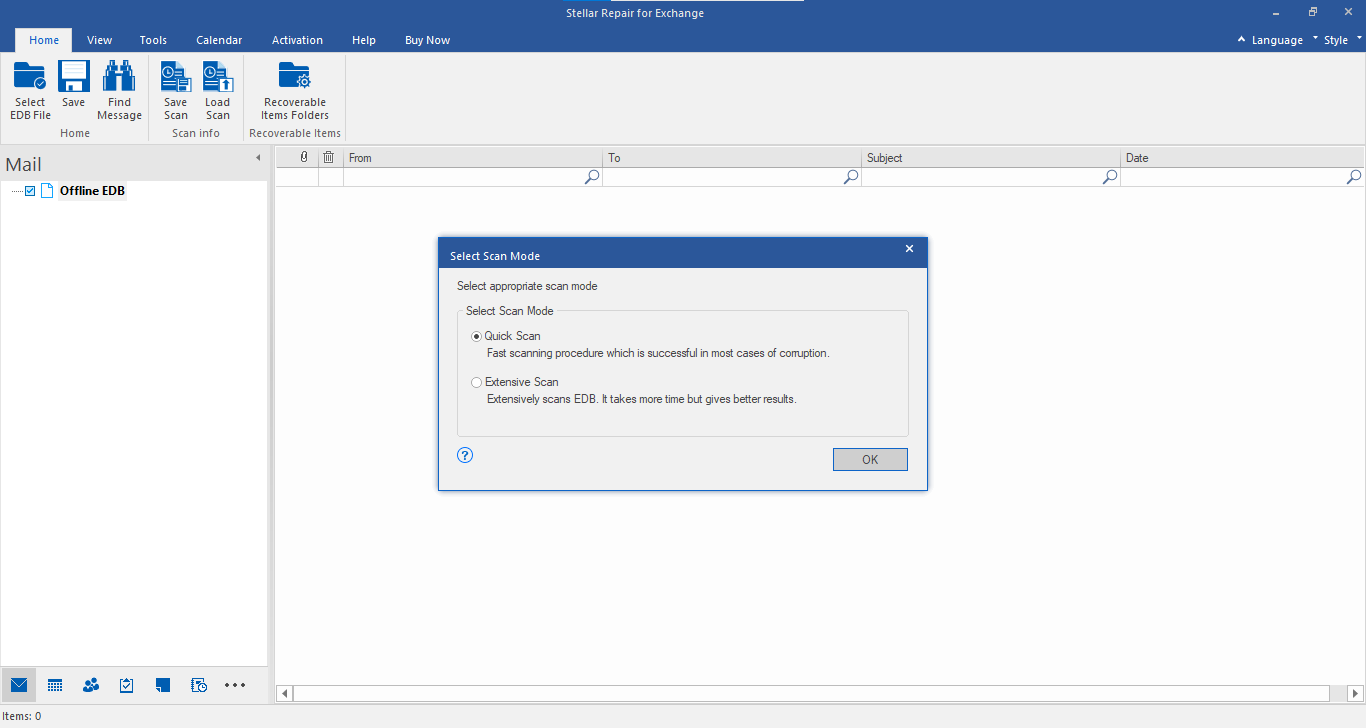
- Click “Next” and then choose Quick or Extensive scan. Select the “Quick Scan” option for quick results and “Extensive Scan” for better results.
- After scanning, the software will display a preview of all the mailboxes, available in the selected EDB file.
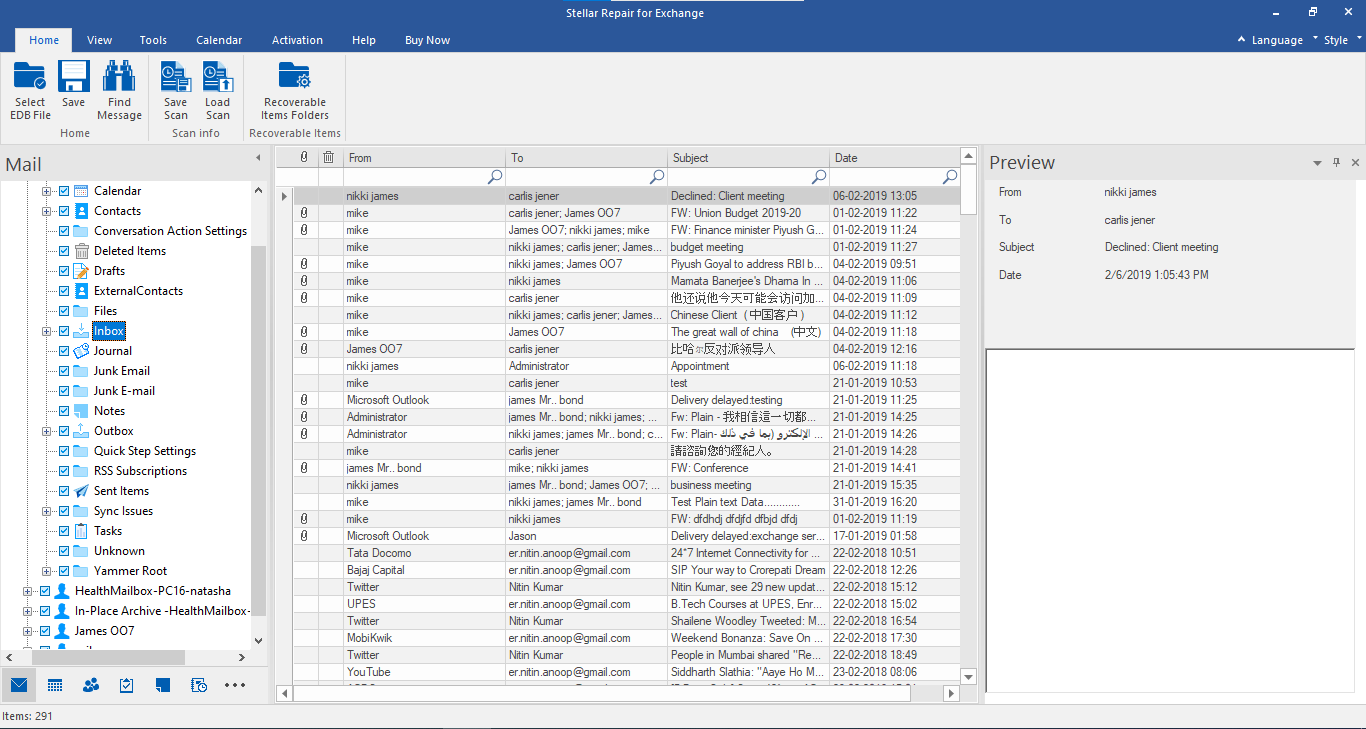
You can preview and select the mailboxes and mail items that you want to migrate to a “Live Exchange” server. Now, follow the given two methods to migrate the selected mailboxes:
Method 1: Export Multiple Mailboxes
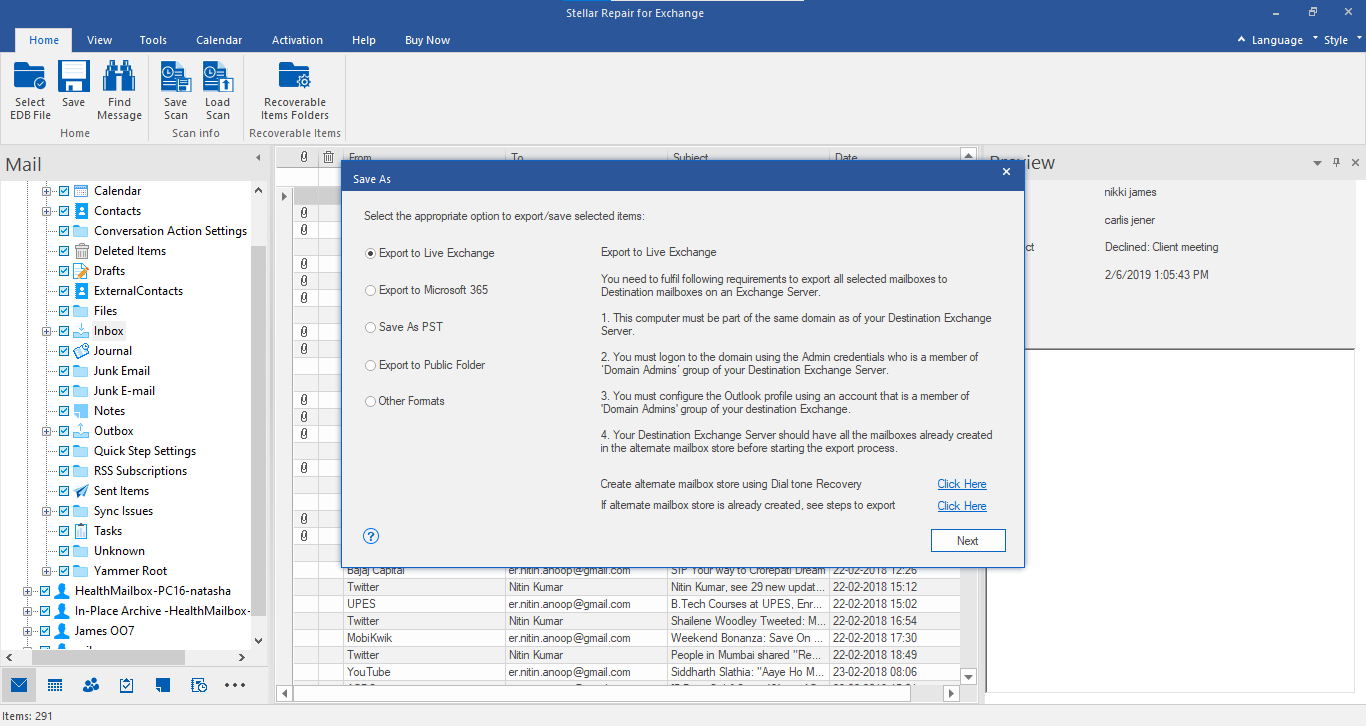
- From the main menu, click Save. A Save As dialog box appears.
- Select Export to Live Exchange and then click Next.
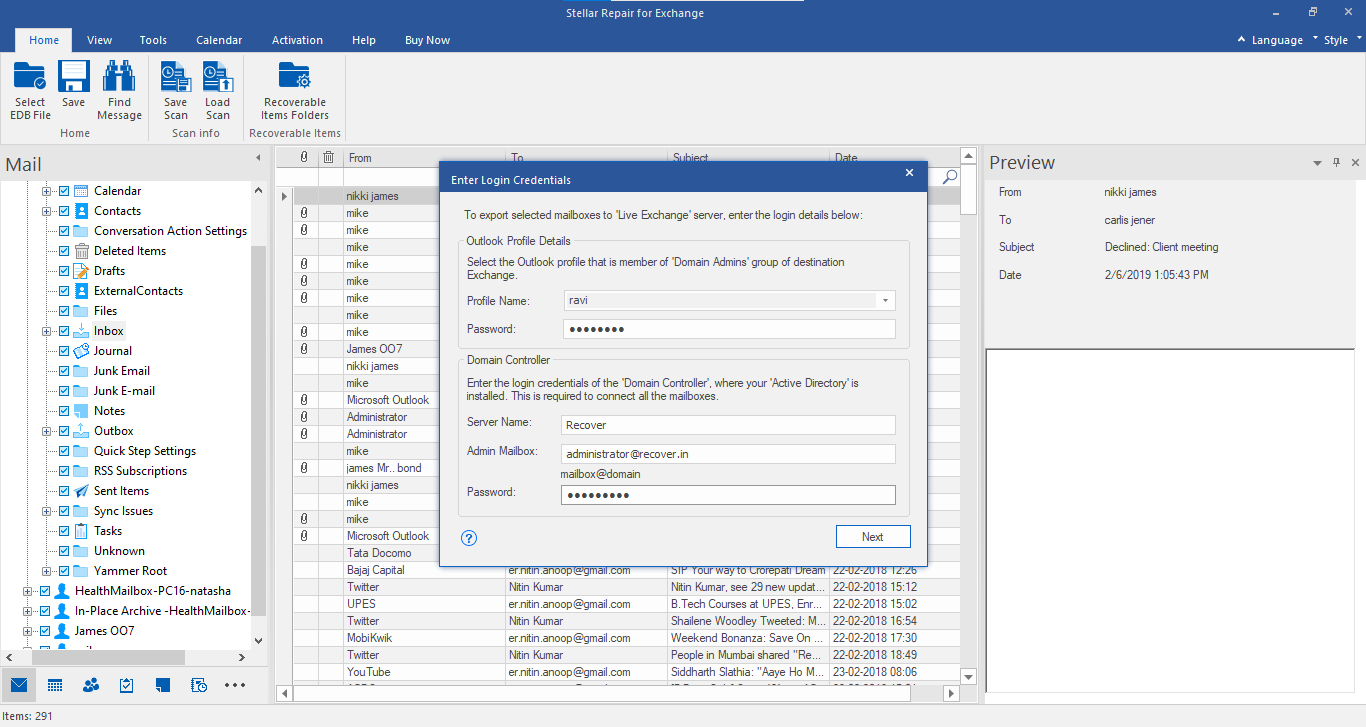
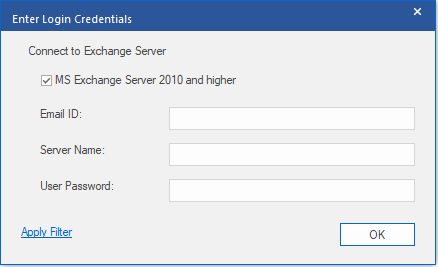
- In “Enter Login Credentials,” select the configured Outlook profile with Admin Access and enter the profile password and other required credentials.
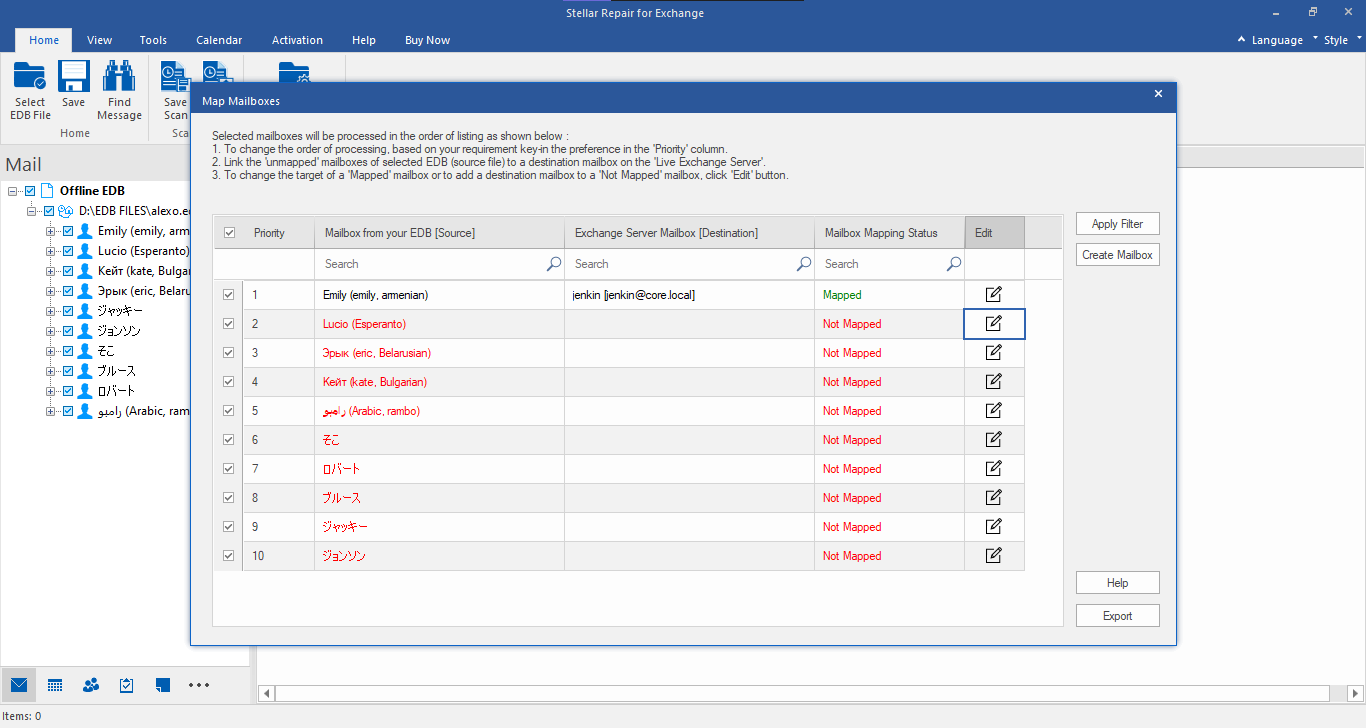
- In the Map Mailboxes window, the software auto maps the recovered mailboxes to the destination user. It also provides an option to manually map/remap the mailboxes or create a new mailbox, if required. Further, you can change the mailbox recovery priority by changing the Priority column value. After mapping mailboxes and setting priority, click ‘Export.’
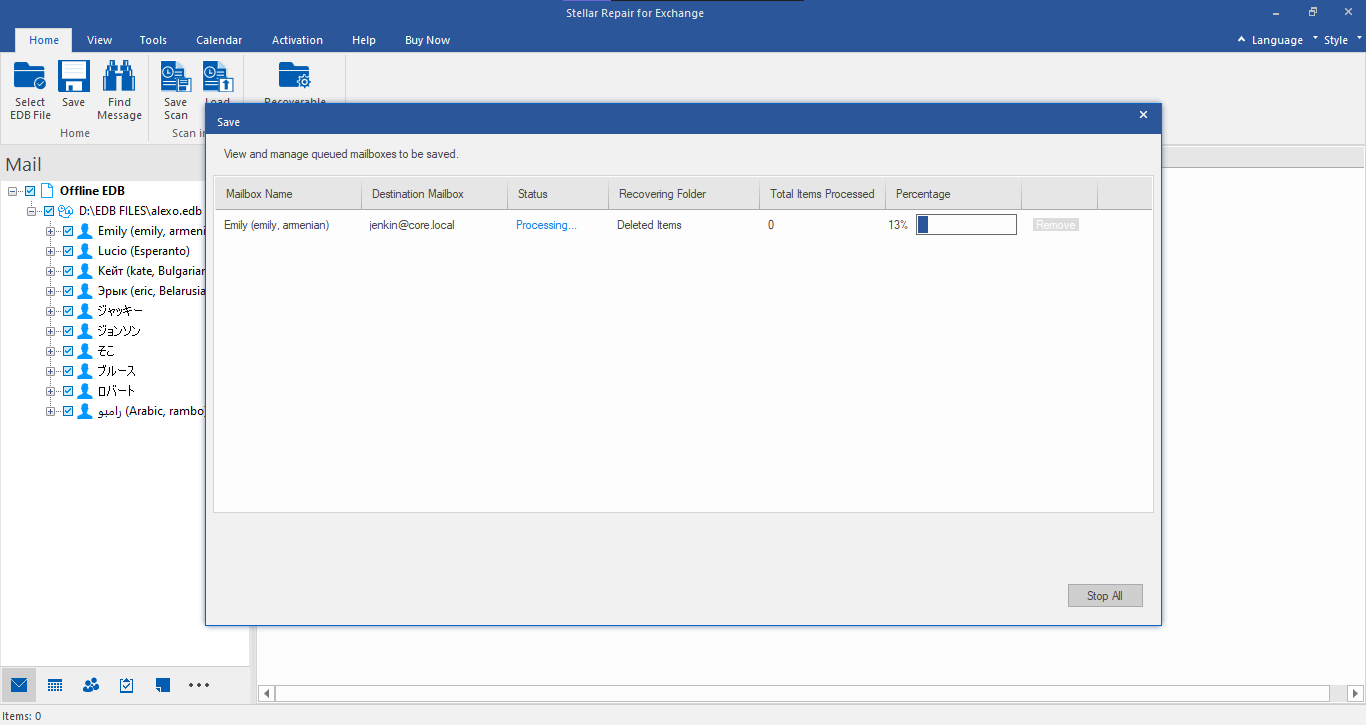
- The software starts processing and saving the mailboxes to Live Exchange. You can still remove pending mailboxes or stop the process by clicking on Stop All button.
Method 2: Export Single Mailbox
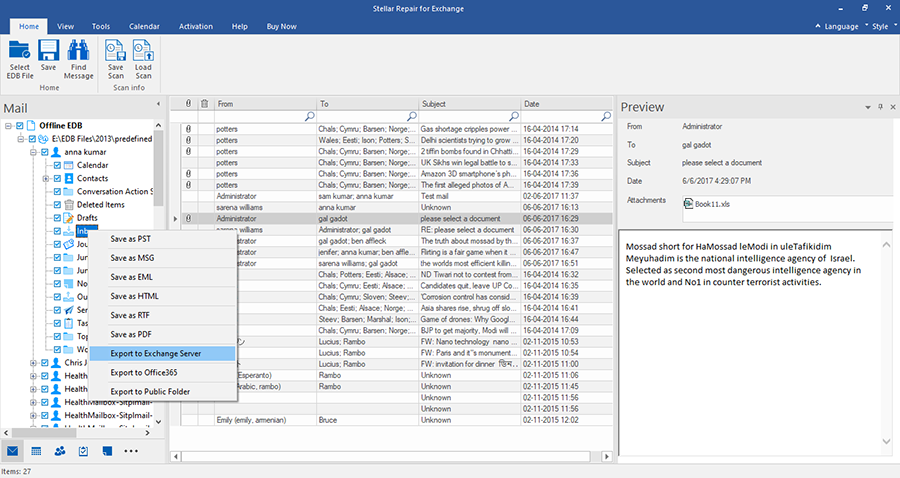
- In the preview window, verify EDB file data.
- Right-click on a mailbox and choose “Export to Exchange Server.”
- An “Enter Login Credentials” window appears. Click “MS Exchange Server 2010 and higher and then enter email ID, server name, and password. Then click OK.
- Once the migration is complete, the software displays a message “Data Exported successfully.”
Note: You can also verify the mailbox availability of exported mailbox on the destination server.


