Stellar Data Recovery Professional for Mac facilitates the feature of saving the scanning result of the recovery process. Using the saved files users can resume the recovery process at a later stage.
Here’s how to leverage the feature of Save Scan and Load Scan. Follow these steps:
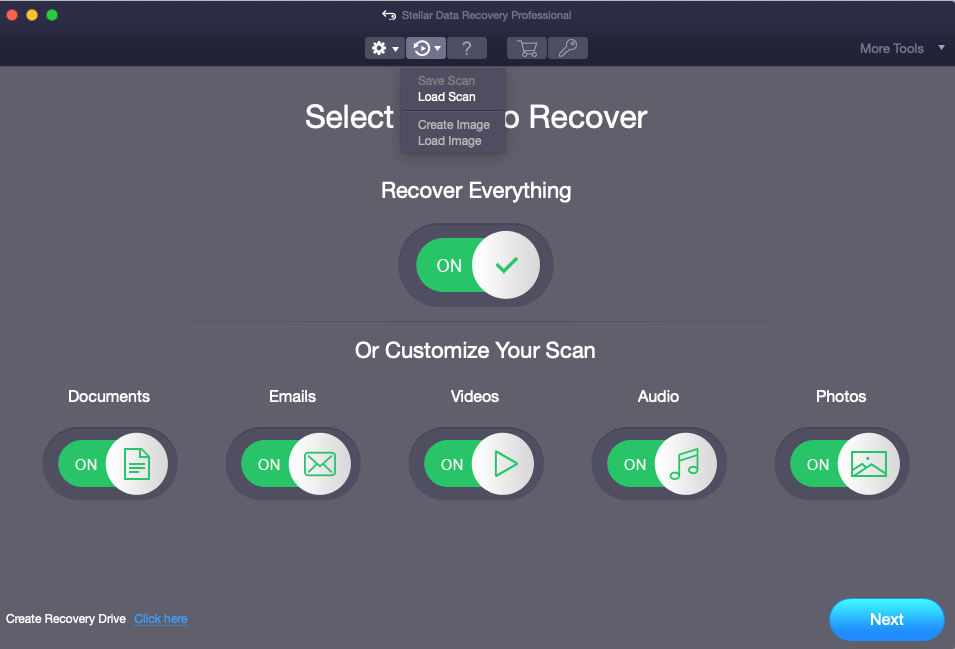
Step 1) Run >Data Recovery Mac software and select the data type and click Next

Step 2) Under Recover From, select the hard drive from where data needs to be recovered and click Scan.

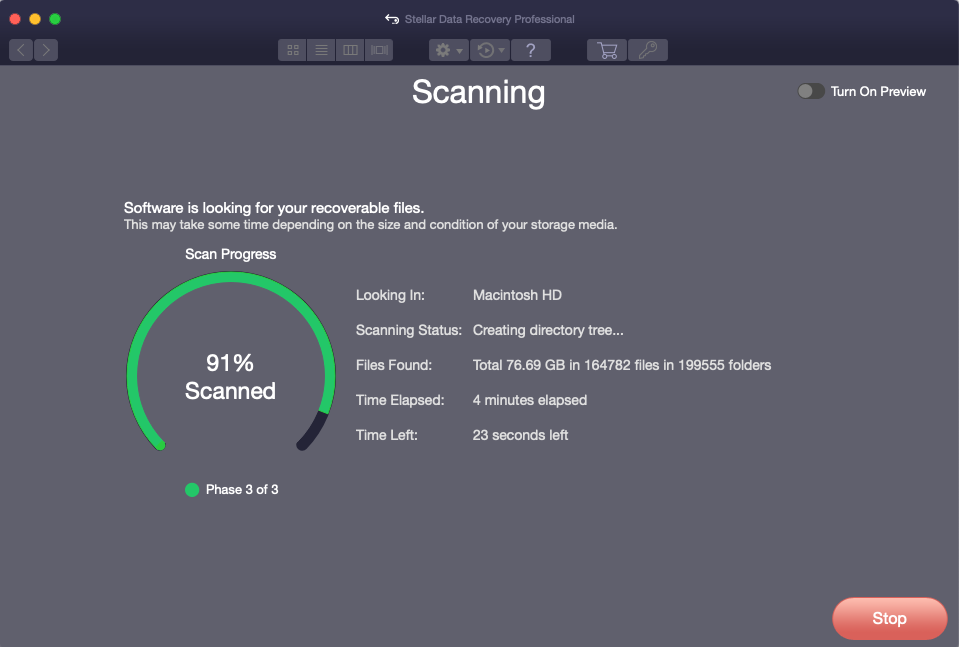
Step 3) The software starts scanning the selected hard drive. Wait until the scan completes.
Here, you can save the scan process on two occasions:
(i) Once the scan is completed, go to the top menu and click the second actionable button. It will give you the option to Save Scan. Provide the destination and save your scan accordingly.
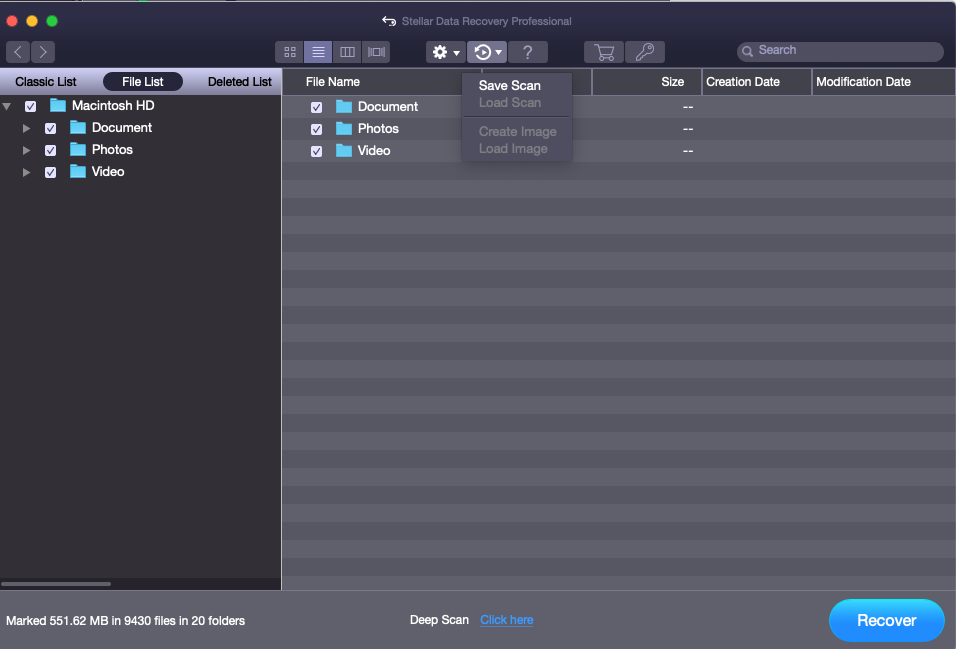
(ii) You can stop an ongoing scan process and the software will ask you to save the scan information at your desired location.
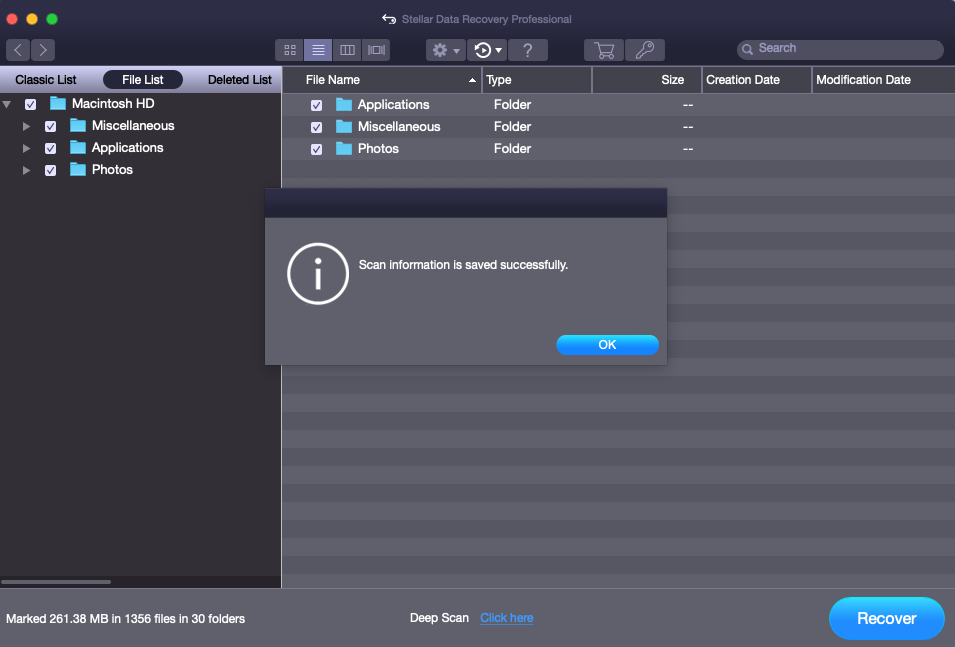
Step 4) The software saves the scan information at your provided location

Step 5) Scan information saved successfully
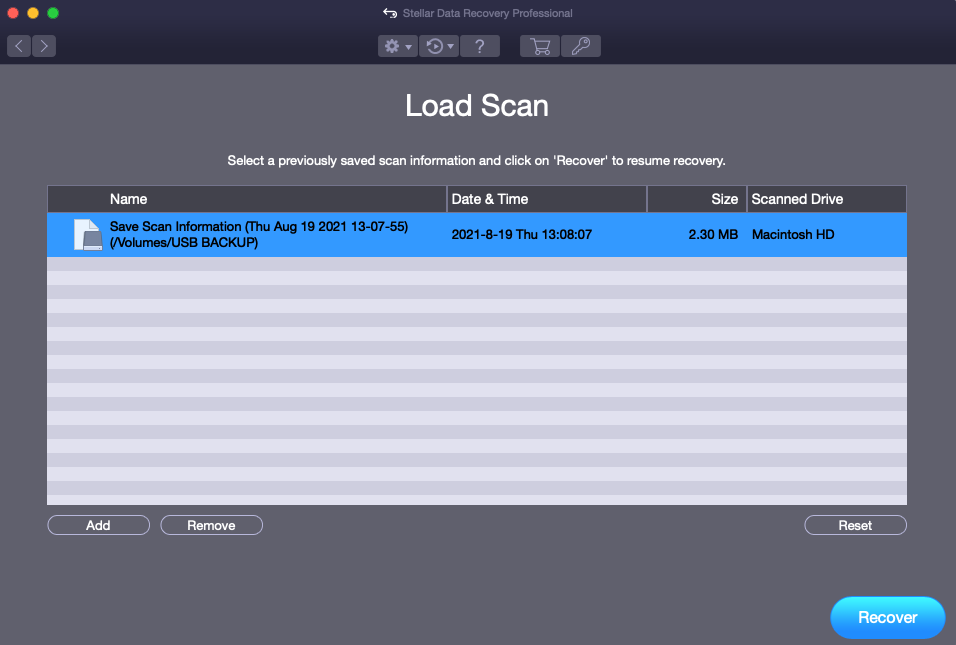
Resuming Saved Scan Later!
Step 1) To resume recovery from the saved scan information, run the software, hover your mouse to the options located at the top, select the second icon, and choose Load Scan.
Step 2) From the given options, select the previously saved scan information and click Recover