

Stellar Repair for Outlook enables users to save scanned information in files using “Save Scan Info” option and load this scan as available in DAT file format with “Load Scan Info” option. Option to Save and load Scan saves time for users as you do not have to scan the corrupt PST file for the second time.
Save Scan Info: Save Scan Info enables users to save repaired after the corrupt file is completely scanned.
Load Scan Info: Load Scan Info function enables a user to load DAT file and save the repaired PST file at preferred location.
Follow below-listed steps to Save Scan Info:
1. Click on Save Scan as available in Home menu to save the Scanned PST
2. Click on Browse button to search for a suitable location where you want to save the scan information and Click on OK. This information is saved in DAT file format 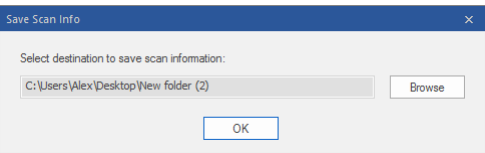
3. A message box appears with “Scanned Information Saved successfully”. Click on Ok button. 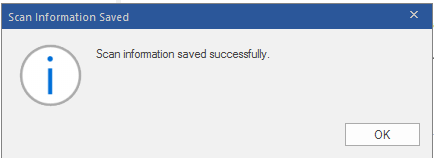
Follow below-listed steps to Load Scan Info
To load scan information of scanned PST file, follow the below-mentioned step:
- Click on Load Scan option from the Home menu.
- Load Scan dialog box will appear. It will display all the Scanned PST you have saved using Save Scan option.
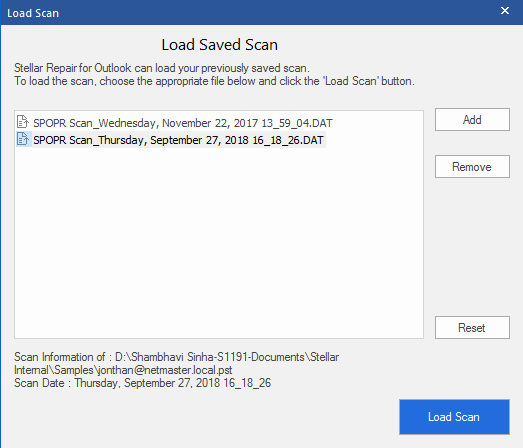
- Select the right DAT file which needs to be loaded.
- Alternately, Add the DAT-file, in case it is not available in the list by clicking on Add button.
- Click Open and file to be added in Load Scan Info is displayed.
- Click on Remove button in case you have to remove save scan (DAT file).
- Click Reset button to reset the load scan list.
- Click on Load Scan button and a confirmation message box appears. Click OK.


