Summary: Have you accidentally deleted important files from OS X El Capitan 10.11? Perhaps, the USB drive that you trusted got erased accidentally while using Disk Utility?
Data loss on OS X El Capitan can occur in several ways. Don’t fret, as this blog helps you do data recovery on El Capitan with the help of Stellar Data Recovery Professional tool. Download it for free.


The 12th major OS X release from Apple, OS X El Capitan hit the markets on September 30th, 2015. In addition to the usual excitement that comes with an OS X launch, El Capitan has managed to grab quite a few eyeballs and create a nice buzz owing to under-the-hood performance improvements, updated apps, improved search, and more. While most Macs that can run OS X Mavericks or Yosemite can run El Capitan, some of its features won?t work on old machines.
But if you need that information, well, you should look elsewhere because this article is not focused on that. What we?re about to discuss here is a much more serious topic ? how to recover data from Mac hard drive running El Capitan.

Data loss on Mac OS X El Capitan!
Data loss on the latest OS X version that?s equipped with state-of-the-art technology! Really? Well, sadly, yes! That?s because no matter how powerful the built-in security measures of a new OS are, data threats seem to find novel ways to hit you in the face when you least expect them too. So knowing how to retrieve data is vital.
But first, brief know-how of the scenarios wherein you could end up with data loss:
Scenario 1: While upgrading to OS X El Capitan, make sure you first backup your Mac. In the excitement of the new OS, if you skip the backup, you could trip head-on into a situation where you cannot see your files anymore. This happens with software upgrades many times due to inconsistencies or bugs that are still being investigated. So be absolutely sure to back up!
Scenario 2: Did you know you could unintentionally erase your entire hard drive? Yes, you can. Accidental deletion and hard drive formatting really happen. So each time you?re about to empty the trash or format a volume, triple-check what you?re really doing.
Scenario 3: Consider the power and data transfer interruptions deeply. If you don?t have a UPS to protect your Mac from an unexpected power surge, this is time to buy one! Sudden power surges and unexpected system terminations could cause some parts of the hard drive to damage permanently leading to data inaccessibility. Also, avoid any intervention when a read/write operation is underway on the Mac as it could cause data corruption.
Scenario 4: Unintentional downloading of suspicious applications is something that a Mac protects you from. However, some malware/viruses are specifically targeted for Macs so if your Mac says something is dangerous, listen to it!
Recovering data from Mac OS X El Capitan
If you do find yourself on the wrong side of data loss, take assurance in the fact that you?re not defeated just yet. Best Mac data recovery software like Stellar Data Recovery Professional can battle any level of data damage, corruption or loss to reclaim your precious files in almost no time. Be it documents, photos, music or videos, this software makes use of advanced techniques to scan your entire hard drive for recoverable files and lets you recover them with ease. It can work equally well on various OS X devices such as iMac, MacBook Pro, Air, Mac Mini, Mac Pro and can recover data lost from any APFS, HFS, HFS+, FAT, ExFAT and NTFS format based system. With advanced features like RAW recovery, Time Machine Backup drive recovery, Encrypted drive recovery and more, this software certainly is your best savior against data loss.
Here?s how you can use Mac Data Recovery program to recover data from OS X El Capitan:
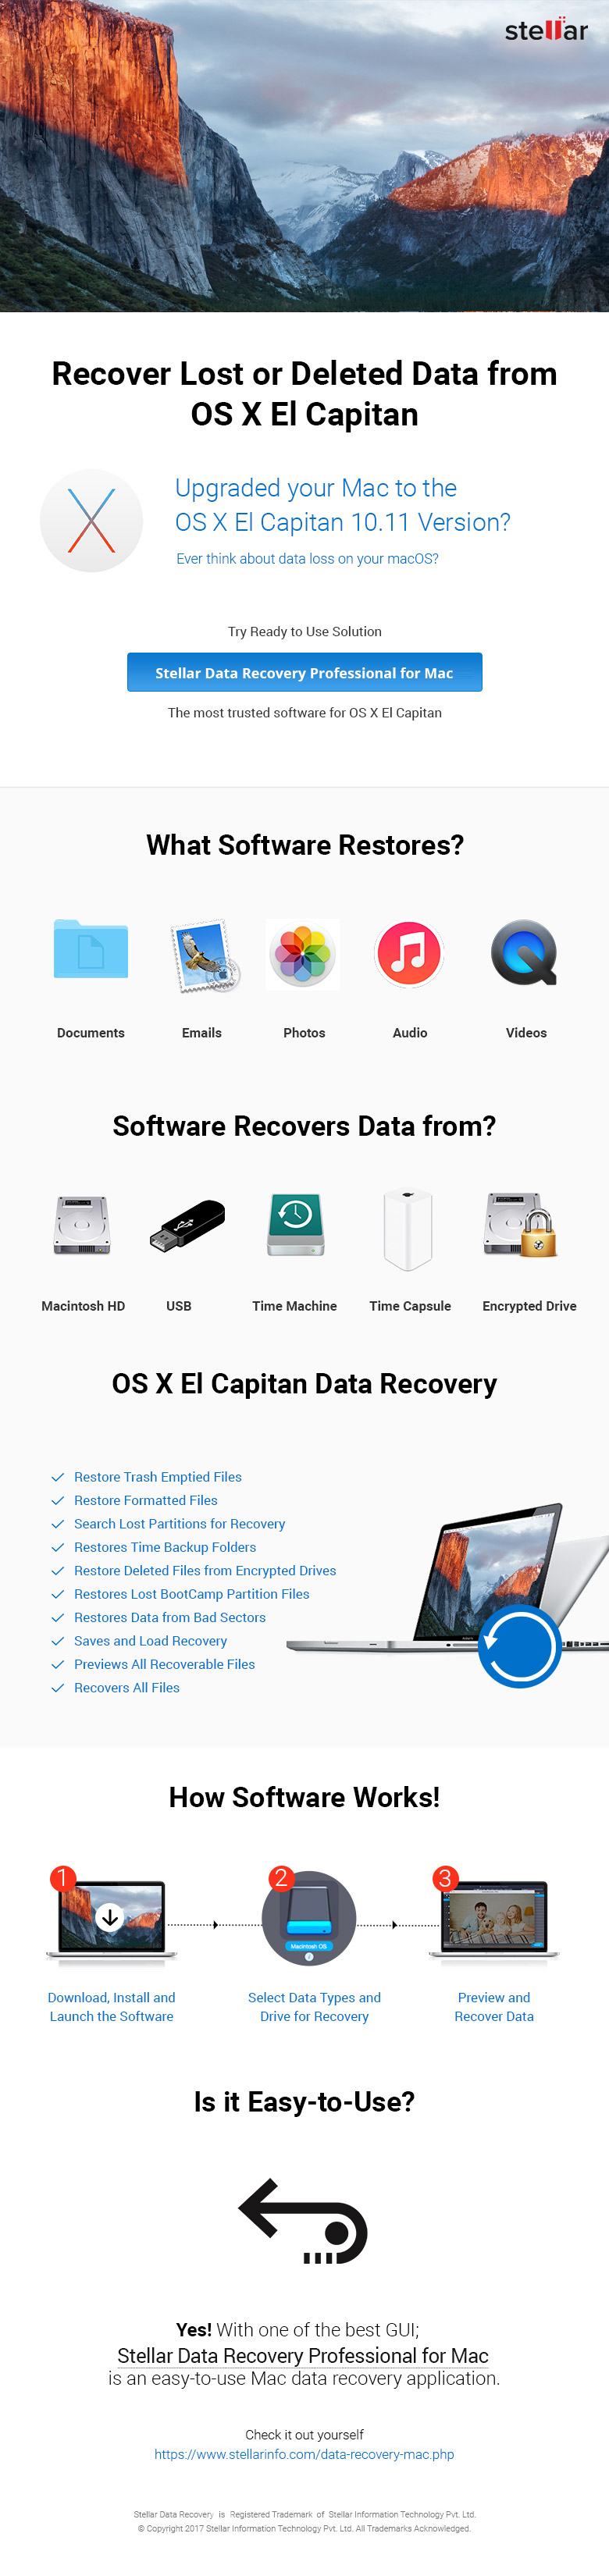
Step 1: Download, install and launch the software.


Select the What Files you Want to Recover from the main interface and proceed further.


Step 2: Select the OS X El Capitan start-up drive to perform data recovery. Here, you have the option to switch to Deep Scan.


Scanning of the OS X El Capitan storage media begins…
Step 3: After scanning completes, all recoverable data is listed in the left-hand panel of the software window. You may preview individual items from this list.
Step 4: Register the Mac data recovery software. Then, select files to be recovered and click on ?Recover? button to save the files at the desired location.
Conclusion
That?s it; see how simple recovering data from El Capitan is? So upgrade without fear. But make sure you backup before you do so. After all, precaution is better than cure!
Related Blogs


