Summary: This post answers whether editing JPEG images in Lightroom reduces image quality or not. It shares the editing technique used by Lightroom and the correct way to export photos from Lightroom without losing quality.
Contents
Any kind of processing on the JPG image file affects its quality. The compressed image format loses some quality, when you open and resave it in an image editor. This is irrespective of the fact whether you edit the JPEG/ JPG file or not.
So does this mean editing JPGs in Lightroom editor reduces image quality?
The answer is ‘No’.
Unlike traditional image editing tools like Paint, Photoshop, and Gimp, Adobe’s Lightroom uses an entirely different approach for editing and exporting JPG files.
Read on further to understand how Lightroom works to protect your JPEG image quality during editing.
How Lightroom edits JPEG without degrading image quality?
Lightroom doesn?t work on the original JPEG file. But saves all the editing and applies them at the time of final display and export of the image.
This way, the editor doesn?t save your file multiple times, which could have degraded the JPEG image quality. Instead, it creates new files with the changes in the ?Develop? module. At the time of export, you can pick the final JPEG file and save it.
With this approach, Lightroom smartly protects JPG file from quality loss. The editor uses the same technique in editing any image format, including RAW or TIFF. So if you?re using Lightroom, there?s no need to worry about loss in quality after editing.
How Lightroom ?exports? JPEG photos without losing quality
Next, after the editing process finishes, at the time of export too, Lightroom allows you to save JPEG in the highest quality as per the usage.
The editor has defined presets to export JPEGs for sharing on social media, printing, saving on a drive, or burning JPEG to a CD/ DVD. You may also custom export your JPEG files and maintain file settings, resolution, pixel dimensions, image size, etc., as desired.
During the complete JPEG editing process, the editor does not touch your original photo except at the time of exporting the JPEG file.
Thus you can expect a visible minimal compression that occurs at the last step of save and export.
Typical steps to JPEG editing and export in Lightroom:
Step 1: Import JPEG/ JPG image files into Lightroom.
Step 2: Select a file in the Library module.
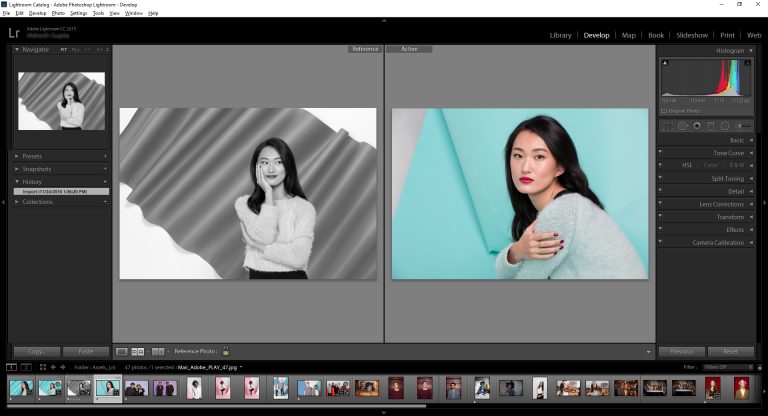
Step 3: Select Develop module to edit JPG photo. You can adjust brightness, exposure, shadows etc., to enhance your photo. As you make changes, a new file is created and appears at the bottom of the screen.

Step 4: Select your photo from the Grid. From the top menu bar, select File > Export, or click Export in the Library module.
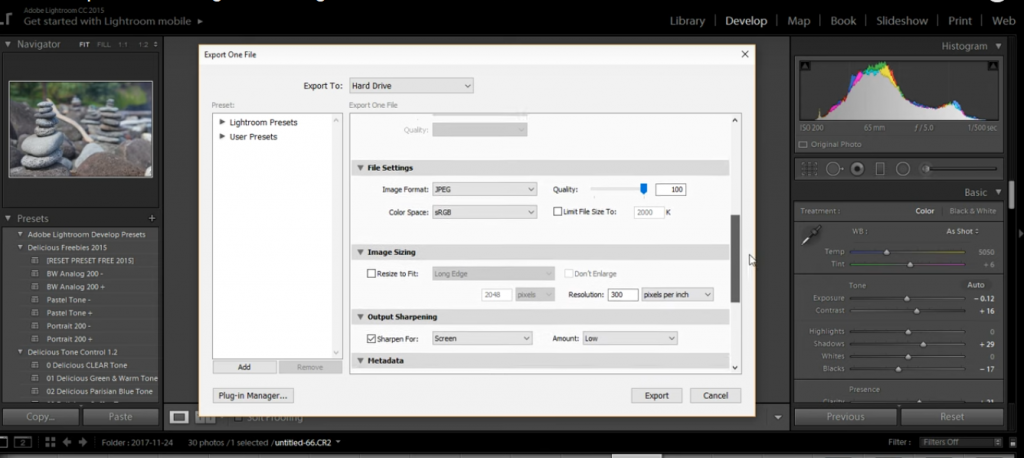
Step 5: In the Export window, choose Export To > Hard Drive at the top
Step 6: Select Export Location and file name. You can either custom select quality settings off your JPEG by choosing file settings, quality, resolution, image size, etc., or choose an export preset based on usage such as to email, burn CD, print, or share on social media.

What are the correct settings for exporting photos without losing quality in Lightroom?
At the time of exporting JPEG, you can set quality settings. Use correct Lightroom export settings and compress JPEG without losing quality.
Like other photo editors, Adobe Lightroom uses a 0-100 scale for image quality settings. Setting at 0 means lower quality while as you move the scale up to 100, the quality gets increased.
For those of you who complain Lightroom exports bad quality, it?s essential to set the correct quality settings to obtain the best results in the output JPEG file.
It?s worthy to note, that a quality setting, for instance at 70 in Lightroom will display superior JPEG quality compared to the same setting in another image editor.
Note: Lowering the quality slider will also reduce the JPEG file size. So you can save storage space if required. For example, when you want to share JPEG on the web, a lower size without compromising quality level, about 65-75, is recommended.

The right JPEG export quality settings in Lightroom depends on how you are going to use the file ? for web, print, email, etc.
Lightroom export quality to save in drive or media
Maintaining the slider at 100 is not always the ideal way to get the highest quality in Lightroom. This can also sometimes increase the file size to more than required. Better set the slider to 80 to reduce JPEG size without losing quality. The editor lets you save storage space by reducing the file size by almost 40%.
Lightroom export quality for printing
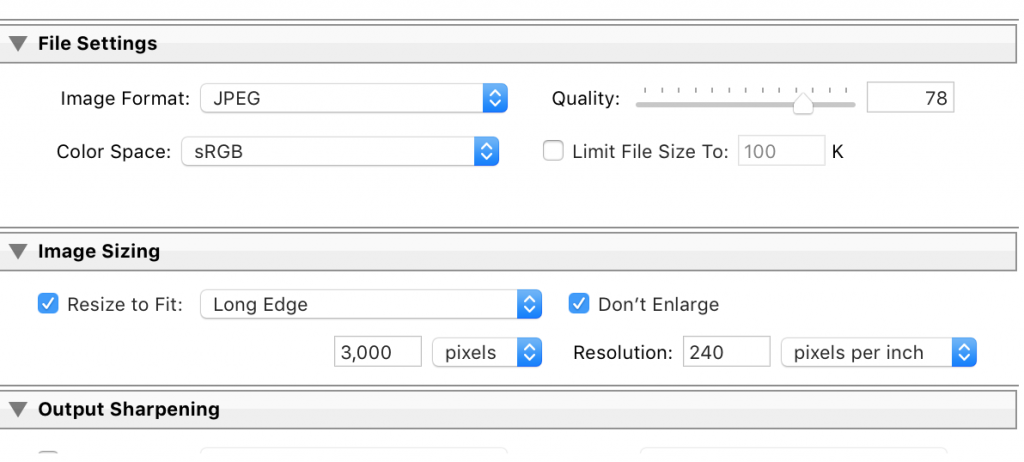
For printing JPEG images, prefer to export high-resolution images in Lightroom. The best settings to print wedding photos or posters etc. is quality 100. Plus, look at the number of pixels in the output photo to get a decent print. Usually, 300 pixels per inch is the standard followed for printing images. The Color Space should be sRGB and don?t limit the file size. Leave the ?Limit File Size box unchecked.
Lightroom export quality for web
To upload your JPEGs to the website, set quality at 65 to 70. For using the JPEG for graphics, quality up to 70 is fine. This setting helps in quicker upload, download, or transfer of JPEG pictures. The quality 0 in Lightroom is fine when you want to use JPEG as a web thumbnail.
So you can also reduce JPEG size without losing quality, required for the platform where you want to use the image.
TIP: Sometimes, your photo may not open in Lightroom or another image editor properly. You may see grey-bands, damaged photos, or error. This could be due to file corruption while copying or transferring of JPEGs. Get Stellar Repair for Photo, the advanced software that fixes file corruption issues, which lead to broken, grainy, pixelated, or greyed-out photos.
|


Wrapping Up
Yes, it?s true that editing compresses JPEG and reduces image quality. But Lightroom is an exception.
The non-degrading approach to photo editing makes Lightroom a popular image editor. The editor keeps the original JPEG file intact. Instead, the changes made by you are stored in different files. It is also convenient, as you can save various versions of your JPEG created during editing if required. Further, it’s better to customize JPEG export settings in Lightroom than use its presets to get the best quality result. Keep the settings based on how you want to use your exported JPEG file.

