Summary: In this blog post, we will share guidance on using the various macOS default techniques to fix a frequently crashing Mac.
We will also help you recover the data from a crashing Mac’s drive by using Stellar Data Recovery Professional software for Mac in 3 simple steps. Download a free trial of the software now to recover data from crashed Mac.


Contents
Mac is a robust system, however, due to technical glitches, macOS may crash (known as Kernel Panic). When you encounter frequent crashing on your Mac, you need to fix it soon to avoid permanent data loss.
In this blog post, we will share guidance on using the various macOS default techniques to fix a frequently crashing Mac. We will also help you recover a crashing Mac’s drive by using a Stellar Data Recovery Professional software for Mac in 3 simple steps.
Caution: Back up your data with Time Machine before troubleshooting macOS related issues.
Why Does a Mac Crash?
Your Mac may crash due to several reasons, as follows:
- New hardware addition/replacement
- macOS update
- Software incompatibilities or errors
- Low-space on the startup disk
- Inadequate RAM to handle multiple apps
- Inadequate CPU for handling processor-intensive tasks
- Race condition for accessing system resources and storage disk by several apps
- Malicious program or virus
How to fix the crashing mac issue?
To fix the crashing problem, go through the following troubleshooting procedures:
A. Run Apple Diagnostics to determine a Hardware Issue

- Remove all external devices excluding AC power connection, display, mouse, keyboard, and Ethernet connection.
- Restart Mac and immediately press and hold the D key until Apple Diagnostics screen appears.
(If the screen does not appear, then turn off firmware password if any, or hold down Option + D during restart to start the diagnostics over the Internet). - When Apple Diagnostics is aware of your language choice, it displays a progress bar to check your Mac (which may take a maximum of 3 minutes).
- When Apple Diagnostics finds any issues, it suggests solutions and displays reference codes.
- Opt from the various options:
- Press Command + R or click Run the test again to repeat the test.
- Press Command + G or click Get started to fetch details about service and support options.
- Press R or click Restart to restart your Mac.
- Press S or click Shut Down to shut down your Mac.
When done, you need to Restart or Shut Down your Mac.
B. Boot into Safe Mode to Fix Issues Caused by Any Software

After upgrading your Mac to the latest macOS Ventura, Monterey, Big Sur, Catalina, and Mojave, if the system freezes or slows down, then restarting your Mac in Safe Mode helps fix the frequently crashing issue.
Safe Mode loads only the important kernel extensions, verifies the startup disk and repairs directory issues (similar to Disk Utility’s verify and repair functionalities), prevents startup/login items to launch automatically, deletes cache files, and disables user-installed fonts.
To start your Mac in Safe Mode, do the following:
- Restart Mac and immediately press and hold the Shift key until you see the login window.
- After the Mac boots into Safe Mode, if no issue occurs then restart it again without pressing any key to start normally.
- To know whether you are in the safe mode, open spotlight and type system information.
Use the software section of the system information window to verify the boot mode as Safe instead of Normal. - If the issue comes back in the normal mode, then the login items may be incompatible.
- If the Mac does not boot into Safe Mode, then there is low space on the startup disk.
Clean up your Mac’s startup disk to allow your macOS to function correctly.
C. Delete Software Update Caches
If your Mac crashed during the auto software update, then you must clean the following files:
- /Library/Preferences/com.apple.SoftwareUpdate.plist
- /Home/Library/Caches/com.apple.SoftwareUpdate/
- /Home/Library/Preferences/ByHost/com.apple.SoftwareUpdate.123.plist


D. Use First Aid of Disk Utility to Fix File-System Issues on a Drive
Disk Utility’s First Aid has the option to repair and verify your start-up and logical disk. To fix the crashing issue, perform the following steps:
Restart Mac then press and hold Command + R keys until you hear a chime
1. In Recovery Mode, open Disk Utility.
2. Select the startup disk and click First Aid << Run.
3. Allow Disk Utility to repair the drive.
When the repair task is over, the crashing issue probably is fixed.
E. Reset NVRAM
Resetting the NVRAM can also fix the startup issue. To reset NVRAM, do the following:
- Restart Mac then press and hold Command + Option + P + R keys after you hear a chime and release the keys once you hear the second chime.
This will reset the NVRAM and hopefully fix the crashing issue.
F. Uninstall Incompatible Apps
If the crashing issue persists, then you need to single out the app that is causing the trouble. Uninstall the recently installed third-party app. To uninstall the app, do the following:
- Go to Finder > Applications
- From the applications folder, find the app you want to uninstall
- Drag and drop the app to Trash
If the issue is not fixed then continue the process of uninstallation.
G. Reinstall macOS
If the crashing issue persists, then the only option left is to reinstall macOS. To perform the reinstallation task, do the following:
- Restart Mac then press and hold Command + R keys until you hear a startup sound to enter the Recovery Mode.
- Under macOS Utilities, click Reinstall macOS and then Continue.
- Act as per the on-screen instructions then opt for the startup disk and click Install.
Once the reinstallation process of macOS is over, you will not face any crashing issue.
Warning: Before performing the macOS reinstallation process, backup your Mac to an external storage drive.
H. Frequent macOS crash may lead to data loss, and that’s worrying
Hard drives and SSDs are vulnerable to frequent crashes. The storage drive may fail partially or die without warning. Further, file system errors and kernel problems may lead to data loss and turn the storage drive inaccessible.
The default solution is to boot Mac safely into Recovery Mode and restore your latest backup by using the Time Machine.
However, if you have no Time Machine backup, then a Mac data recovery software is a must to recover the lost data.
Recover data lost from Crashing Mac
In the case of data loss, free Download Stellar Data Recovery Professional for Mac and recover your valuable files in 3 steps easily:

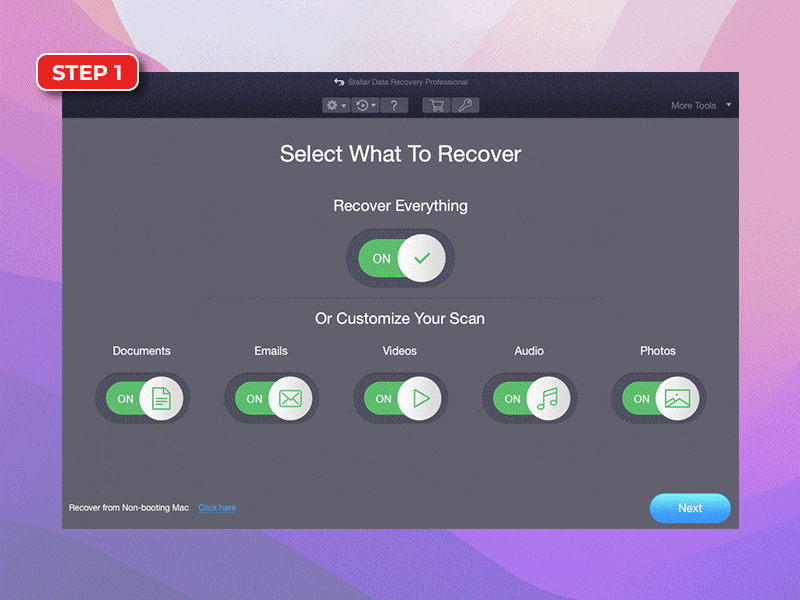
Stellar Data Recovery Professional for Mac provides a simple and straightforward method to recover data lost from a frequently crashing Mac storage drive.
Conclusion
The blog shared several methods to fix a frequently crashing Mac.
Leverage the default macOS features such as ? Apple Diagnostics, Safe Boot, Disk Utility, and Resetting NVRAM to address your macOS issues conveniently. If you are unable to identify or fix the root cause of the Mac crash, then use Time Machine backup to restore macOS.
In case you’ve lost data from your Mac storage drive before or during troubleshooting, and don’t have a Time Machine backup, then try Stellar Data Recovery Professional for Mac to recover your data.
The software offers data recovery support for a variety of storage devices including ?HDD, USB Flash Drive, Fusion Drive®, Time Machine, and Encrypted Storage Media.
Visit the webpage to read the complete features.


