Summary: This article provides a short compilation of 8 methods to fix the issue of “macOS could not be installed on your computer.” Additionally, it explains the root causes of the macOS installation error and outlines the necessary preparatory steps before initiating the resolution process. Also, remember to back up your files before proceeding with any changes on your device. We recommend using a third-party app such as Stellar Data Recovery.


Contents
The process of updating your Mac already takes a considerable amount of time. However, if the update crashes and an error “macOS could not be installed on your computer” appear, the experience becomes even more time-consuming. There are several reasons why this error message keeps appearing. Fortunately, the resolving steps below make it quite simple to fix.
Reasons for the ?macOS Could Not Be Installed On Your Computer? Error
There are numerous reasons why macOS installation could fail.
Among the most prevalent causes that prevent macOS from completing its installation are
- Your Mac does not support the macOS version you are attempting to install.
- Your Mac does not have sufficient available storage space.
- The installation files are damaged or corrupt.
- Issues have been detected with the startup disk on your Mac.
- The installation path is either missing or has been damaged.
Regardless of the cause of the installation error message on your Mac, you can resolve it by following the troubleshooting steps outlined below.
Preparatory Steps Before Resolving macOS Installation Issues
Taking preventive measures beforehand is essential to avert any data loss or other potential issues while resolving the macOS installation error. A failed macOS installation could result in various unwanted scenarios. Therefore, it’s essential to take the preventive measures listed below.
I. Verify Your Mac’s Compatibility
To verify your Mac’s compatibility, please follow these instructions:
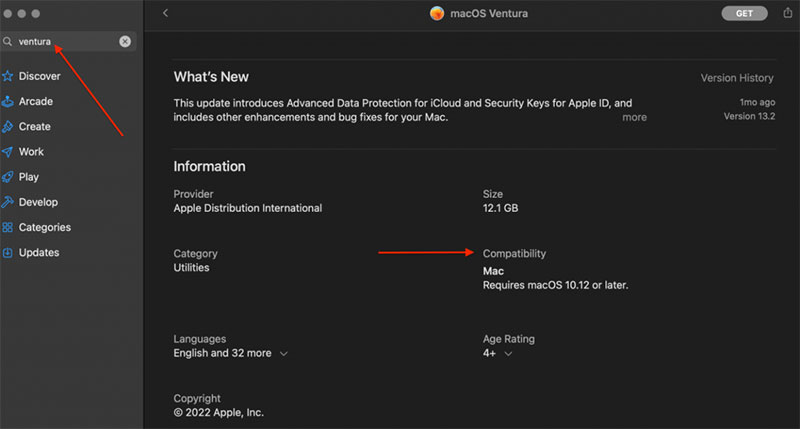
- Launch the App Store on your Mac and search for the specific version of macOS you intend to install (e.g., ‘macOS Ventura’).
- Click on the application to view its details in the App Store.
- Navigate to the Information area by scrolling down.
- In the Compatibility section, you’ll see whether this macOS upgrade suits your device.

Another way will be checking the compatibility on the official Apple website.
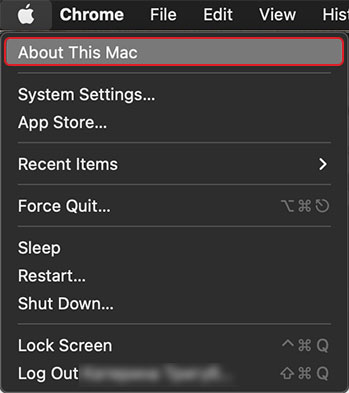
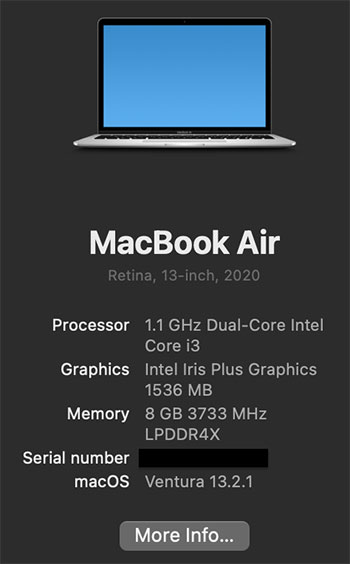
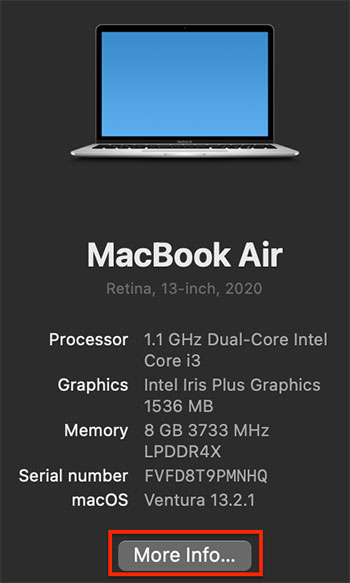
Visit the official website for assistance, select the macOS version you plan to install and click on it to view its system requirements. Compare these system requirements with your Mac’s specifications by clicking on the Apple logo in the menu bar and selecting About This Mac. If your Mac is incompatible, do not attempt to install the macOS version.


II. Start Your Mac in Safe Mode
By taking this step, you can prevent programs from automatically launching each time your computer boots up, including macOS installer. Launching your Mac in Safe Mode will stop running the background programs.
Safe Mode for the Intel chip Mac
- Reboot your Mac and immediately press and hold the Shift button.
- After your computer turns on or you see the Apple logo, release the Shift.
- You should see the login window; choose the Safe Boot option.
Safe Mode on the Apple Silicon-based Mac
- Shut down your computer completely.
- Hold the power button until you see the startup screen on your Mac.
- Select a startup disk and press Shift on your keyboard.
- Click Continue in Safe Mode.
III. Make a new Backup Using the Time Machine
Backing up your computer before a significant Mac update would be prudent, as the update will likely overwrite essential data in your operating system. If something acts up, you will have no issue with completely wiping your PC to start fresh and resolve the problem. To create a backup using Time Machine, you will need to connect an external drive. Time Machine ensures the protection of all your data through incremental backups. Using this method, a user can retrieve data from specific dates rather than having it overwritten by the current version of the system.
Ways to Fix the ?macOS Could Not Be Installed On Your Computer? Error
Once you’ve ensured that your device is compatible with the latest macOS version, booted your Mac in Safe Mode, and backed up your data. You can proceed to the troubleshooting tips below to resolve any installation errors with macOS.
As this macOS error can have numerous potential causes, implementing any of these suggestions could resolve the issue. Let’s start with the most straightforward and efficient tips to help you save time.
I. Restart the Mac and Repeat the Reinstall
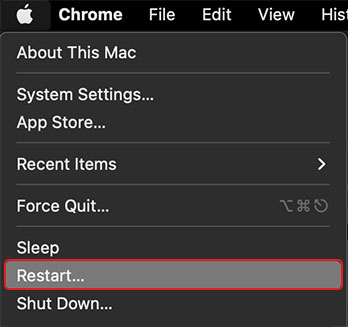
Restarting a Mac or MacBook is a commonly used solution for addressing various macOS problems. If you encounter the “macOS could not be installed on your computer” error message, you can restart your Mac by clicking on the Apple logo and selecting the Restart option.

If this error makes your Mac freeze, press and hold the power button to force a shutdown. Avoid attempting this approach if the installation procedure is in progress, as it could potentially harm essential files in your operating system.
II. Make Sure to Create Enough Space for the macOS Installation to Take Place
Usually, the macOS installer requires approximately 4GB to 5GB of space. However, your device may need up to 20GB of storage for installation. The point is that the macOS installer requires additional storage to unpack files and folders. This space is needed so the installer has room to install.
To check the available space on your Mac, follow these steps:
- Go to the Apple menu.
- Select About This Mac.
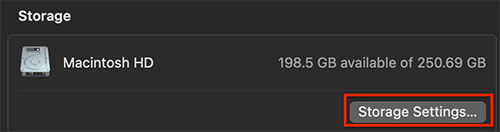
- Click Storage (or More Info ? Storage).

- Click on Manage Storage (or Storage Settings) to identify what is occupying the most significant amount of space.
- Follow the recommendations to get additional storage on your Mac.

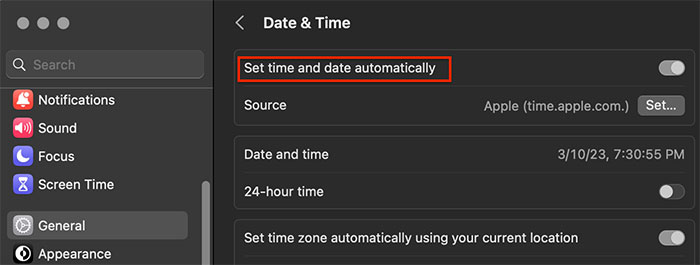
III. Ensure That the Date and Time on Your Mac Are Set Correctly
Incorrect date and time settings can cause connectivity issues with Apple’s servers, potentially resulting in errors during macOS installation and failure to complete the process.
Follow these steps to check your Mac’s Date & Time settings:
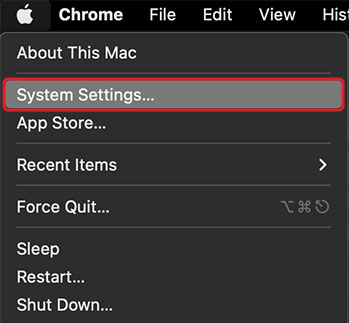
- Click on the Apple logo and navigate to System Preferences (or System Settings).
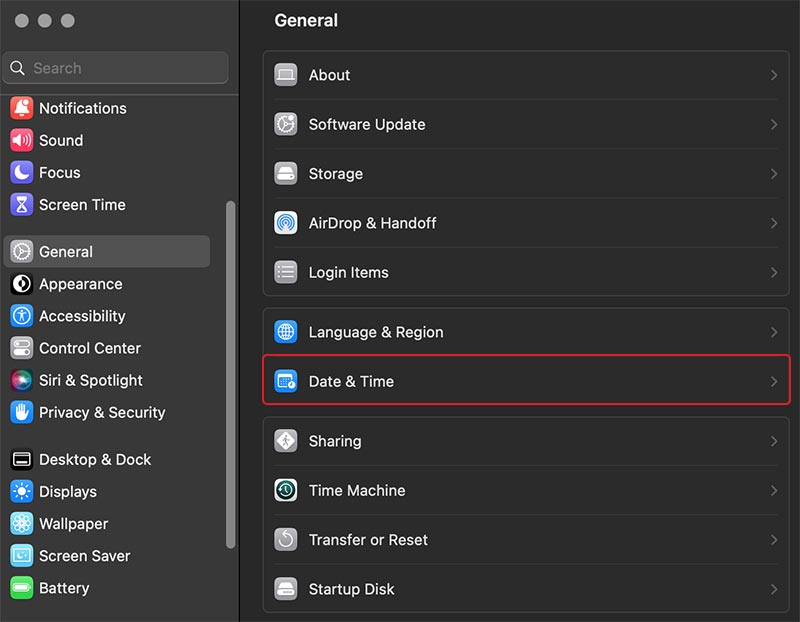
- Select Date & Time.


- Click the lock icon and enter your password to authorize changes.
- Select the option to Set a date and time automatically.
- Finally, attempt to install macOS again to check if the issue has been resolved.

IV. Download a New Copy of the macOS Installer
A corrupted macOS installer may cause the error. If the issue persists after trying the previous solutions, consider replacing the installer by getting a new copy. Ensure you obtain the macOS installer from a reliable source, such as Apple’s support website.
V. Launch First Aid Scan on Your Startup Disk
Are you still experiencing issues with the macOS installation process? There may be disk authorization or fragmentation bugs on your startup disk. Fortunately, many of these errors can be resolved by utilizing the pre-installed Disk Utility app on macOS.
To utilize Disk Utility, proceed with the following steps:
- Go to the Applications folder.
- Look for the Utilities folder, and launch the app.

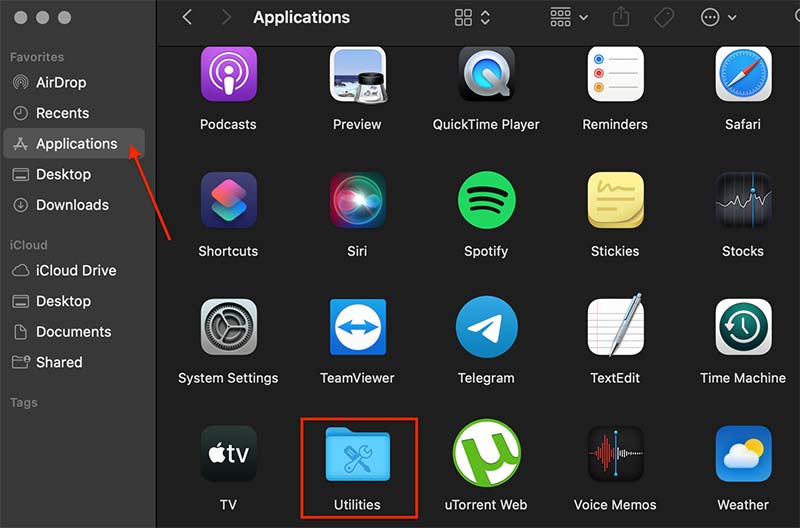

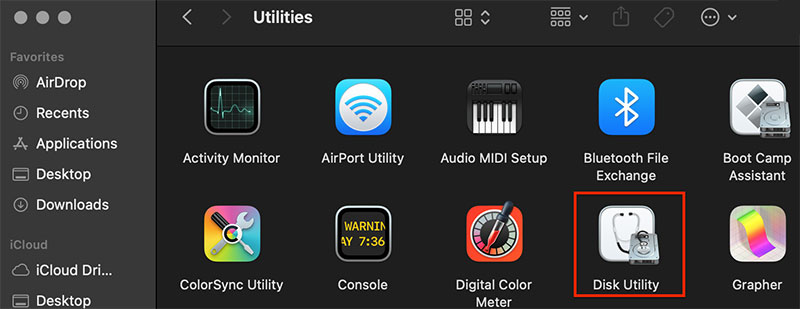
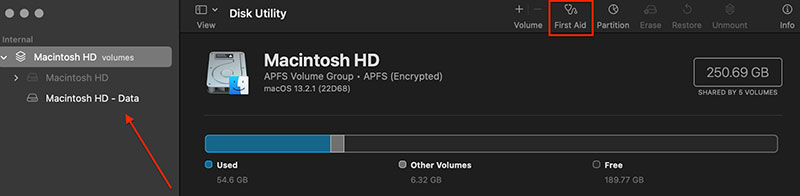
- Within the sidebar, locate your Mac’s startup disk (Macintosh HD), and click on it.
- Select First Aid. This process will initiate a scan of your Macintosh HD for any possible bugs and automatically fix them.

VI. Reset the NVRAM/PRAM
The PRAM and NVRAM on your Mac store various settings, such as screen brightness, sound volume, and display resolution. If there are issues with the PRAM or NVRAM, it could cause the macOS bugs you’re experiencing on your Mac. Fortunately, resetting the PRAM and NVRAM is straightforward and will not lead to any data loss.
To reset the PRAM and VRAM, follow these instructions:
- Reboot your computer and hold down the keys Option+Cmd+P+R during boot-up.
- Release these buttons once the startup noise appears or see the Apple logo.


(Source)
VII. Try Reinstalling macOS with macOS Recovery
If the previous solutions did not work, you might need to reinstall the operating system you are using now. You can do it through macOS Recovery, but the process varies between Intel-based Mac and Apple Silicon-based devices.
Intel chip Mac:
To access the macOS Utility window:
- Restart your computer and hold down the Option + Cmd + R keys until you hear the startup noise or see the Apple logo appear.
- Release the keys at this point.
- To reinstall the most recent version of macOS using macOS Recovery, select Reinstall macOS and be prepared for the installation process to take a while, as the new software must be downloaded before installation can begin.
Apple Silicon-based computer:
- Shut down your Mac.
- Hold Mac’s Power button until the startup options occur on your screen.
- Click on Options and then Continue to proceed.
VIII. Erase Your Startup Disk and Reinstall macOS
If you encounter software-related issues, the ultimate troubleshooting solution would be to eliminate your startup disk. Then you’ll need to reinstall macOS anew. Once a new macOS version is installed, you can restore all your data from a Time Machine backup.
You must back up your Mac before erasing the startup disk to avoid permanent data loss, including photos, music, files, and other saved information.
Wrapping Up
The solutions mentioned above are guaranteed to assist you in resolving the error message “macOS could not be installed on your computer.” If the solutions mentioned above do not work in rare instances, reinstalling your current macOS can resolve most software-related issues. It is essential always to remember to back up your data before proceeding.
Are you experiencing difficulties fixing a macOS error that has left your Mac unbootable, but you still need to access the data on your computer? To access your data in this situation, you will require third-party software, and the Stellar Data Recovery software is one of the best on the market.
Related reading:


