Summary: Failed NTFS.SYS is a Blue Screen of Death (BSOD) error, which may appear with the stop code - System_Service_Exception. This error may lead your Windows PC to a malfunction or crash, resulting in total data loss. To fix this issue, try some of the most recommended methods shared in this blog. You may also download the trial version of Windows Data Recovery Tool to recover your data lost due to this error.


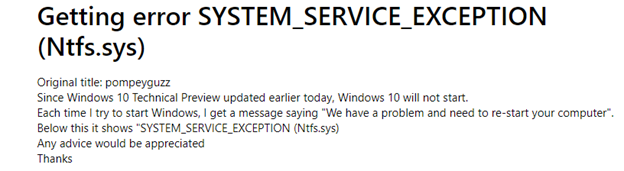


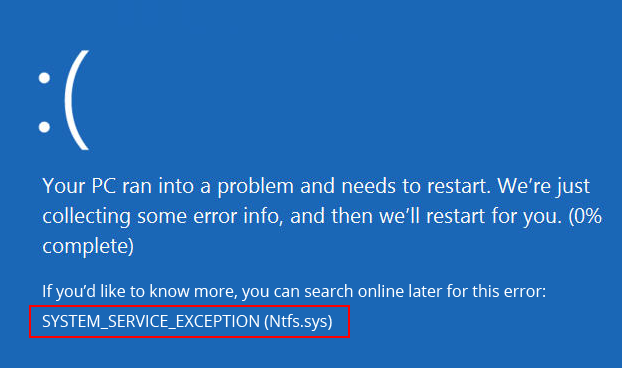
If you encounter NTFS.SYS blue screen error on your system, it is probably because of corrupt NTFS, bad sectors on the hard drive, or incompatible device drivers. Sometimes, depletion of non-paged pool memory, malware attack on your PC, and corrupt system files may also induce this error. You may see this error showing up with the stop code – System_Service_Exception (See Image 1).

Due to this error, your system may shut down abruptly, get stuck at a booting loop, or even crash, making you lose access to your data. Read this guide to learn some popular methods to fix NTFS.sys problem on your own.
Recover data lost due to Ntfs.sys crash with a professional Data Recovery Software.
Fix Failed NTFS.SYS (System_Service_Exception) in Windows 10
| Enable the safe mode with networking before performing any methods to make sure you don?t face any interruption/problem while trying to solve this error. |
Follow the given steps to Enable Safe Mode with Networking:
a. If you see this blue screen error on your system, turn it off.
b. Reboot it and as it starts showing up Windows logo on the screen, turn it off with the power button.
c. Repeat this step thrice and then allow your PC to restart.
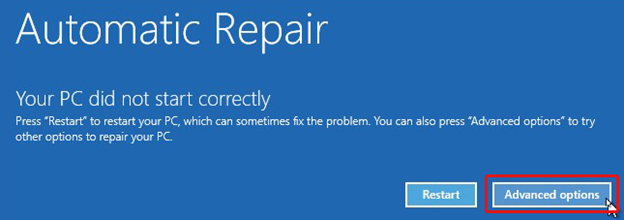
d. After this, choose Advanced options from the Automatic Repair environment. (See Image 2)

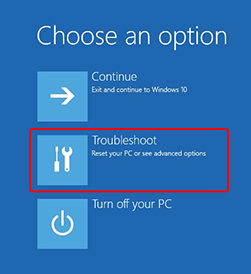
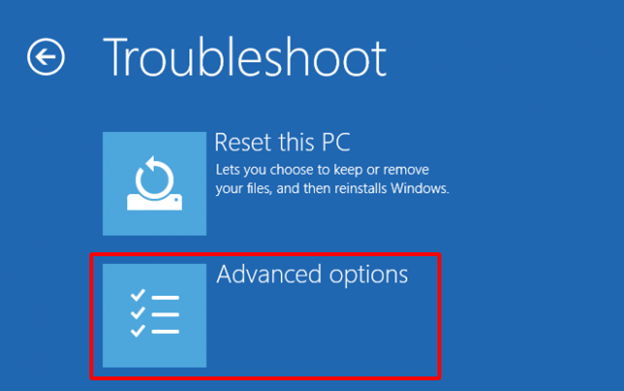
e. On the Choose an option screen, click Troubleshoot. (See Image 3)

f. Next, on the Troubleshoot screen, choose Advanced options. (See Image 4)

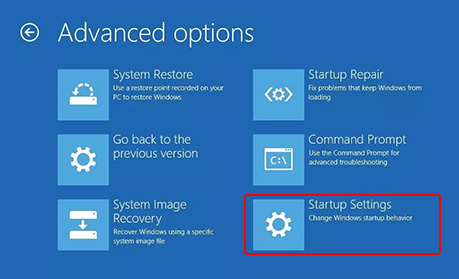
g. On the Advanced options screen, click Startup Settings. (See Image 5)

h. Afterward, click Restart on the Startup Settings screen. (See Image 6)

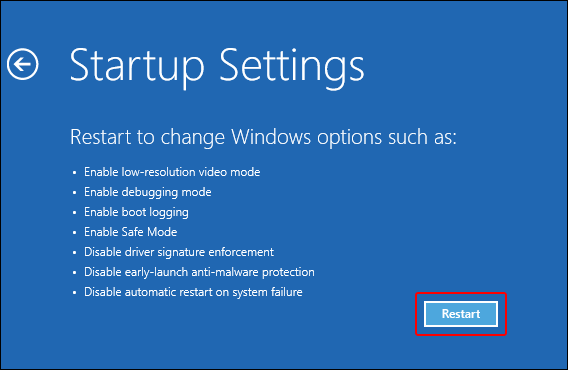
i. Once the PC restarts, choose option 5 from the list or press F5 for enabling safe mode with networking.
j. After enabling the Safe Mode, you may start performing the following fixes to solve error- Ntfs.sys system service exception on windows 10.
Method 1: Update Device Driver
Sometimes, the outdated, incompatible, or corrupt device drivers may cause this blue screen of death error. You may download and install updated device drivers by following the given steps:
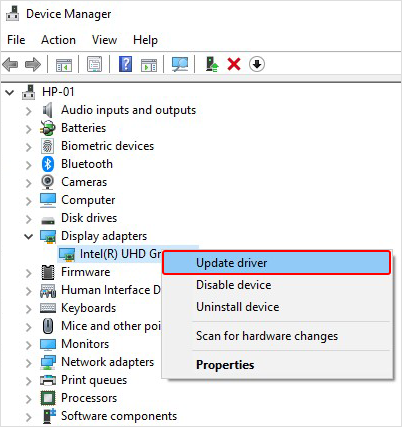
a. Open Device Manager and navigate to Display Adapters. (See Image 7)

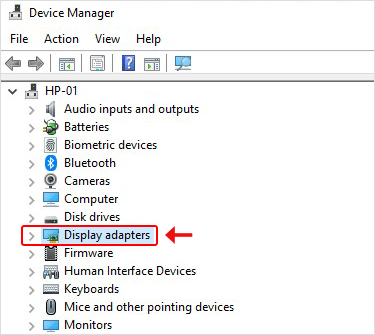
b. Expand Display Adapters and select the problematic driver.
c. Right-click on the driver and select Update driver from the available options. (See Image 8)

d. On the next prompt, click ?Search automatically for drivers.? (See Image 9)

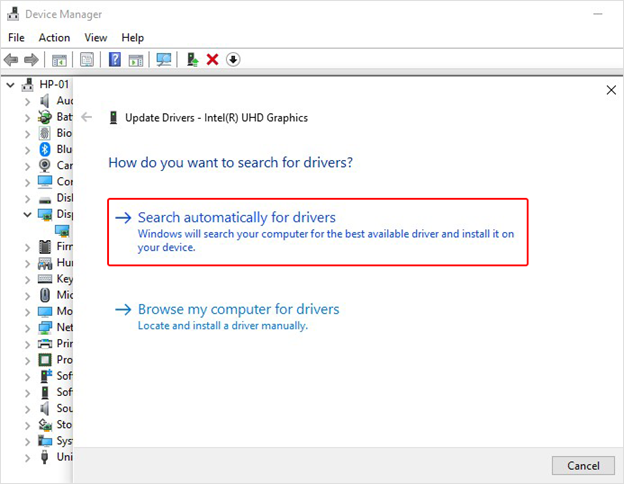
e. Windows starts searching for an updated version of the drivers. You may install the latest driver software to fix the error ?System Service Exception Windows 10.?
You may also update the driver through Windows Update. Follow the given steps to do so:
a. Open System Settings and follow Update & Security > Windows Update.
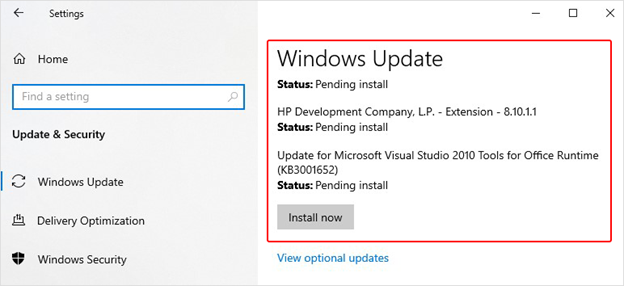
b. Check for the latest updates available. If the updates are available, click ?Install now? and then restart your system. (See Image 10)

c. Reboot your PC and check whether the error is resolved.
Method 2: Scan your computer for computer viruses
If the system is affected by a virus or malware, you may encounter this error. You may scan for malware ?Windows Security? utility. To do so, follow the given steps:
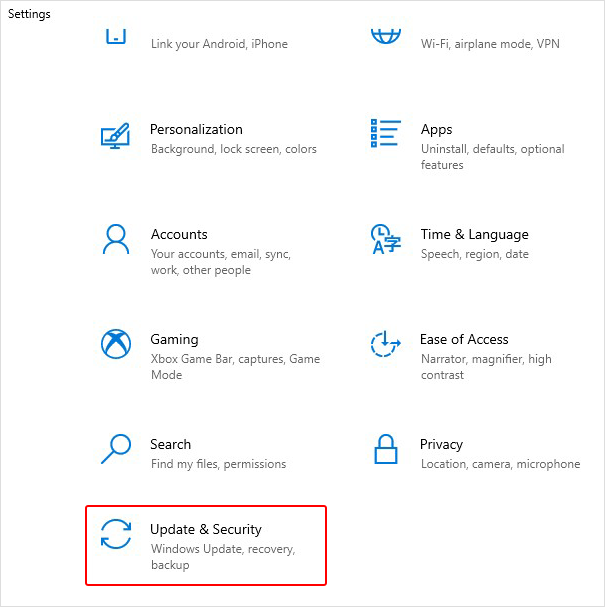
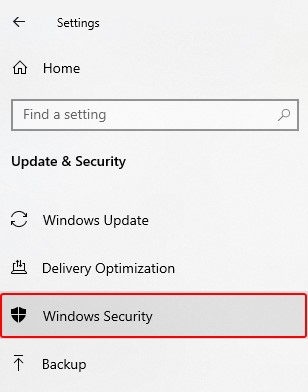
a. Open System Settings and go to Update & Security. (See Image 11)

b. Navigate to Windows Security and open it. (See Image 12)

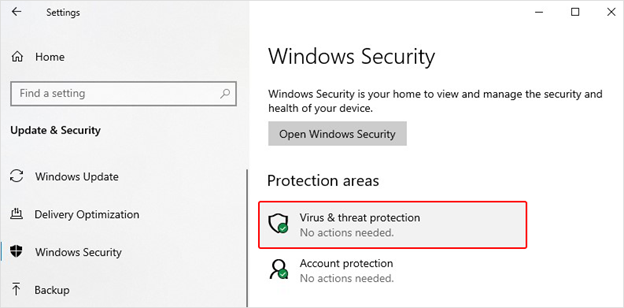
c. Move to the Virus & threat protection on the right panel. (See Image 13)

d. Follow the given instructions on the screen to check malware and get rid of it.
Method 3: Remove BitDefender and/or Webroot
Some of the third-party antivirus programs may lead Windows to malfunction and cause NTFS.SYS BSOD error with stop code ?System Service Exception?. You may fix this by removing BitDefender or Webroot using the following steps:
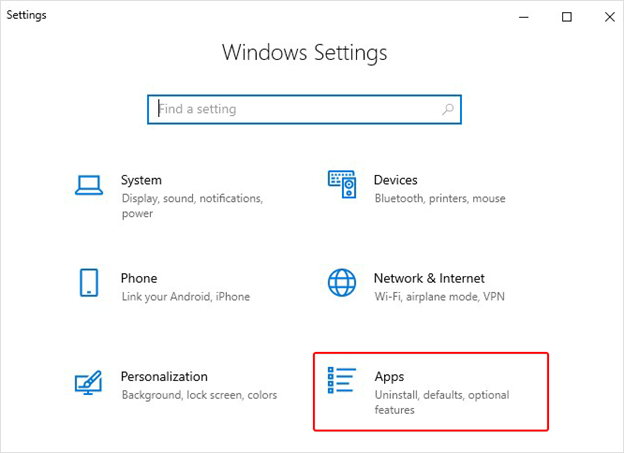
a. Open System Settings and go to Apps. (See Image 14)

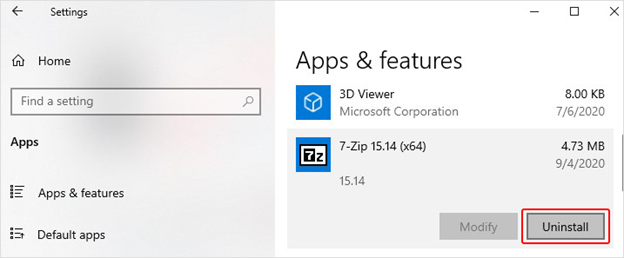
b. Find if you have BitDefender or Webroot installed on your system.
c. If it is installed in your PC, right-click on it to Uninstall. (See Image 15)

d. Restart the system to see if the stop code system service exception persists.
Method 4: Run SFC Scan
This error may also occur due to missing or corrupt system files. You may run SFC (System File Checker) utility to check for any system files? corruption and fix it. Follow the below-given steps:
a. Type cmd in Windows? search box to open Command Prompt and run it as an administrator. (See Image 16)

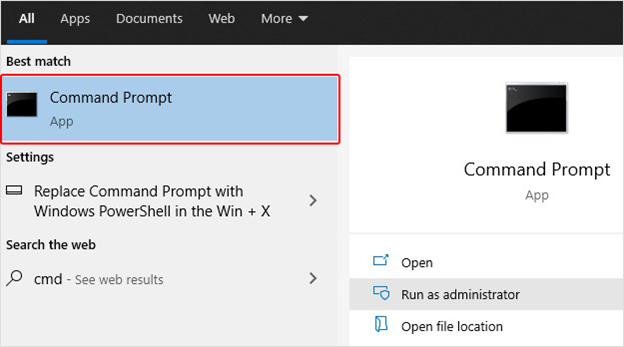
b. Click ?Yes? to open Command Prompt.
c. On Command Prompt screen, type sfc/scannow and hit Enter. (See Image 17)

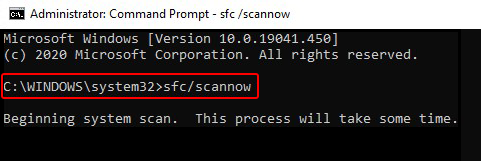
d. The process will take time to check the corrupt system files and fix it to resolve the error code: System Service Exception in Windows 10.
Method 5: Run CHKDSK Command
Sometimes, this problem may occur if the hard drive is faulty or consists of bad sectors. You may check your hard disk for errors and fix it by running the CHKDSK command. Follow the below-said steps:
a. Open Command Prompt, run it as administrator and type chkdsk f: /f and press Enter. (See Image 18)

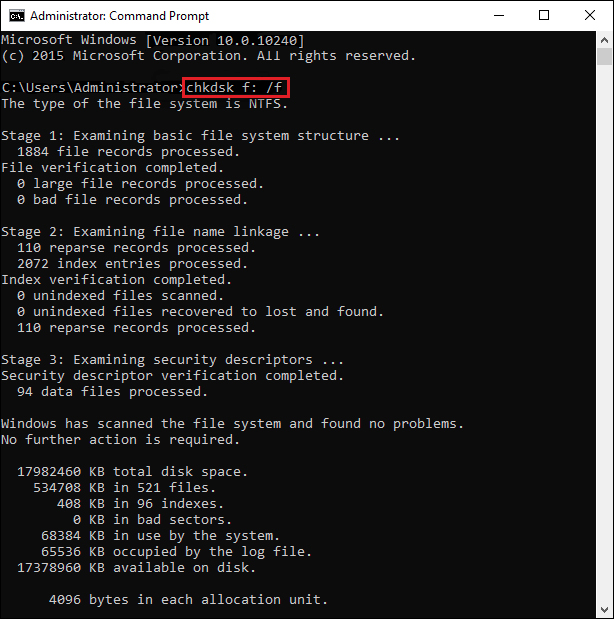
b. Wait until the process is completed and then exit the Command Prompt.
c. Restart the system and check if you have fixed the issue.
[Caution: Running the CHKDSK command can fix the hard drive corruption. However, you will end up losing your data after performing this method as it scans the drive and marks down the bad sectors on it, helping Windows understand not to read or store data from bad sectors.]
It is suggested to use a powerful data recovery tool such as Stellar Data Recovery Professional to recover lost data after using the CHKDSK command. This do-it-yourself (DIY) software can efficiently extract multiple kinds of data simultaneously. Be it your favorite pictures and videos or your essential official documents, emails, files, etc. you may recover them quickly using this software. The software facilitates data recovery from formatted, corrupted, or missing drive partitions and storage devices. It features ?Create Recovery Drive? utility. Using this utility, you may create a bootable media to restore data from unbootable, dead, crashed, or BSOD affected systems. Check out this video:

Method 6: Run Memory Diagnostic Tool
Non-paged pool memory may be another cause of the error- System Service Exception Windows 10. The non-paged pool, containing the virtual memory addresses, always remains in the physical memory as long as the corresponding kernel objects are allocated. It can never be paged out into pagefile when the system runs out of the free physical memory.
If you encounter stop code- system_service_exception on your system, the depletion of non-paged pool memory may be the reason. Other related reasons could be as following:
- Low amount of available non-paged pool memory during the indexing process
- Another kernel-mode driver requiring this memory
To resolve the depletion of non-paged pool memory, you may add new physical memory to the system to improve the non-paged pool memory available to the kernel. Also, you may try running the Windows Memory Diagnostic Tool to check and fix the stop code System Service Exception. Follow the below-mentioned steps:
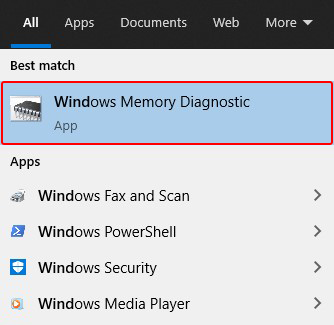
a. Type Windows Memory Diagnostic in Windows? search bar and hit Enter to open it. (See Image 19)

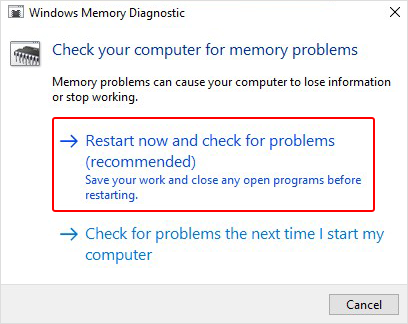
b. On the Windows Memory Diagnostic screen, select ?Restart now and check for problems (recommended.) (See Image 20)

c. The Windows Memory Diagnostic tool screen will display on the screen.
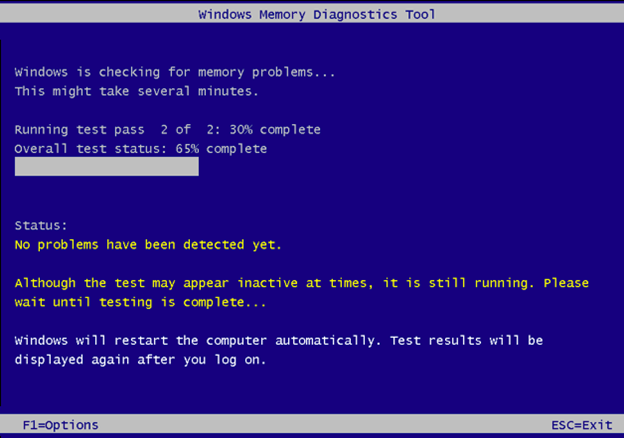
d. Let the test begin and wait until it is done. (See Image 21)

e. When the test is completed, the system will restart automatically and return to the Windows desktop.
f. You may check the test results and see if the error is fixed.
Wrapping up
The System_Service_Exception error may occur without any warning and make you lose access to your PC and data stored on it. There could be several reasons behind this error, as explained above. To fix this error, try methods such as CHKDSK command, SFC Scan, Windows update, etc. However, if you?ve lost your data due to this Ntfs.sys error, try using an efficient data recovery tool such as Stellar Data Recovery Professional. This software can get back your data from Windows PCs and storage devices such as HDD, SSD, USB and SD card, etc.
Also read – Fixed: Critical Process Died BSOD Error in Windows 10


