Summary: By default, Outlook stores the Offline Storage Table (OST) file on the system storage. However, you can move the OST file to a different location or redirect the OST file to a network or mapped drive. This may be required due to storage space related problems. In this guide, we discussed a few methods to change the location of the OST file and redirect it to a network share folder without losing any mailbox items.


OST is a local copy of mailbox data on the server. This enables users to use Outlook even when the system is offline, the server is under maintenance, or temporarily unavailable. However, with time, the size of OST may grow significantly large based on your usage and whether you share or receive multiple or large attachments via email. As OST grows large, it may eat up a lot of storage space on the default C: drive. In such cases, you are often required to either upgrade the hardware or move the OST to a different partition or redirect the OST to the shared network folder.
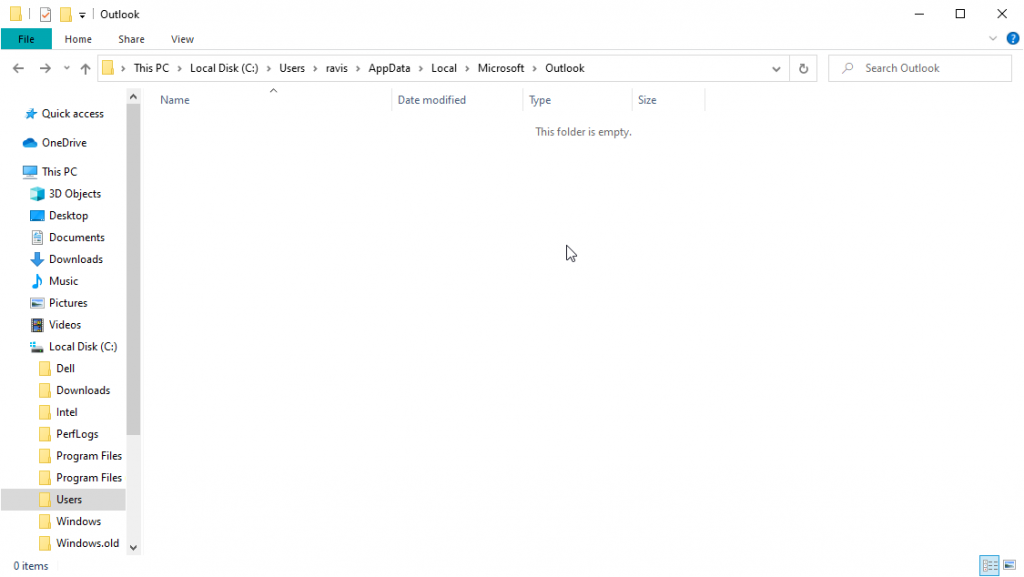
The default OST file location could be any of the following, based on the Outlook version installed on your system.
- C:\Users\AppData\Local\Microsoft\Outlook
- C:\Documents and Settings\Local Settings\Application Data\Microsoft\Outlook
To change the OST file location or redirect the OST file to a shared network drive folder or location, you can follow any of the following methods,
- Use the GPO (Group Policy Object)
GPO is a collection of Group Policy settings that define how the system will behave for a group of users. It can be used to define security options, script options, installation and maintenance options, and folder redirection options to redirect the OST file to a network shared location.
- Use Symbolic Link
A symbolic link can be used to repoint the OST file location on an external hard drive or network drive location. This is done at the File System level. You can create an NTFS symbolic link to point the OST file to another file system or location by using the MKLINK command.
However, moving an OST file from its default location to a network drive should be avoided as it can lead to various problems, such as synchronization errors, frequent disconnection due to network-related issues, etc. This can also lead to OST file damage.
Thus, if your sole purpose of redirecting the OST file to a network drive is for saving storage space, you can do so by using an OST to PST converter software. The software helps you convert the mailbox data in the OST file to PST. Once PST is created, you can store it anywhere and open it in Outlook without worrying about mailbox synchronization or network issue.
It also provides some advanced options to reduce OST file size, such as it splits the file or saving the attachments to a different folder. To know more, download the free demo version now.


Further, the software helps you open and convert an inaccessible or orphaned OST file to PST, EML, MSG, RTF, PDF, and HTML formats. You can also export the mailbox items from such OST files to a live Exchange, Office 365 account, or Outlook profile directly.
But if you want to redirect the OST file to a network-shared location, follow these methods,
CAUTION: Back up the OST file before following any of these methods for OST redirection.
Method 1: Use GPO (Group Policy Object)
As mentioned earlier, you can use the GPO to define a policy for redirecting the OST file to a network-shared location. However, you need to download the Group Policy Administrative Template files (ADMX/ADML) for MS Office. Follow these links to download the GPO Administrative Template Files based on your MS Office or Outlook version.
Once downloaded, follow these steps,
- Load Group Policy Administrative Template files (ADMX/ADML) by clicking on AdminTemplates_32.exe or AdminTemplates_64.exe based on your system configuration
- Then navigate to the Group Policy Management Console (GPMC)
- Expand the Domains and then right-click on Group Policy Objects
- Choose Edit to open the Group Policy Management Editor
- Now navigate to User Configuration > Policies > Administrative Templates > Microsoft Outlook 2016 > Miscellaneous > PST Settings
- Choose Default location for OST files and select ?Enabled?
- Now define or enter the network shared location path for the OST file and click OK
This will change the policy for all users. From now on, the OST will be created and stored at the defined or entered network shared location.
However, it will change the OST location for all users in the particular group where the policy is applied. Thus, if a user does not want to redirect OST file to network share, you need to remove the user from the GPO.
Method 2: Use Symbolic Link
The steps to redirect OST to a network drive location by using Symbolic Link are as follows,
- Move the OST file from the default location to the Network drive location. You may either copy/paste or cut/paste the OST file to move it to the network location
- Delete the OST file from its default location

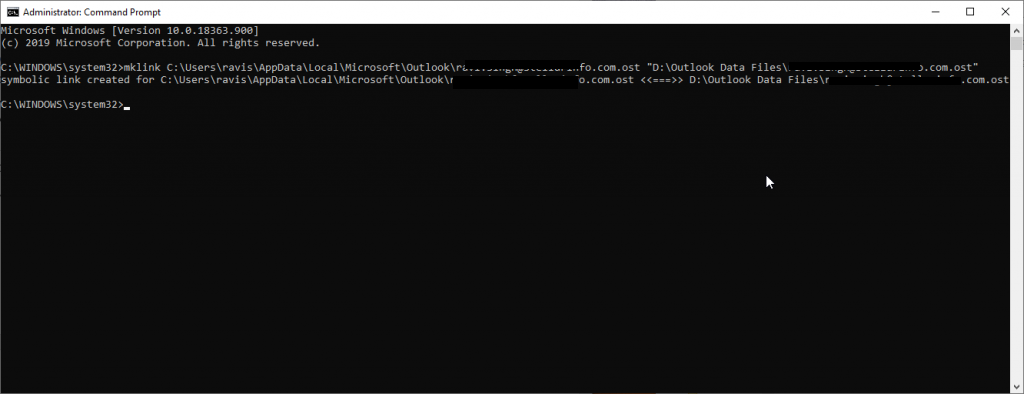
- Now open Command prompt as administrator and then execute this command,
mklink \Users\user\AppData\Local\Microsoft\Outlook\abc@stellarinfo.com.ost ” \\fileserver\users%username%\Files\abc@stellarinfo.com.ost?
After executing this command, you will see following success message in command prompt window.
symbolic link created for C:\Users\ravis\AppData\Local\Microsoft\Outlook\abc@stellarinfo.com.ost <<===>> \\fileserver\users%username%\Files\abc@stellarinfo.com.ost

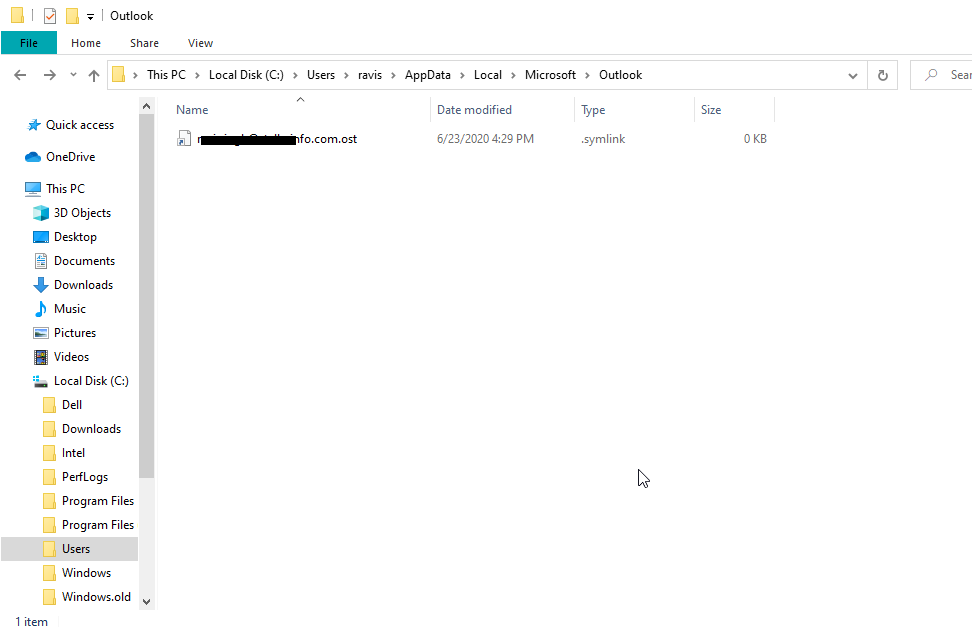
Now if you check the default location, you will see a symlink file for the OST file for the user account abc@stellarinfo.com.ost.

WARNING: Never disconnect the connected external drive or network drive otherwise the symbolic link may break. This can lead to several errors and OST may become inaccessible. Also, read how to change OST location to know more.
Conclusion
Although you can relocate the OST file or redirect the OST file to a network-shared location, it is often not recommended as it can lead to several problems. An unreliable network connection can often lead to a disconnection between Outlook and OST files which can cause Outlook performance issues. The outlook may get stuck, not respond, or crash. This can lead to OST errors and may damage or corrupt the OST file, leading to the loss of mailbox items.
If this happens before unsaved data is synced to the mailbox on the server, it can lead to permanent data loss. To avoid this, you can use an OST to PST converter, such as Stellar Converter for OST. It can also help you convert and backup inaccessible or orphaned OST file data to Outlook importable PST format.

