Stellar Data Recovery Premium is an all-in-one software that helps Windows users to accomplish data recovery, video repair, photo repair, and drive monitoring task in one integrated module.
Now, users do not need to look for four different software packages to perform multiple yet indispensable tasks to upkeep data and storage device. The intuitive software?s interface now supports multiple international languages (English, French, German, Spanish, & Italian), which users can change at runtime if required.


The new Drive Monitor module even helps users to clone their storage device. In this blog, we will tell how to install and use the premium software.
Download & Installation Process
The do-it-yourself software needs no explanation for installation. The self-instructive wizard will help you to install Stellar Data Recovery Premium for Windows on your PC.
All you need is to check for the official online site that provides free download link to install the software. Ensure you download from the official site to avoid malware and other extraneous program.
You can also download the software from here


Once you have downloaded the software on your PC, you need to unzip the file. Double-click the extracted executable file to open installer. Accept the license agreement, select the language, and provide settings details as instructed by the installer. When you complete the installation process, double click the software?s icon to launch it.
How To Use Stellar Data Recovery Premium Software

You can use the software for multiple purpose. When the software launches, it unveils a unified interface with four different options as shown below.

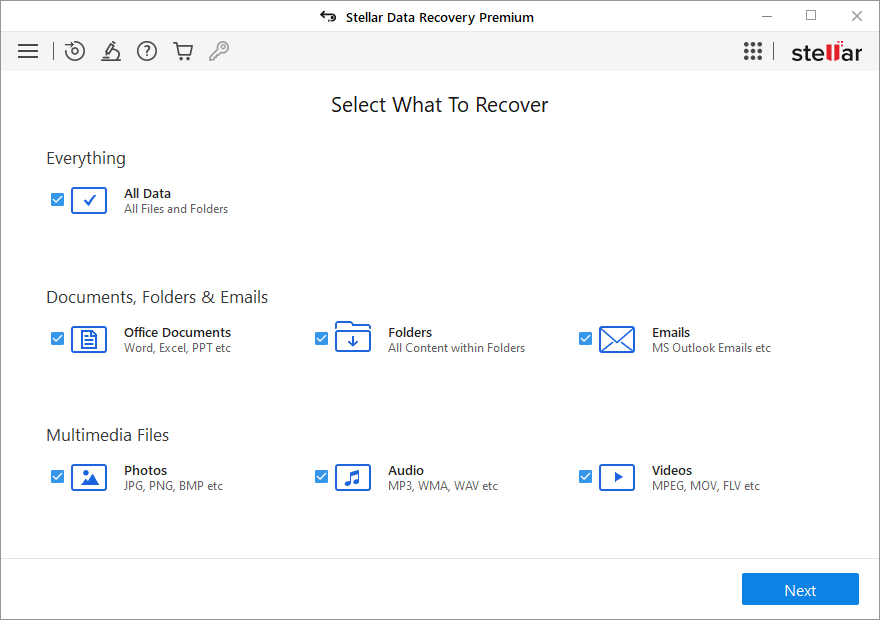
You can recover data in just few clicks that require you to Select, Scan, Preview, and Recover. The simple and nouveau software guides you with tool tip text, self-explanatory caption, and help file to perform data recovery task easily and successfully.
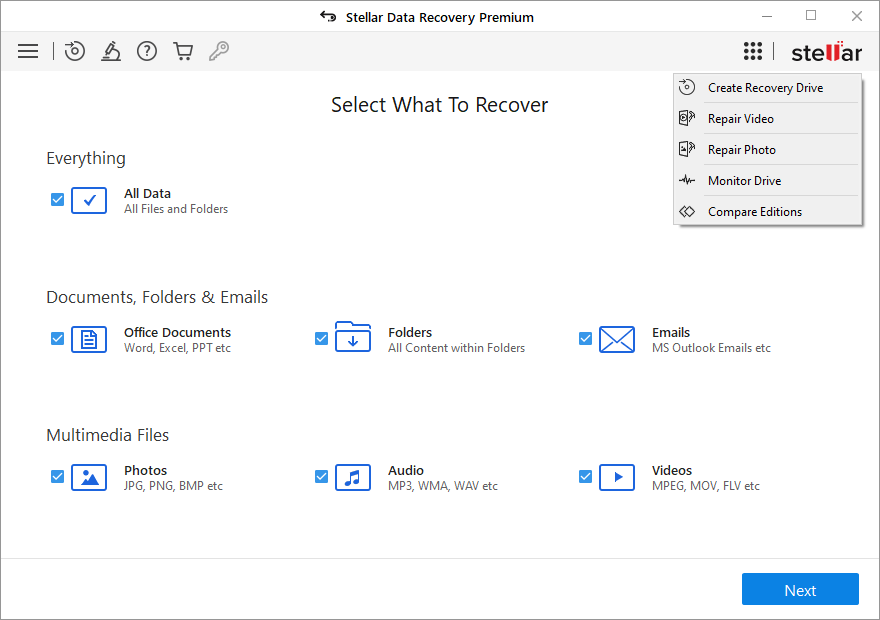
Further, you can choose features like ?Monitor Drive?, ‘Repair Video’, ‘Repair Photo’ under the ‘Waffle icon’.
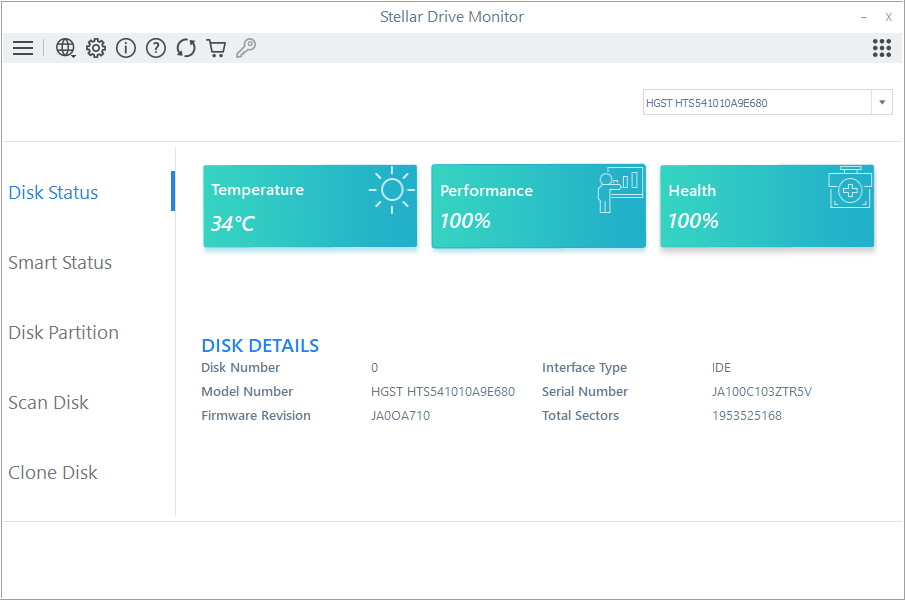
‘Monitor Drive’ option to check the health of the connected drive in real time. The interface shown below helps to display Disk Status, Smart Status, and Disk Partition information. In addition, you can use the module to scan or clone a storage drive.

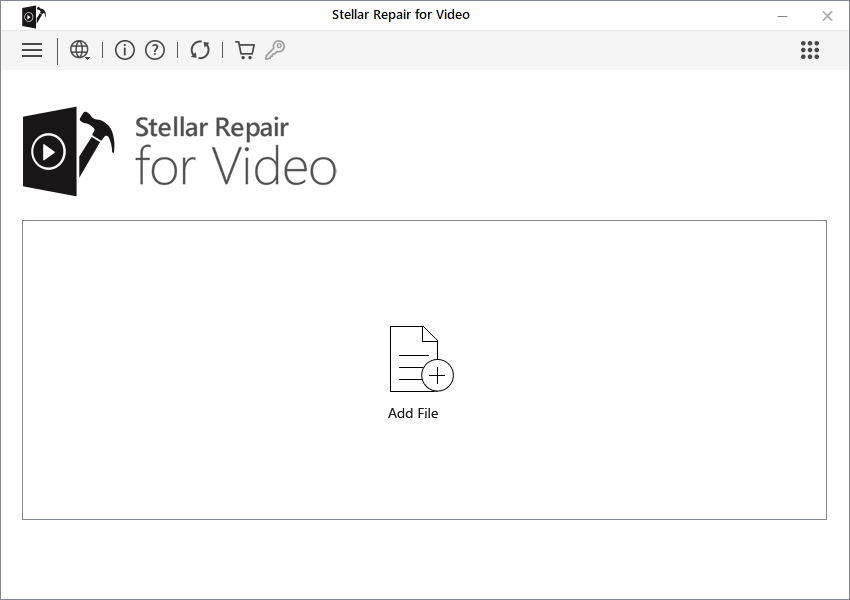
Use the ?Repair Video? option to repair corrupt video files. In the module?s interface shown below, you need to add all the damaged video files via Add File. When you have added all the files, click Repair to fix video corruption problem. The repaired videos will play without any trouble.

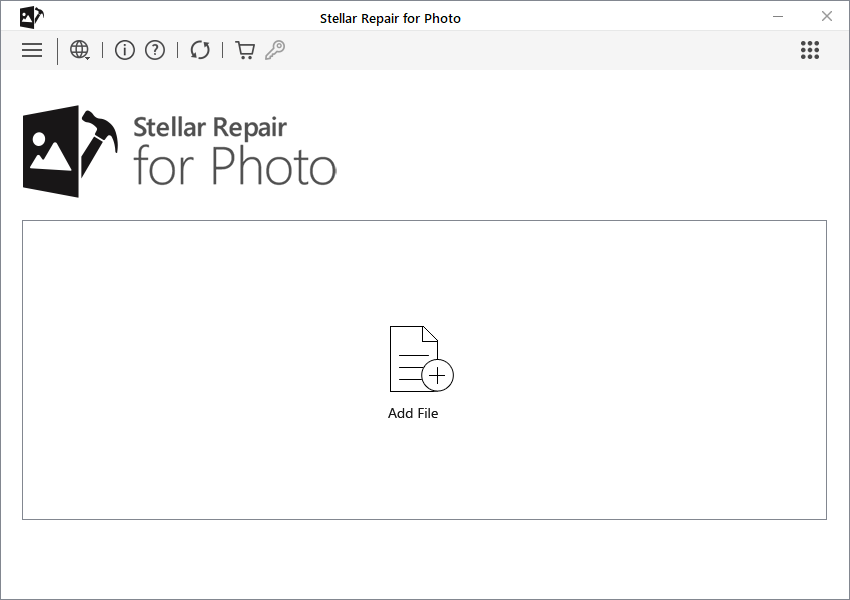
Use the ?Repair Photo? option to repair corrupt photo files. This displays the photo repair module as shown below. Click Add File to enter all the corrupt photos to the module. Click Recover to rectify the damages that occurred on the photo files.
Conclusion
A versatile software is what people crave for and Stellar Data Recovery Premium for Windows justifies its usefulness via data recovery, data repair, and drive monitoring capability in one bundle. This blog acquainted you with the installation and usage of the DIY premium software.
In case you have suffered a data loss via deletion/corruption or are willing to monitor your drive to prevent future losses, download the software and use its premium functionalities.


