Summary: In this blog, we’ve provided some free methods that will help you recover lost or deleted data from Windows 11. These methods work under different data loss scenarios, such as accidental deletion, drive formatting, corruption, etc. You can use a free data recovery software that can help you recover data lost due to any logical data loss scenario.


Contents
Many users with eligible systems have already installed Windows 11, since its public release on October 5, 2021. If you?re one of the users and have mistakenly deleted or lost data from Windows 11 system, there is no need to concern as you can easily recover the lost or deleted data. In this post, we?ve covered some DIY methods to recover lost data from Windows 11 system. But before that, let?s see the reasons for data loss.
What Causes Data Loss?
You may lose files, folders, and other data from your system due to various reasons, such as:
- Accidental Deletion
- Drive Formatting
- Software Corruption
- File System Corruption
- Bad Sectors on Hard Drive
- Malware Attack
- System Crash
- Damaged Hard Drive
How to Perform Data Recovery on Windows 11?
Here, we?ve covered the best DIY methods that will help you recover deleted or lost files in different data loss scenarios. These methods include:
- Recover Data from Recycle Bin
- Use Windows Backup Utilities
- Run ATTRIB Command using Command Prompt
- Use Microsoft?s File Recovery Software
- Use Stellar Data Recovery Free Edition
Method 1: Recover Data from Recycle Bin
If you?ve deleted the files from your Windows system using only the ?Delete? key, you can check the Recycle Bin folder for deleted files. To restore deleted data from Recycle Bin, follow the given steps:
- Go to your Desktop and open Recycle Bin.
- Locate and select the files you want to restore.
- Right-click the files and click Restore.


- All the selected files will be restored to their original location.
Method 2: Use Windows Backup Utilities
A. File History
Windows built-in File History feature creates and keeps a copy of your system data. If you?ve kept it turned on since setting up Windows 11, you can easily restore the data deleted using Shift+ Del keys, drive formatting, or corruption. To recover data using File History, follow the given steps:
- Go to Start and type Control Panel in the Search bar to open it.


- Click System and Security on the next prompt.

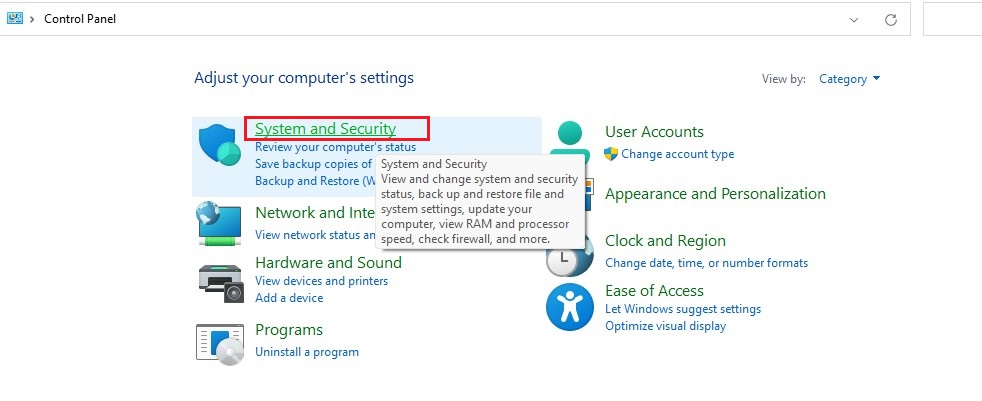
- Now, you can either click File History or Restore your files with File History.


- Find the backup with the date and time.
- Open the backup folder, select the files or folders, and click ?Restore? or ?Restore to?.

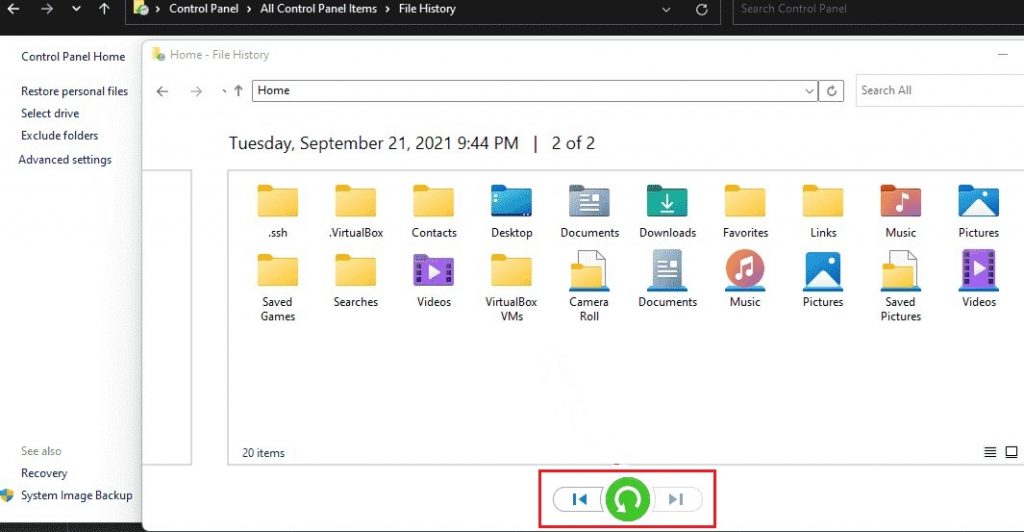
- Finally, choose the desired location (a different drive partition or an external storage drive is recommended) to save the data.
B. Backup and Restore (Windows 7)
It is another Windows built-in utility that, if enabled, keeps a backup of your data. You can recover permanently deleted files easily with the following steps:
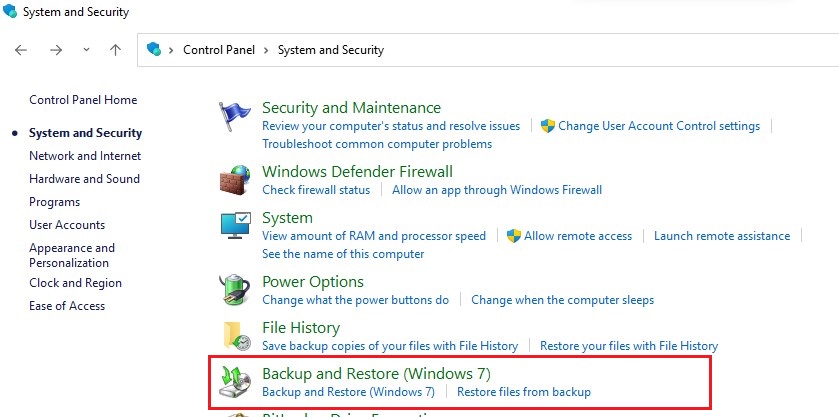
- Open Control Panel and go to System and Security.
- Select either Backup and Restore (Windows 7) or Restore files from the backup.

- On the next prompt, click either Restore my files or Restore all users? files.

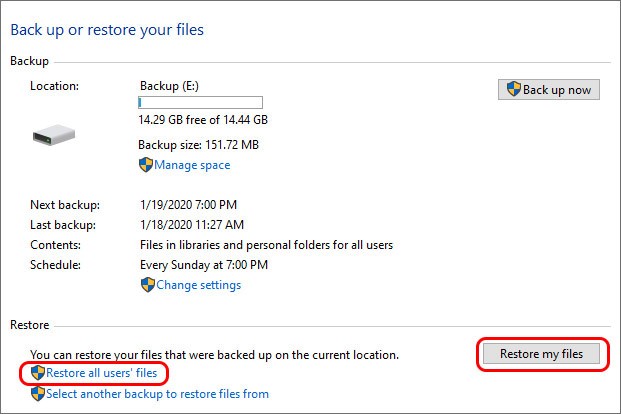
- Select the files you want to restore.


- Next, choose either Browse for files or Browse for folder and click Next.

- Finally, choose the location where you want to store the recoverable files and click Restore.
C. Previous Version
The previous version is the copy of system files and folders that Windows automatically saves as a restore point. To recover files using the Previous Version, follow the given steps:
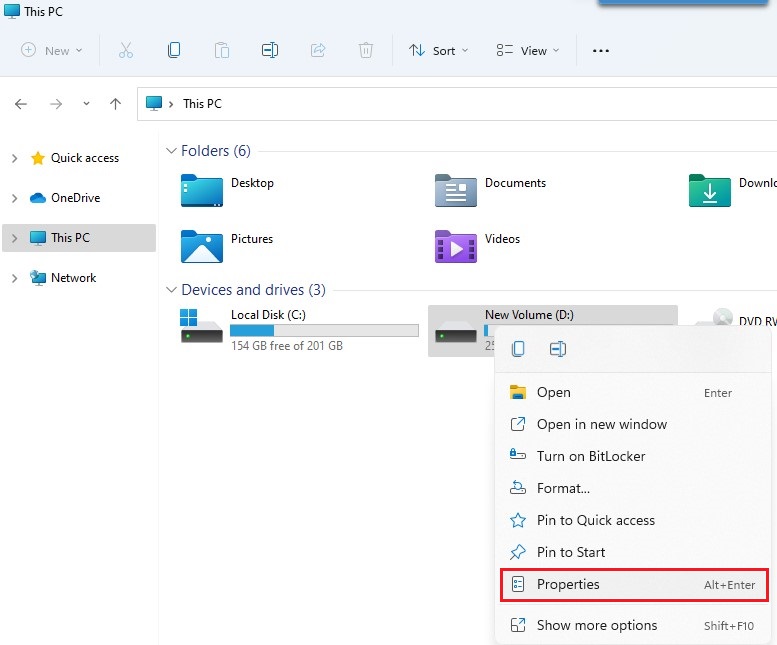
- Go to File Explorer and navigate to This PC.
- Then, right-click the drive from which you lost the files and click Properties.

- Next, navigate to the Previous Versions tab.

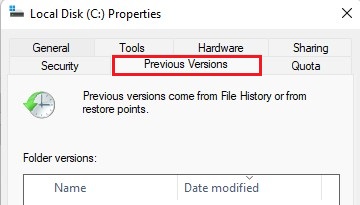
- You?ll see the list of previous versions of all folders and files. Choose the files or folders you want to revert to their older state.
- Drag the file or folder to restore to another location (external drive or another drive partition in the system) and click OK.
- The required version of files or folders will be restored to the selected location.
Method 3: Run ATTRIB Command using Command Prompt
Sometimes, your hard drive may get infected with virus or malware, due to which your data stored on the drive may become hidden. You can run the ATTRIB command in the Command Prompt to perform data recovery. To do so,
- Type CMD in the Search bar and click Run as administrator in the right panel.

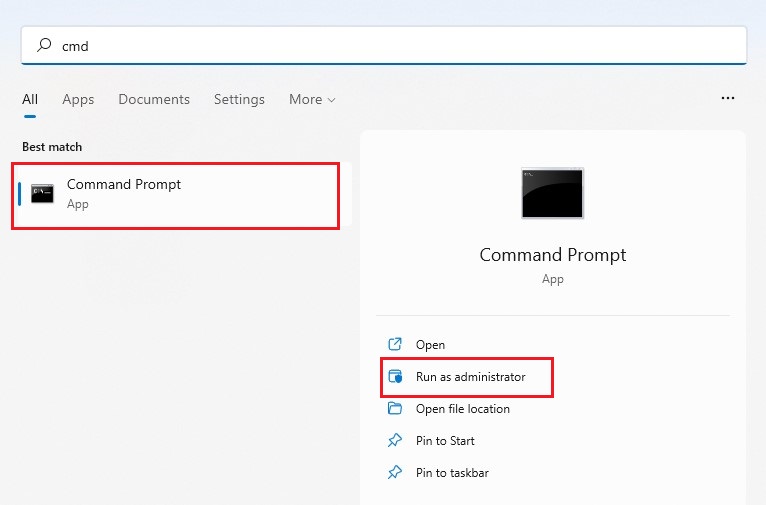
- Click ?Yes? to allow the app to run.
- In the Command Prompt window, type Chkdsk C:/f and hit Enter. (Replace C: with your hard drive letter.)


- Wait until the process is done.
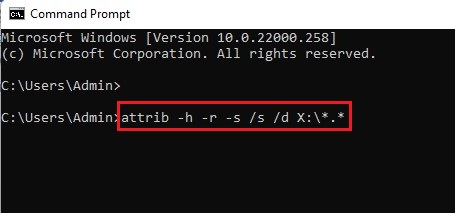
- Once done, type attrib -h -r -s /s /d X:\*.* (replace letter X: with your hard drive letter) and hit Enter.
Here,
?r represents read-only attribute: Files are only readable
?s allocates ?System? attribute to the chosen files
?h assigns the ?Hidden? attribute to the chosen files
?/S? implies to ?Search? attribute to the specified path
?/D? contains process folders
X: represents the selected hard drive

Once the process is completed, a new folder on your selected hard drive will be created with all the recovered data. The files will probably be in CHK format. Change the file format to make them accessible and save them at the preferred location.
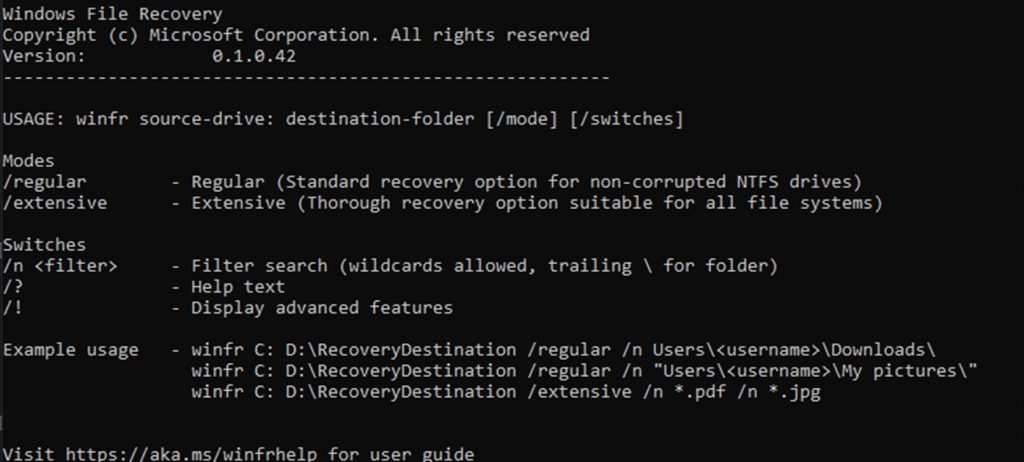
Method 4: Use Microsoft?s File Recovery Software
If you can?t restore your files from backup, you can use Microsoft?s Windows File Recovery tool. It is a command-line tool that can recover files in case of accidental deletion, formatting, and corruption. The software is available with three modes of operations, including Default, Segment, and Signature.
Default mode only supports the recovery of recently deleted files from NTFS hard drives. You need to use Segment mode to recover data lost due to accidental deletion, formatting, and corruption from NTFS hard drives. However, the Signature Mode allows data recovery from FAT, exFAT, and ReFS hard drives.

There are a few limitations of using this software:
- As it?s a command-line tool, you need to run several commands to recover different file types from NTFS, FAT, ReFS, and other hard drives, making it a bit complicated for non-technical users.
- This tool is only available for Windows 10 (version 2004) and above versions. Unfortunately, you can?t recover deleted data using this tool from previous Windows versions.
- The recovery results may be incomplete or corrupted.
Method 5: Use Stellar Data Recovery Free Edition
For hassle-free data recovery in all data loss scenarios, such as deletion, drive formatting, corruption, malware attack, etc., you can use a powerful data recovery software, such as Stellar Data Recovery Free Edition. It is a free data recovery software with powerful scanning and file recovery features. It restores all kinds of data, including documents, emails, PDF files, images, videos and audio files, and more, absolutely free of cost. You can even retrieve data from BitLocker-encrypted drives. You can recover lost data in just a few simple steps.
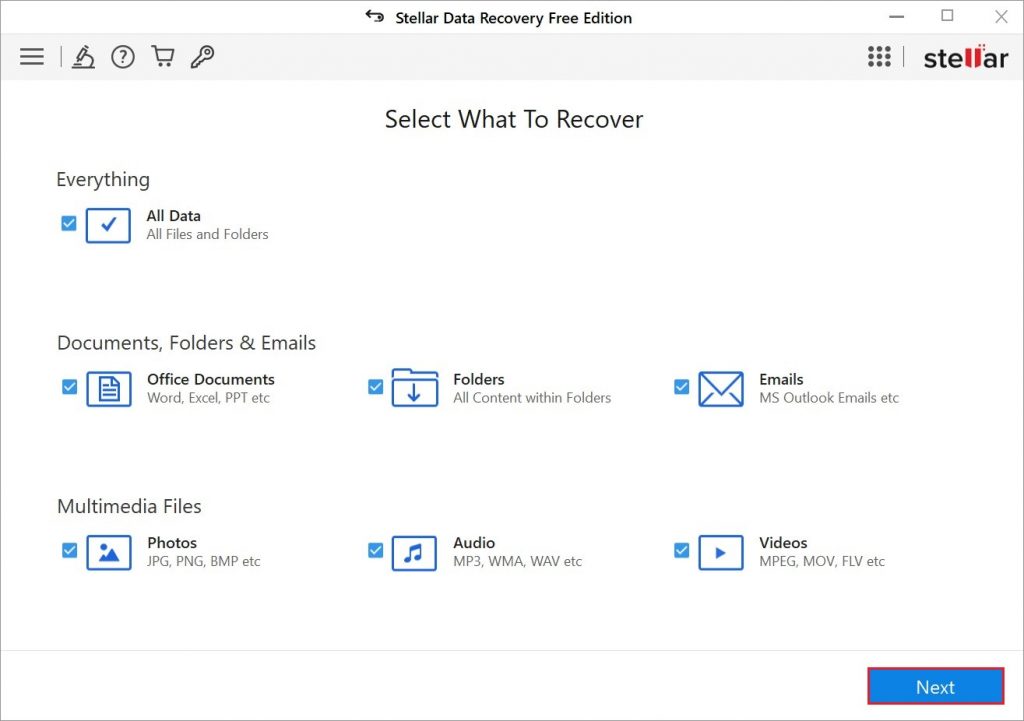
- Install and run Stellar Data Recovery Free Edition on your Windows 11 system.


- Select ?Everything? or choose the type of data you want to retrieve and click ?Next? on the initial interface.

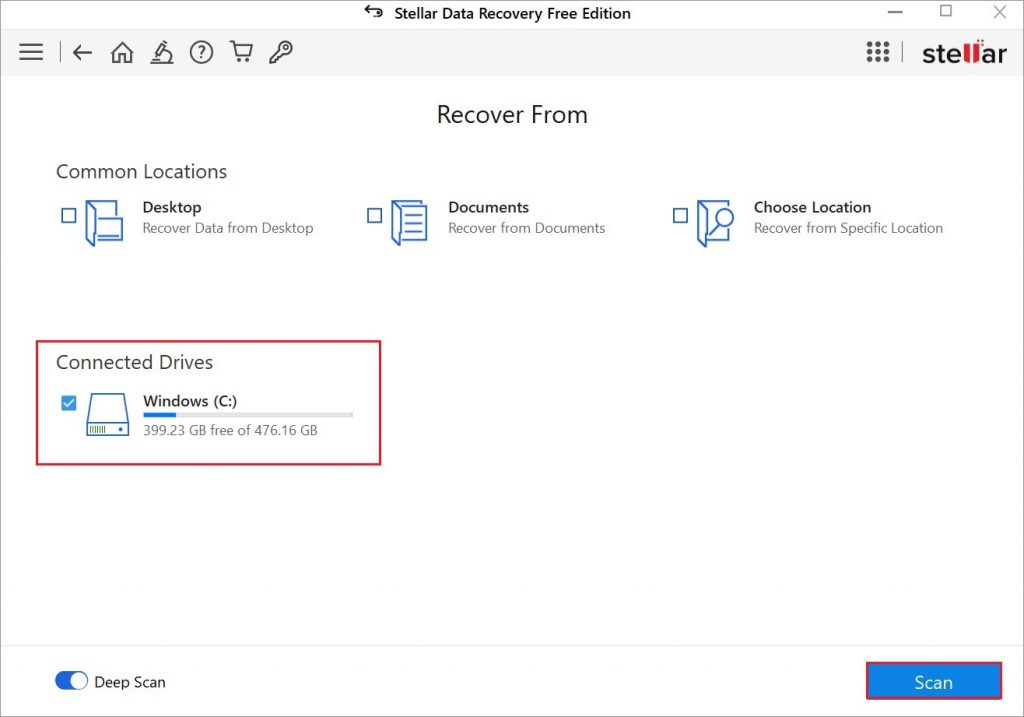
- Next, choose the location or drive from where you?ve lost the data on the Recover from screen and click Scan. The scanning process will start.

- Once the scanning is done, you?ll see the results on the screen. Select files from available results and click ?Recover?.

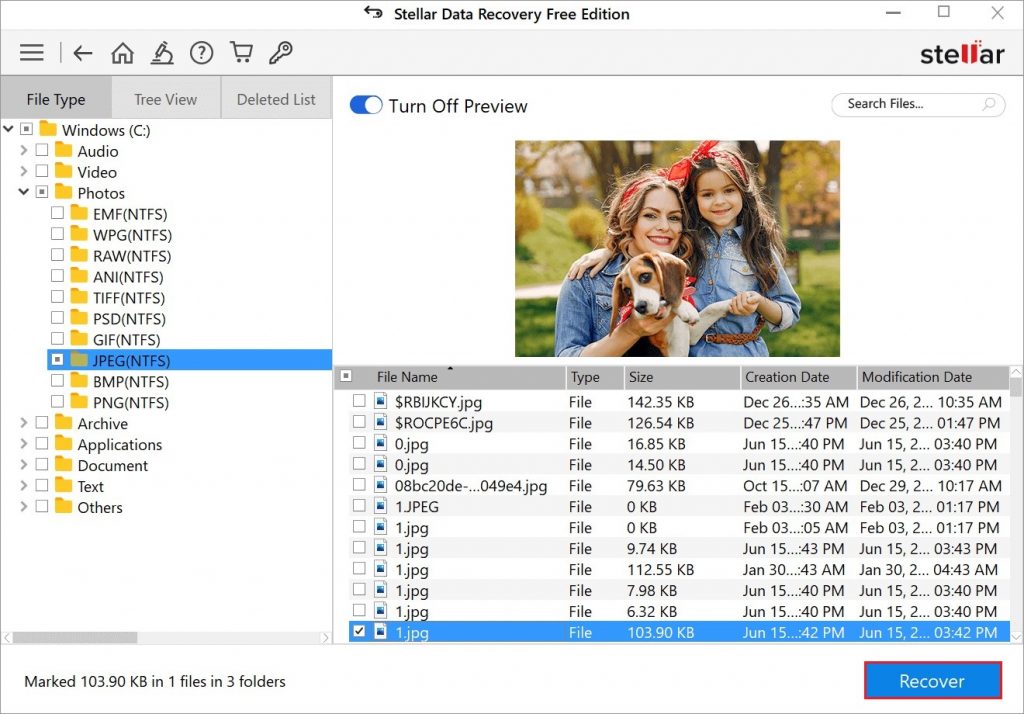
- Now your files will be ready to recover. Browse the location to store recoverable files and Start Saving the files.
Note: You can recover up to 1 GB of data for free by using Stellar Data Recovery Free Edition.
Preventive Measures for Avoiding Data Loss
You may lose data at any moment. Certainly, the above-discussed methods may help you retrieve lost or deleted data. However, it?s always said ?Precaution is better than cure?. Thus, sharing some preventive measures for avoiding data loss in future.
- Back up your data regularly and keep at least three copies of your backup on Cloud or external storage media drives.
- Be more attentive while removing unnecessary data from hard drives.
- Always keep the latest Antivirus Program installed on your system to prevent malware or virus attacks.
- Don?t perform any hit-or-trial method to clean up your hard drives.
- Keep reliable data recovery software handy to prevent permanent data loss.
Conclusion
Data loss is a serious problem that may occur due to multiple reasons. But, whether you?ve deleted the data accidentally or it got lost due to hard drive corruption or formatting, you can get it back. Try out the free DIY methods given in this blog to recover lost or deleted data.
If you?ve just deleted your files using the ?Del? key, Recycle Bin is the first place to check and retrieve your files. However, if the files are deleted permanently (using Shift+Del key or emptying Recycle Bin) or lost due to other reasons, you can use Backup features in Windows or data recovery software, such as Windows File Recovery and Stellar Data Recovery Free edition to recover the data. However, Windows File Recovery is a bit complicated tool for a normal user. Hence, we?d suggest you go with Stellar Data Recovery. It?s a DIY software that can recover data in all common data loss scenarios.


