Summary: Nobody is insured from a mistake like accidental file removal. But what to do when you’ve deleted the whole hard drive from your Mac? Erasing a Mac hard drive will instantly lead to data loss. Even so, you can prevent this crisis in several ways. If you react quickly, recovering data from deleted startup disk will be achievable. The most effortless and efficient means of rescuing your data is by using the Stellar Data Recovery software.


Contents
So you are in a situation where you accidentally erased a hard drive on your Mac. If your disk is not physically damaged, the chances of saving your data are pretty high (at least partially). Several methods are available, so let’s move to each. We offer to start with the basics.
Can I Use the Erased Hard Drive on Mac?
The erased hard drive on Mac still holds data, which can later be recovered. Yet when you use the drive, your files will be overwritten, making them impossible to rescue. So what you should do is unplug the Mac hard drive and refrain from using the hard drive.
How to Recover an Erased Hard Drive on Mac?
I. Try a Time Machine Backup
The most effortless method is recovering a backup from Time Machine. Please mind, though, that this method can be narrow in managing the recovery process.
Please follow these steps to restore a hard disk from Time Machine backup:
- Attach the Time Machine external hard drive to your Mac.
- Reboot your Mac and hold down Command+R simultaneously. For M1 Mac, press and hold the Power button.
- You should see the macOS Utilities screen. From here, choose Restore from Time Machine Backup.

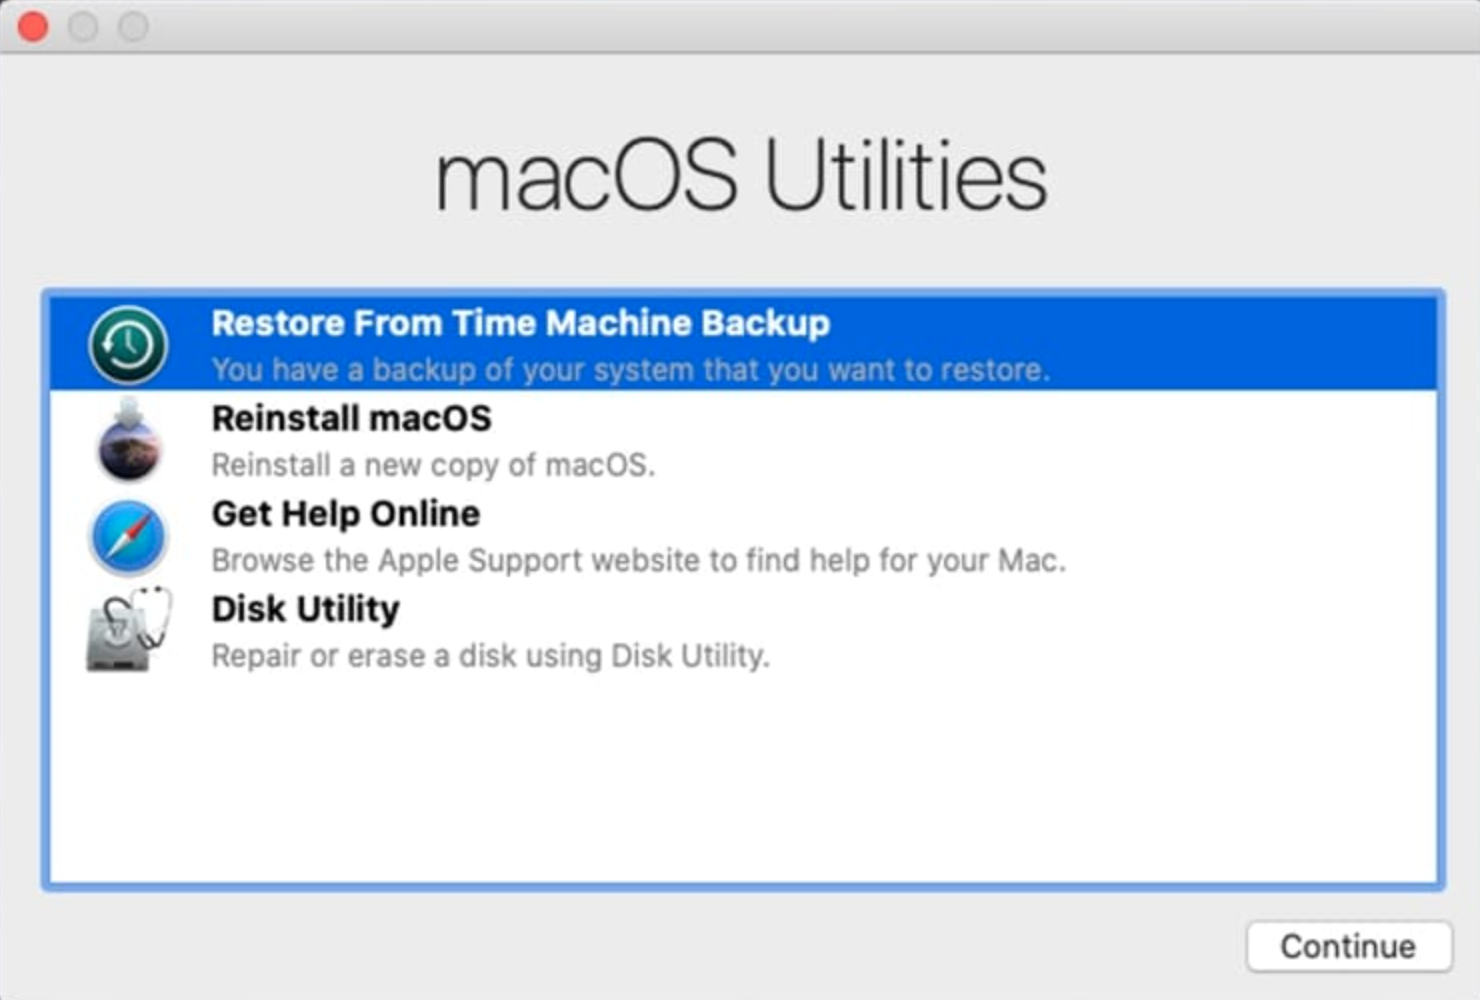
- Now pick the backup you need to recover. Click Continue. Your Mac will automatically start the recovery process of the selected backup. After it ends, the Mac will restart.
II. Utilize the Recovery Mode option
If you face the problem that your computer fails to start after you’ve accidentally deleted the startup disk, the most effective solution is to run the Recovery Mode. Following that, you will be required to repartition the startup disk, then reinstall the operating system of your device.
We will review both M1 and Intel-based Macs instructions.
M1 Apple Silicon:
Follow these steps to boot the Recovery mode on an M1 Mac and recover the startup disk:
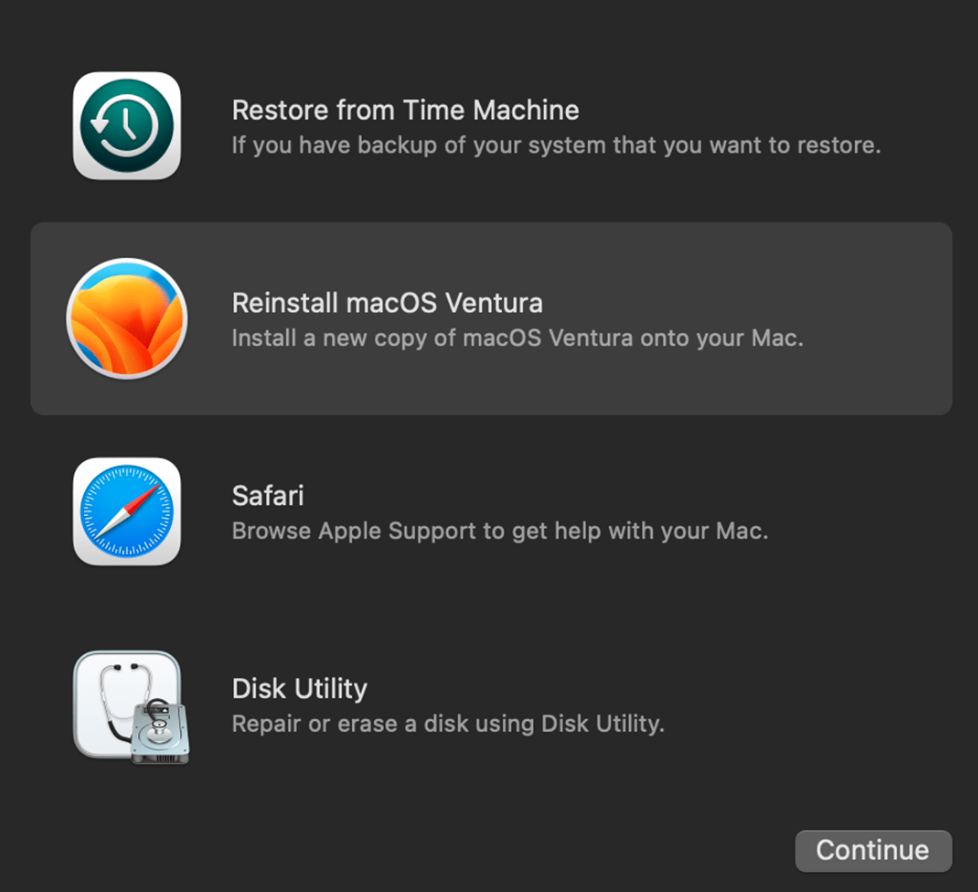
- To boot the Recovery Mode, go to the Apple menu, select Restart, and instantly hold down the Power button until the Startup Options screen appears, then release the button.


- Select Options, then Continue.
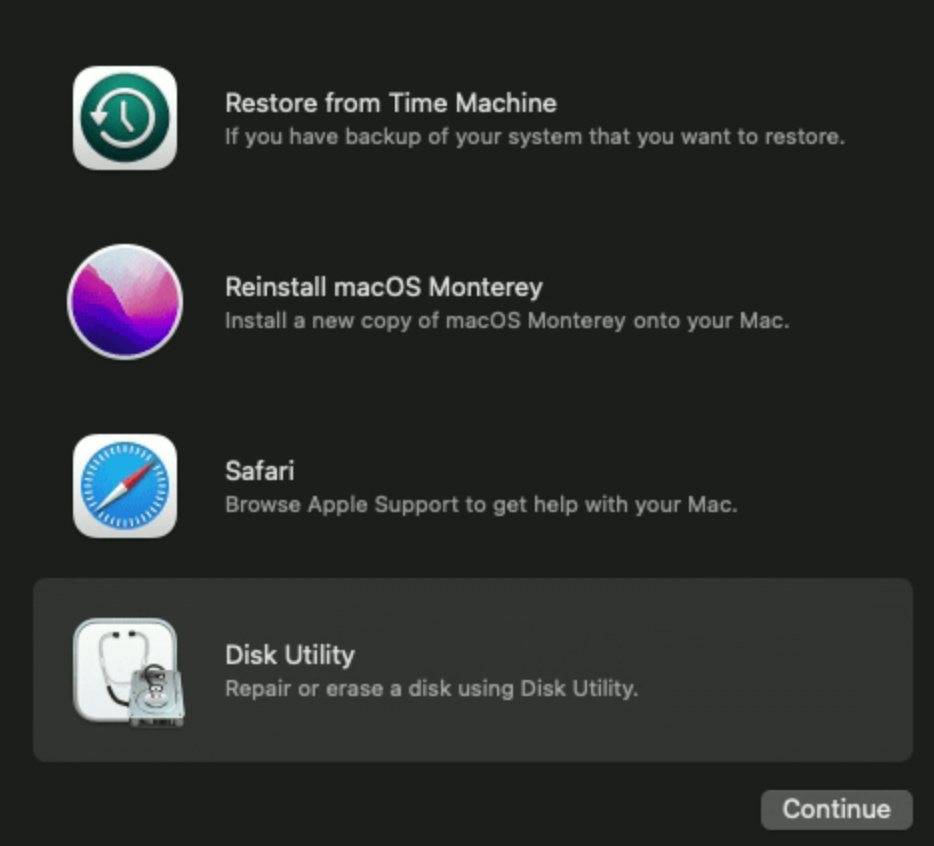
- Navigate to the Disk Utility option.
- Choose the required drive from the side tab and click on Partition.


- Add a new partition by using the Plus (+) icon.
- Provide a name and indicate the desired size for your partition.
- Click Apply.
- Click on Disk Utility from the menu on top and then select Quit Disk Utility.
- Select the Reinstall macOS option from the Recovery Mode and adhere to the instructions displayed on the screen to finalize the process.

Intel-based Macs:
Follow these instructions to restore the startup disk on Mac with Intel:
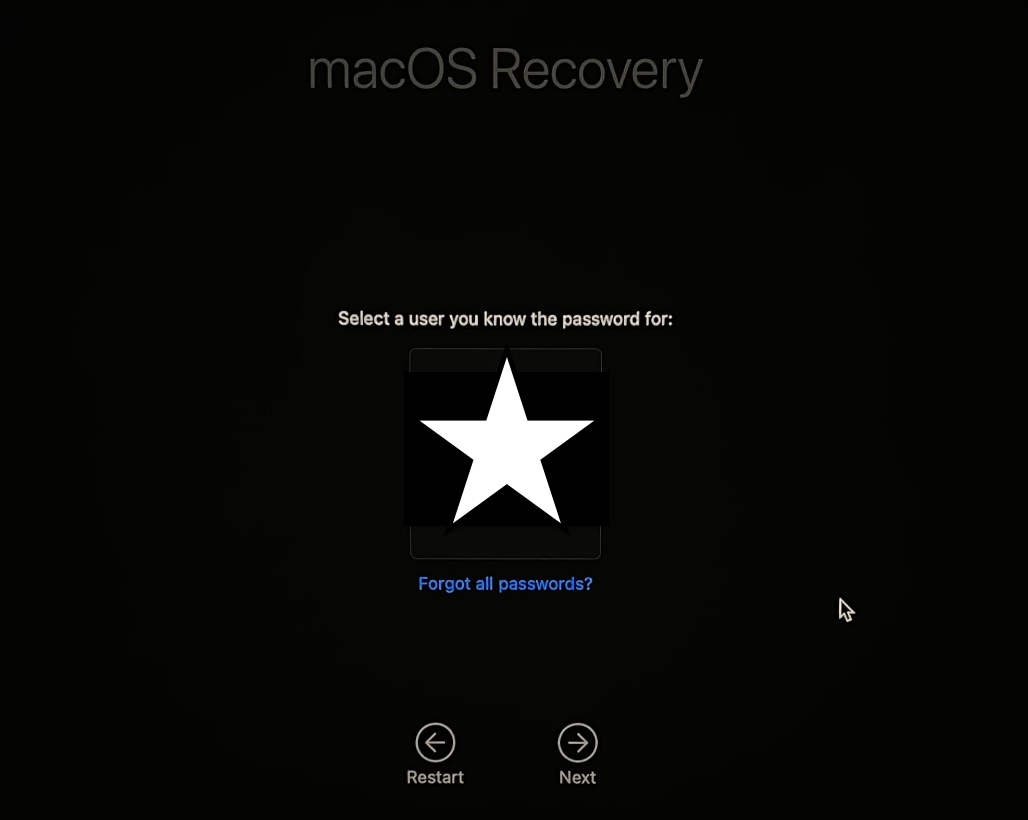
- To enter Recovery Mode, restart your computer by opening the Apple menu, then selecting Restart. Immediately afterward, hold down the Command + R keys until you see the Apple logo on the screen, and then release the keys.
- Select the user account you operate, input your password if required, and click the Next button.

- Navigate to the Disk Utility option in the Recovery Mode menu and proceed by clicking on the Continue button.

- Select the relevant drive from the left-hand side and click on the Partition button.
- Add a new partition by using the Plus (+) icon.
- Provide a name and indicate the desired size for your partition.
- Click Apply.
- Click on the Disk Utility option from the menu on the top and select Quit Disk Utility.
- In the Recovery Mode screen, select the Reinstall macOS options. After, follow the instructions displayed on the screen to finalize the process.
III. Use Data Recovery Software
Suppose you have unintentionally erased your Macintosh hard drive using the fastest erase option. In that case, you can recover the lost data using specially designed software such as Stellar Data Recovery.
Follow these steps to recover the erased hard drive using Stellar Data Recovery:
1. Download the Stellar Data Recovery software.


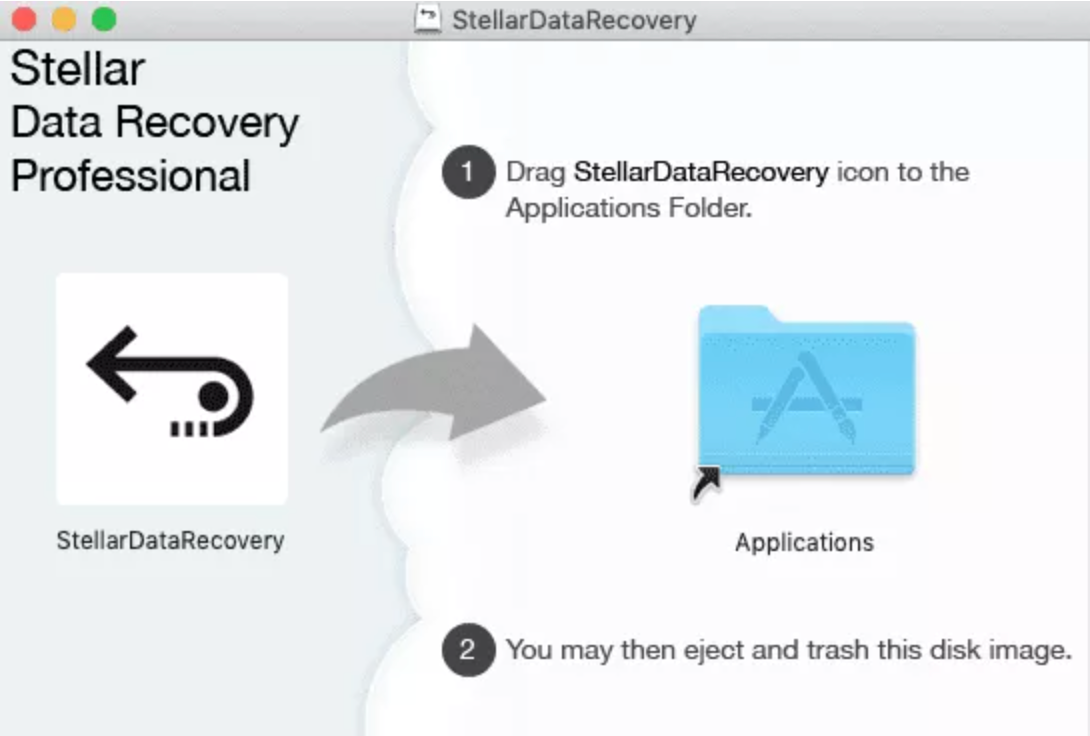
2. Next, you should install the software in the Application folder of your Mac.

3. Launch the app and select the file types you need to recover or just select the Recover Everything option > click Next.


4. Select your erased Mac hard drive and activate the deep scan feature. While a quick scan can recover the filesystem, a deep scan searches through each block of the hard drive. Although the deep scan takes more time, it yields the most effective results.


5. Click the Scan button to start the process. You can preview the scan and all your recovered files.
6. On the right-hand side, search for the specific files you need, and double-click on them. If you want to retrieve a file, place a checkmark beside it and click on the Recover button.


Wrapping Up
Even if you accidentally delete your Mac’s startup disk, it’s possible to prevent a crisis from occurring. Try using Time Machine Backup or use the Recovery Mode option. As a third method, we offer using Stellar Data Recovery, as it was built specifically to protect your data. The Stellar Data Recovery Professional for Mac can be beneficial in restoring a deleted external drive on a Mac.
Related reading:


