Summary: Updated your Mac to macOS Monterey and found some of your files missing? Don’t panic, as many Mac users have encountered this bug, and we’re here to provide you with a solution! You can either try manual ways from our guide or jump right to the automatic data recovery solution by downloading and using the Stellar Data Recovery app.


Contents
We?ve all accidentally deleted important documents and rushed to google ?how to recover emptied Trash files.? However, since October, with the newest macOS 10.12, many Mac users have reported files deleted after the macOS Monterey update problem. This issue happened due to some installation problems. For instance, some got a black screen, ?installation failed? message, or the Monterey update took too long. If you?ve faced some of these bugs, you might end up with freshly installed Monterey and desktop files and folders, notes, or even users missing.
Let?s cut to the chase and learn how to restore lost data after updating to macOS Monterey by:
- Checking the Trash folder
- Using Time Machine
- Using iCloud
- Running Stellar Data Recovery software for Mac
Check the Trash Bin
The first and the easiest step is to look for the deleted items in the Trash folder.
1. Go to the Trash folder by opening it from the Dock.
2. Look through the contents of the Trash or use the search box if you know the file’s exact name to locate it faster.
3. Right-click on the file or files you want to restore > select the Put Back option.

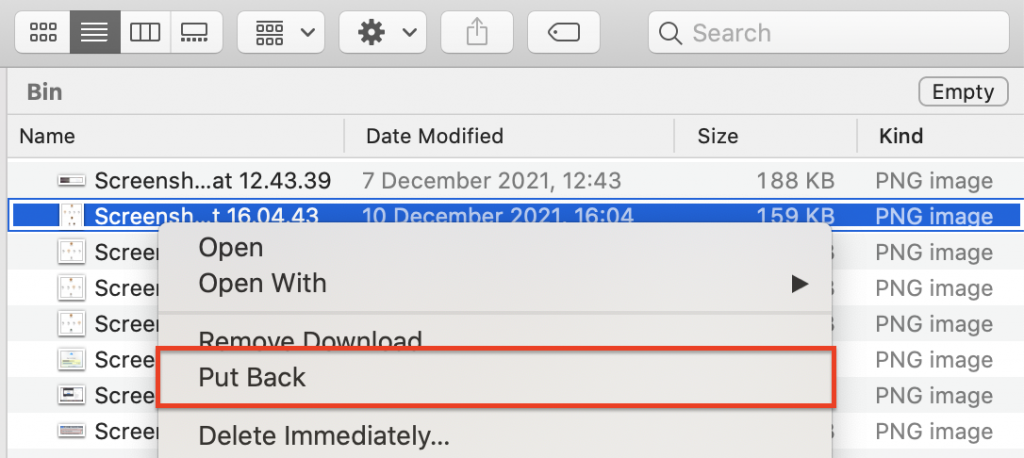
4. Check if the restored items found their way to the original location.
If you can?t find the file you need in the Trash ? scroll down to try other options.
Use Time Machine
Time Machine is one of the most useful built-in macOS tools for restoring trashed files. Time Machine backs up your data each hour to an external hard drive or an SSD. The perks of this app are that it lets you restore data from any time from the past. That?s why each time you prepare your Mac for the next macOS update ? keep in mind to secure your Mac using this method.
If you have backed up your system before installing the latest macOS, follow these steps ??to restore lost data after the macOS Monterey update:
1. Connect the external drive you?ve used for the Time Machine backup drive.
2. Open the folder where the missing file belonged.
3. Open Time Machine > select Enter Time Machine.

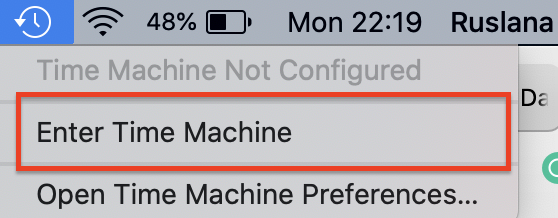
4. Use the arrows to move the timeline to find the data backup for the lost item.


5. Hit the Restore button.
6. Try opening the recovered file to double-check if the data recovery went well.
If you haven?t done the Time Machine before upgrading to macOS 10.12 ? it?s high time to start using this tool to secure your files from a possible data loss in the future. Our detailed manual on ?How to set up Time Machine on Mac?? will guide you through the process.
Use iCloud Backup
iCloud is an easy and fast way to bring the missing files back. All you need is access to the internet and your Apple ID. If you regularly use iCloud as a backup method, we can try this recovery method. Here?s how.
To restore missing files after Monterey update using iCloud:
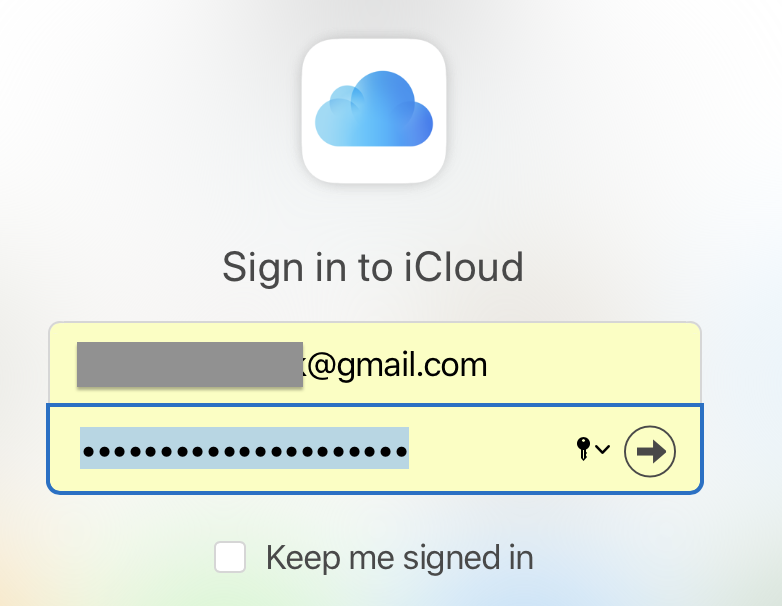
1. Access here from any of your preferred browsers.
2. Log in with your Apple ID.

3. Go to Account Settings (located right below your avatar on the welcome screen).

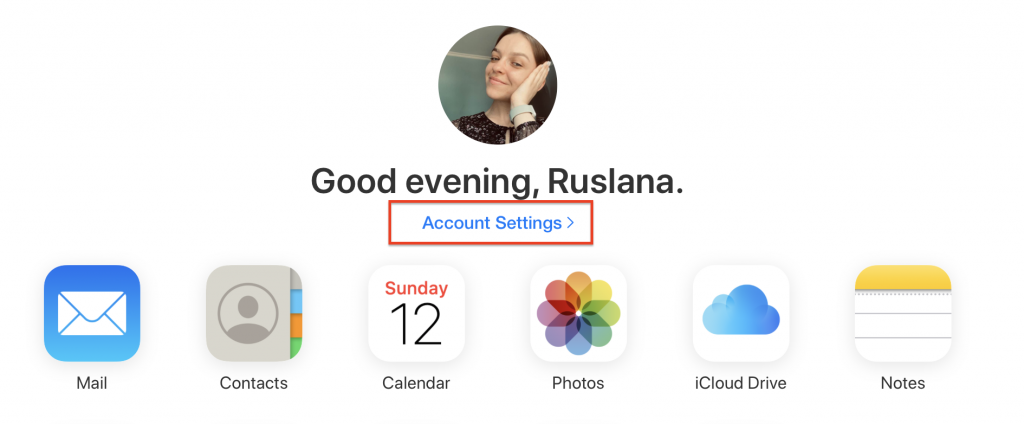
4. Scroll down to the bottom of the page.
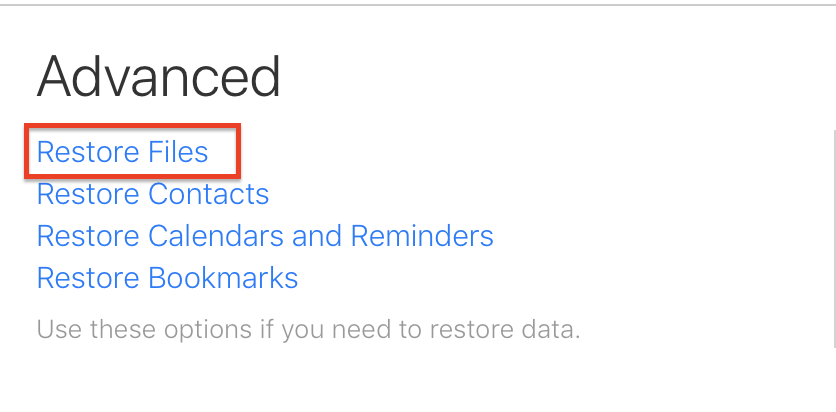
5. Select Restore Files located under Advanced in the left bottom corner.

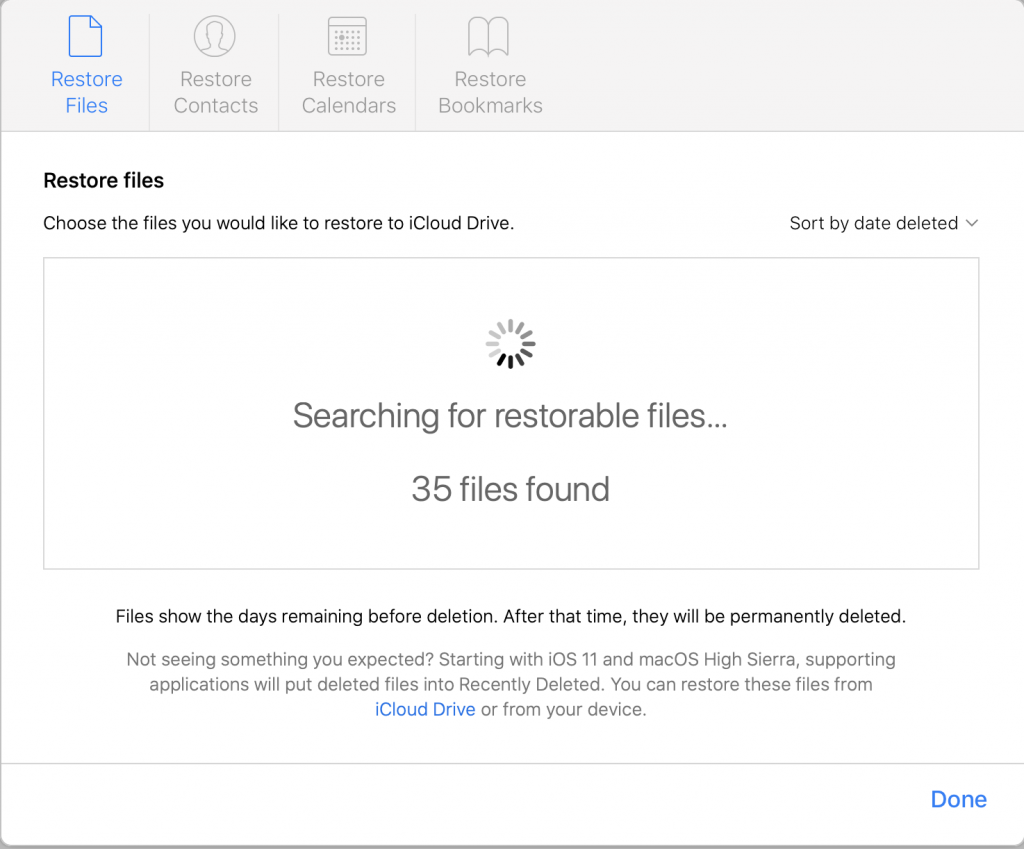
6. Let it scan; it might take a minute or more.

7. Tick the files from the list and press Restore.

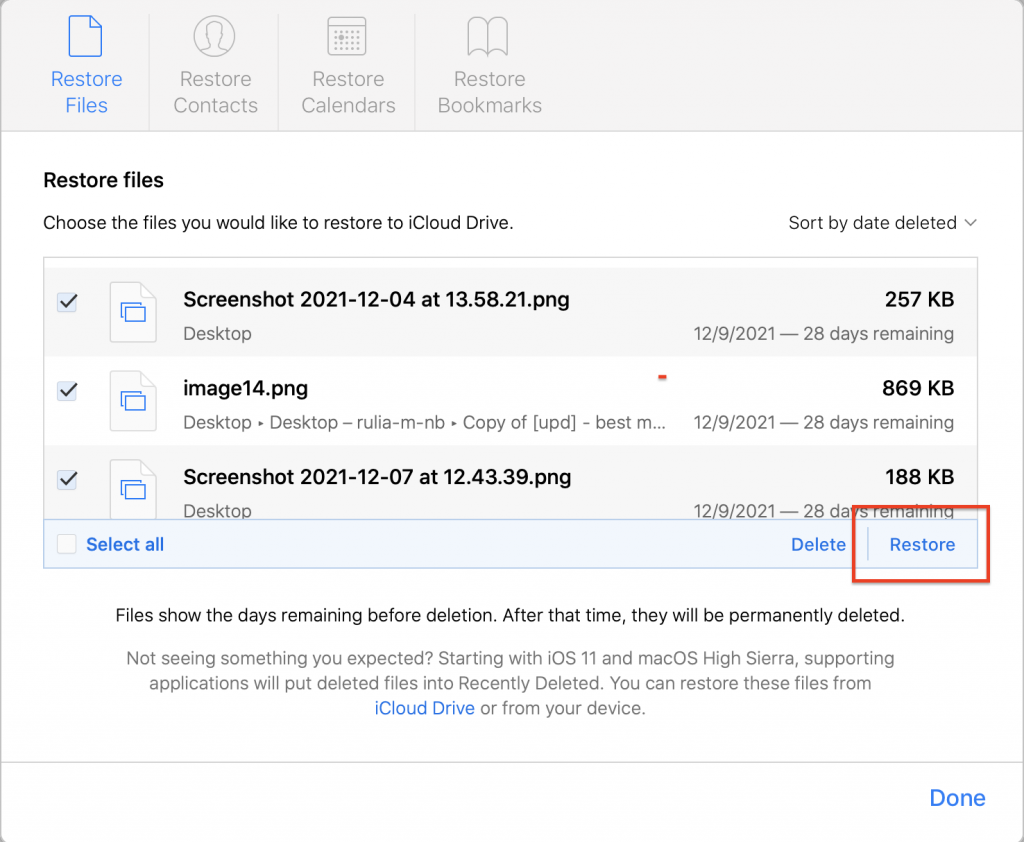
8. Wait for the files to be restored and click Done.
9. Look for the recovered items using Spotlight or by checking their original location.
Did you know that it?s possible to recover not only lost data but also contacts or even calendars with iCloud? If you?ve never used iCloud as a backup method ? it?s never too late to start!
Here?s how to set up iCloud on your Mac:
- Open System Preferences.
- Go to the Apple ID tab.
- Enter your Apple ID (iCloud will be turned on automatically).
- Select iCloud in the sidebar.
- Tick the items you want to back up (I?d recommend selecting all options in the iCloud Drive menu).
Learn more about iCloud+ plans and pricing here.
Run Stellar Data Recovery Software
Stellar Data Recovery app is worth trying as it:
- Restores various data file types, such as documents, photos, videos, etc.
- Recovers up to 1 GB of lost files on Mac without activation.
- Works smoothly on the latest macOS Monterey and earlier versions.
- Has a customizable search.
- Lets you learn how to use the app instantly, thanks to its friendly and intuitive interface.
To recover your files deleted by the macOS Monterey update with the help of the Stellar Recovery App:
1. Download Stellar Data Recovery > run the installation package.


2. Choose which file type you need to recover in the What to Recover window > click Next. If prompted ? Assign Full Disk Access ? this way, you?ll let the app scan your system thoroughly and find more files to restore. Follow the on-screen hints to do so.


3. Select the volume in the Recover From window.
4. Start the data recovery scan.
5. Wait for the scan results to pop up on your screen > press OK.
6. Review the folders and tick the items you want to restore > click Recover.
That?s it ? you?ve just restored deleted data with the help of the Stellar Data Recovery software!
Parting Thoughts
Upgrading to the latest macOS is not always smooth. Sometimes we might end up with our operating system glitching, Mac running slow, or overheating. In worst-case scenarios, your precious data might be gone. The good thing is that many manual and automatic data recovery methods are at your disposal.
You might find these articles helpful:


