Summary: Restoring deleted data from an M1-powered Mac is quite a task. You must have heard it's more time-consuming and challenging than on Intel-based Macs. This guide will dive deep and show the effective ways to retrieve lost files on M1 Macs. We’ll use Time Machine and run dedicated software, the most effective option. Try the Stellar Data Recovery app, fully compatible with Apple Silicone Macs.


Contents
Data loss is troublesome no matter what Mac you have. It can happen accidentally, or the files went missing after the macOS Monterey update. M1 Macs let you enjoy many benefits, such as velocity, smooth performance, long battery life, and lower chances of overheating. However, one of the drawbacks appears to be dealing with recovering important data. To get your gone files back, you?ll need to learn a trick or two.
Before we start the data recovery process, let?s make sure you run an Apple Silicone Mac. Skim through the list of the Apple silicon models:
- MacBook Air (M1, 2020)
- MacBook Pro (13-inch, M1, 2020)
- Mac mini (M1, 2020)
- MacBook Pro (14-inch, 2021)
- MacBook Pro (16-inch, 2021)
- iMac (24-inch, M1, 2021)
Is your device not on that list? Read the How to recover deleted files from the T2 chip-enabled Mac guide.
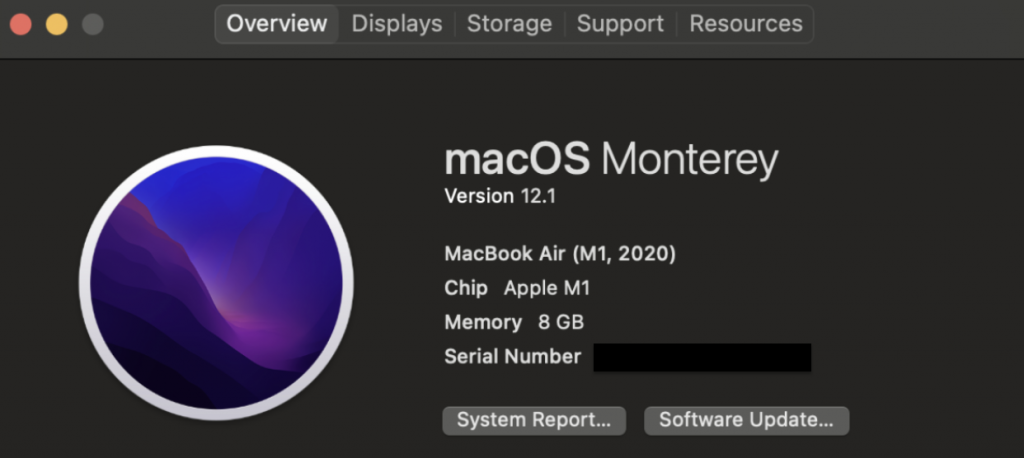
You can also check your Mac model by clicking the Apple logo > About This Mac > Overview. You?ll see a section labeled ?Chip?, which indicates it?s a computer with Apple silicon. On Intel-based Macs, you?ll see an Intel processor name instead.

How to Recover Deleted Files From M1-powered Mac?
Due to the higher level of encryption, common data recovery methods are not applicable to M1 Macs.
Try this before proceeding: It might be a good idea to look for the missing items in the Trash. If you have already emptied the Trash bin ? apply any of the solutions described below.
Method 1: Restore Deleted Files From a Mac with an M1 Chip with Stellar Data Recovery App
The fastest and most secure way to recover missing items on a Silicone Mac is to use Stellar Data Recovery ? a dedicated M1 Mac data recovery software. It is compatible with the latest macOS Ventura and M1, M2 & T2 chip-enabled Macs. Besides, you can install it on Intel Macs with older macOS versions.
Three million customers have chosen the Stellar Data Recovery app. Here?s why:
- The app has a huge file-type library. This means you can recover images, music, Word and Excel files, PowerPoint presentations. Basically, anything.
- With this DIY app, you can customize your search. There is no need to scan the whole system if you just need to restore photos.
- It retrieves data from various storage devices like SSD, jump drives, portable HDD, Time Machine, Fusion drive, and more.
What I find very useful is that it?s possible to get back items deleted from Mac built-in apps such as Photos, Pages, Mail, iMovie, etc. It?s a rare find for an app to have all-in-one data recovery tools.
To restore missing files using the Stellar Data Recovery app:
1. Download and install Stellar Data Recovery for Mac Free Edition software.


2. In the What to Recover window, select the file type you want to recover (or choose all items) > hit Next.

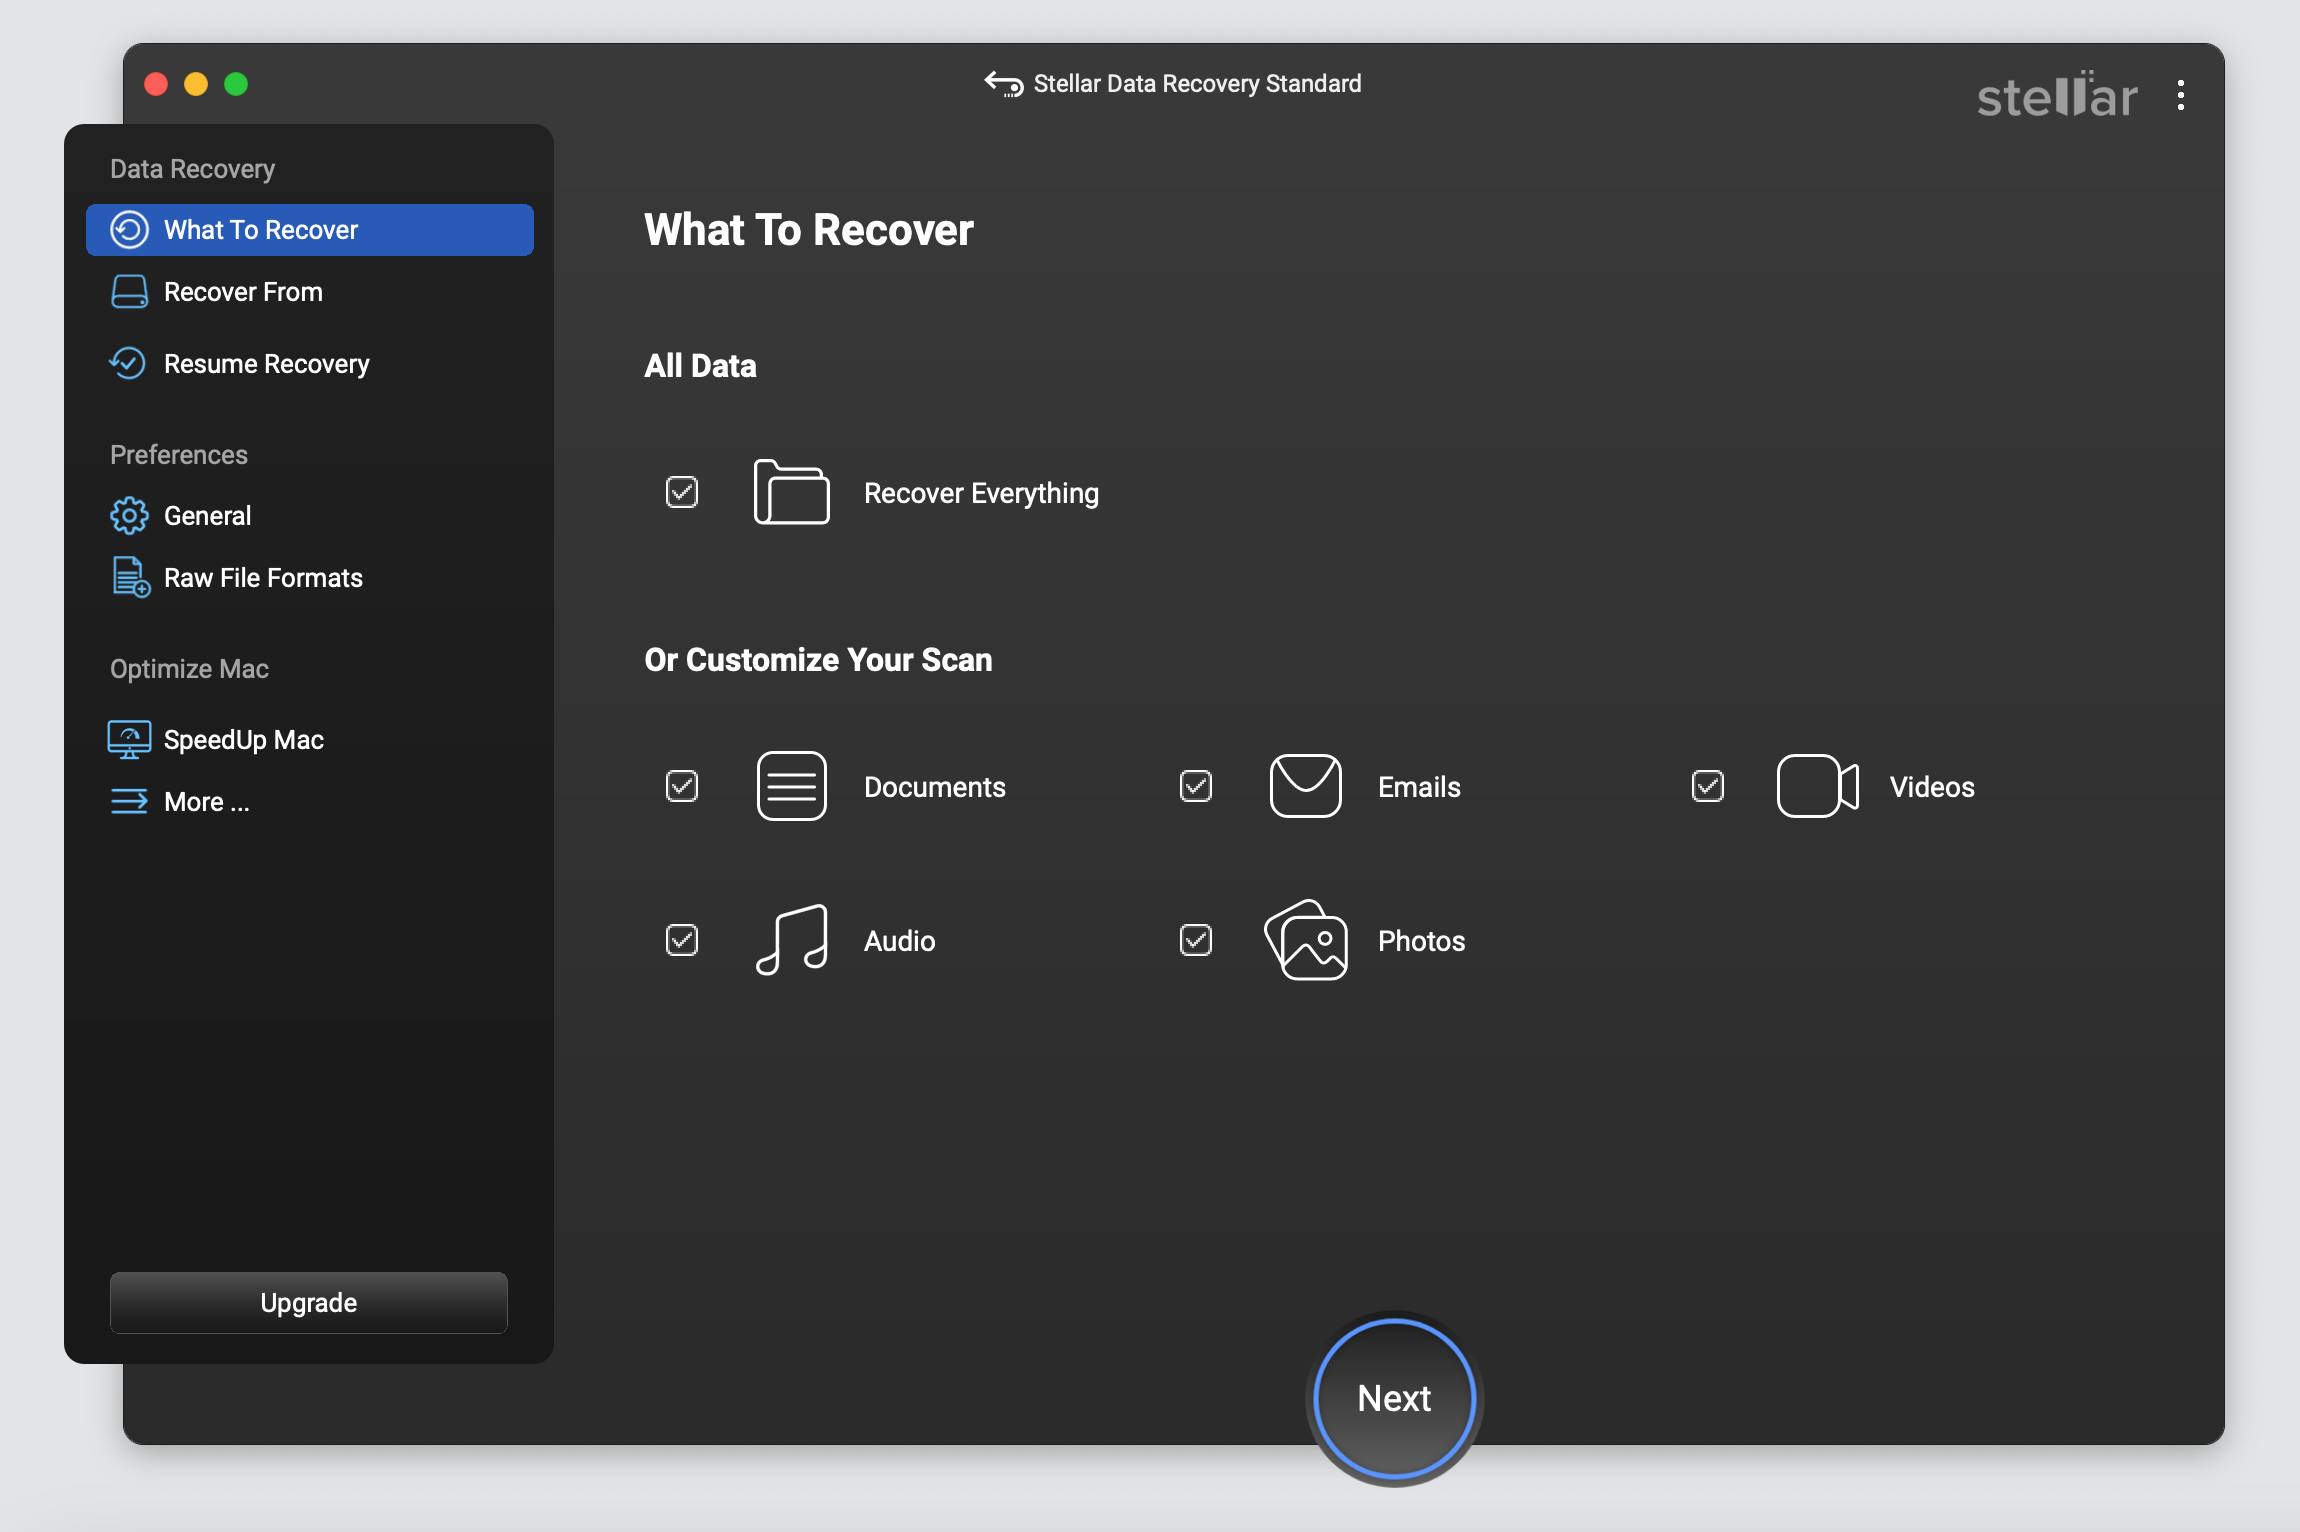
Note: You may be asked to assign full disk access before moving to the next step. Follow the on-screen hints.
3. In the Recover From window, choose a volume > click the Scan button.

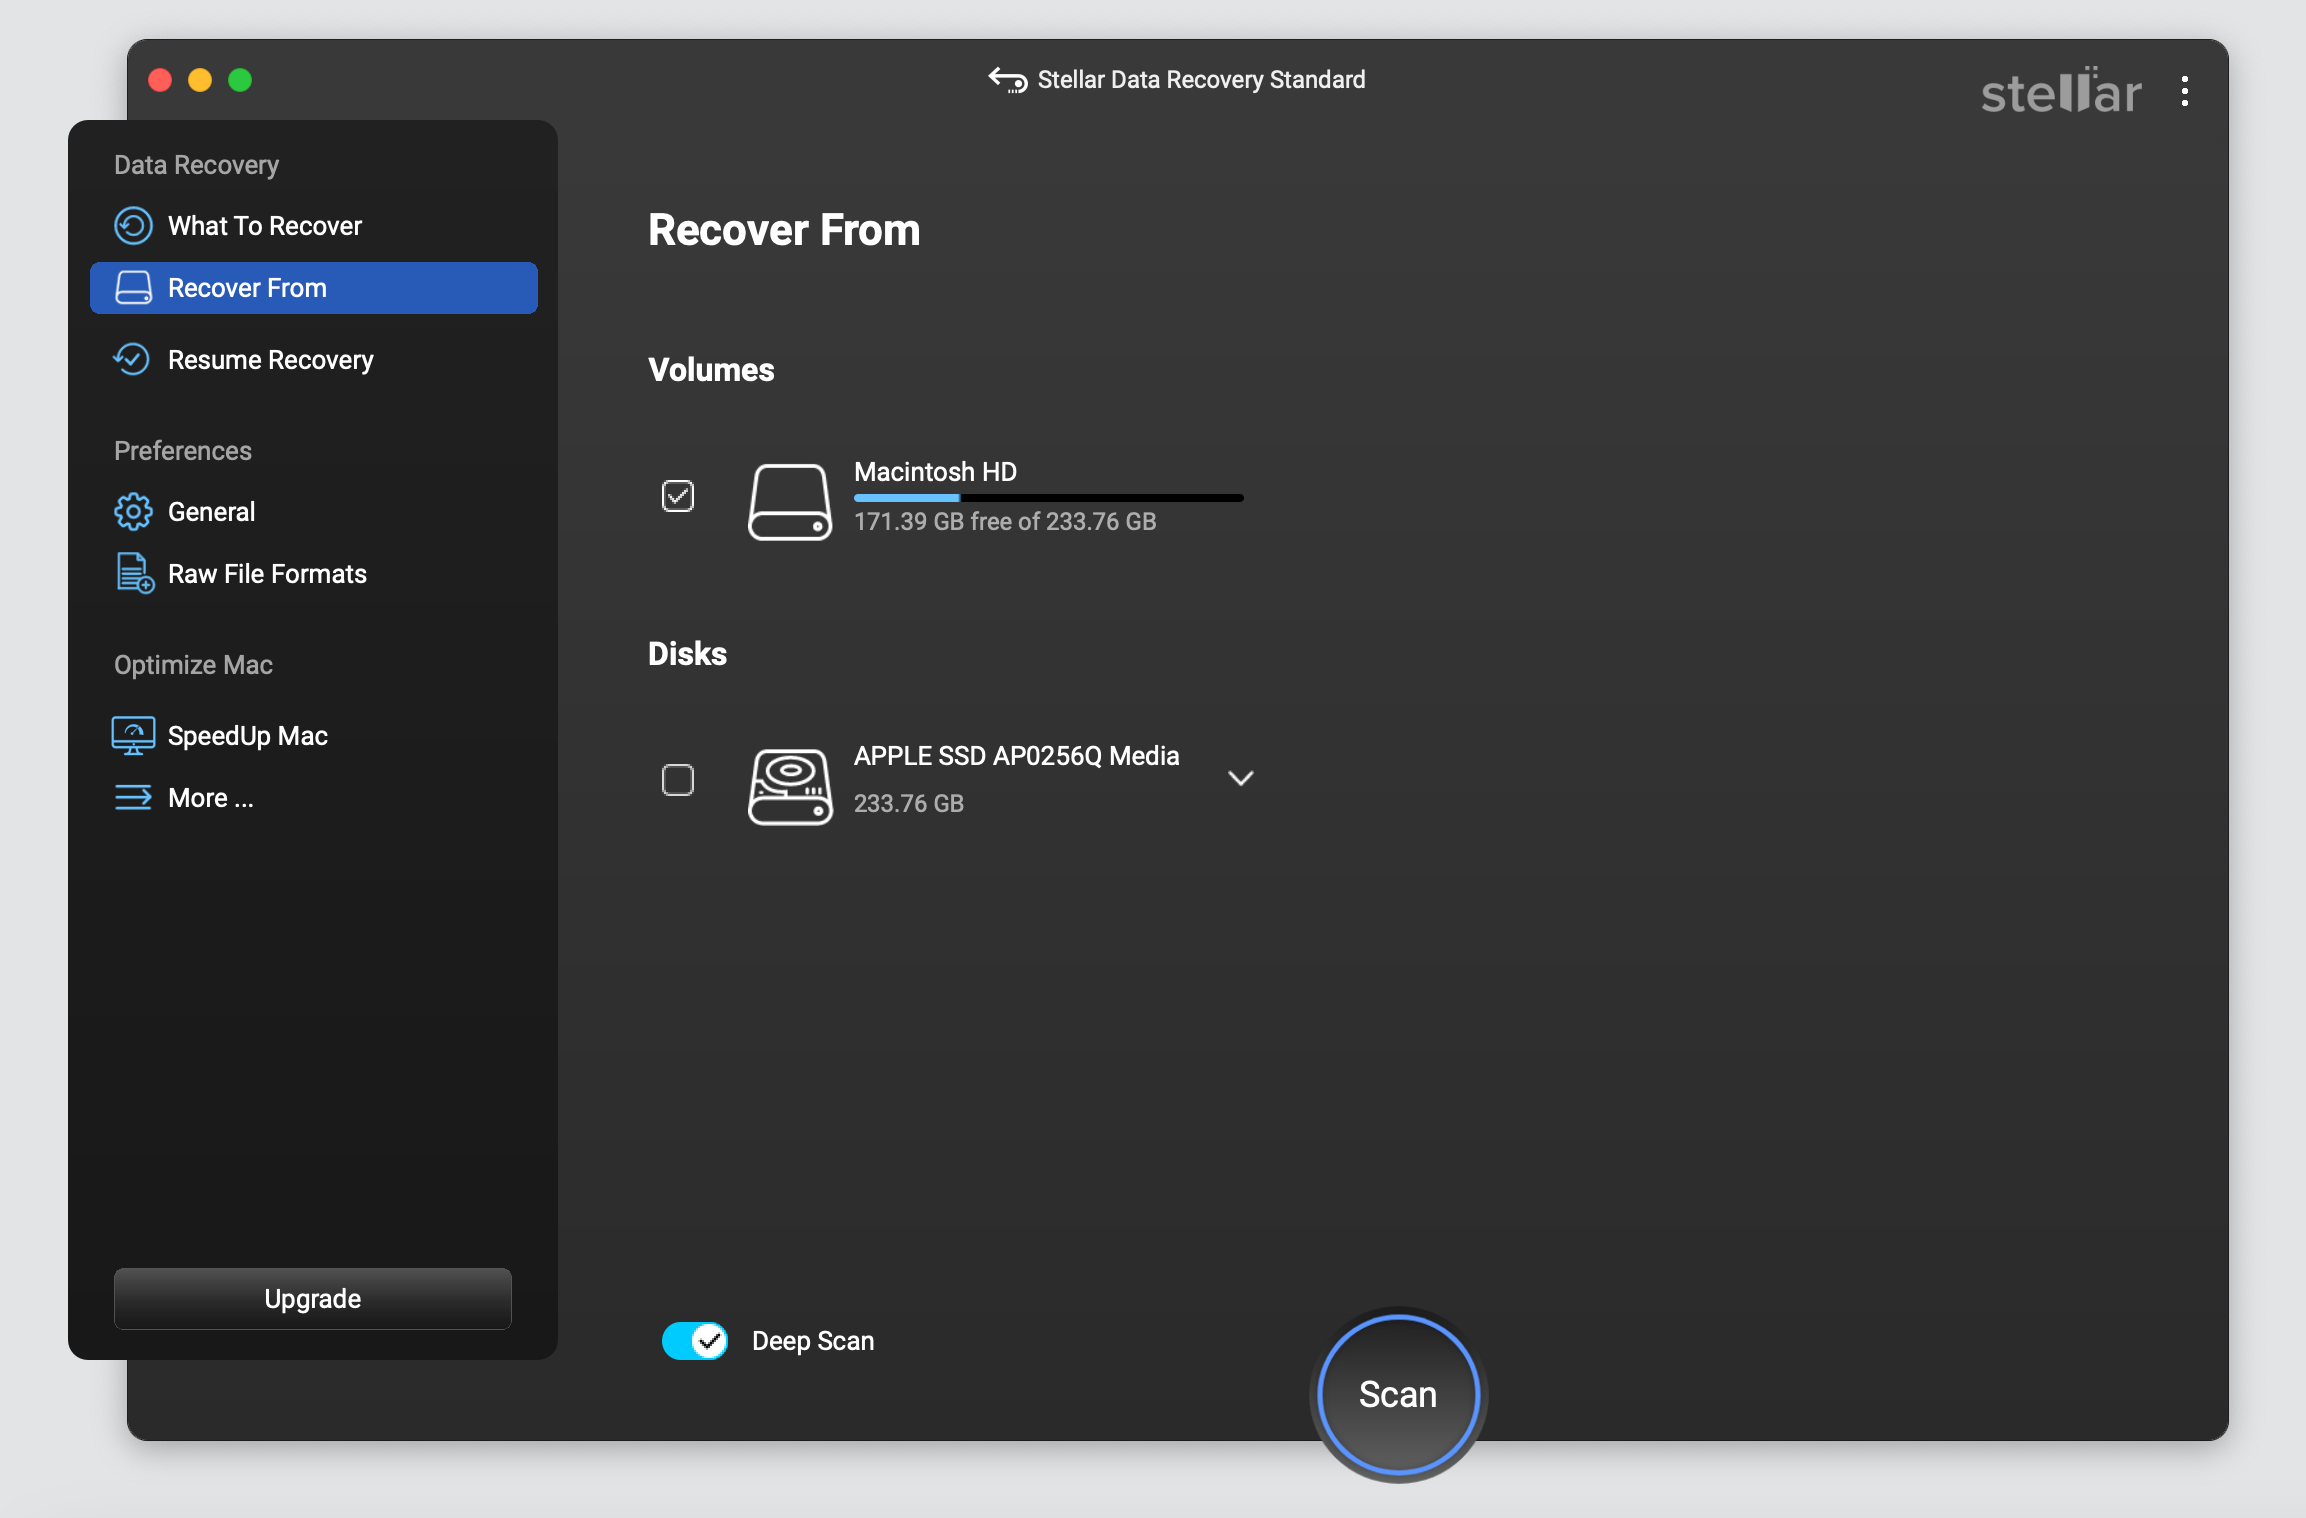
4. Start the scan > wait for the scan results window to appear on your screen.

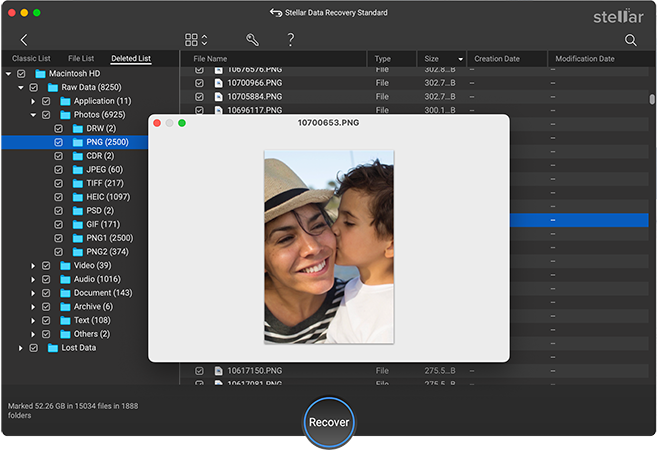
5. Check the files you want to bring back > press the Recover button.
You?re almost done. The last thing is to search for the restored item on your Mac.
Method 2: Use Time Machine to restore lost data on M1 Macs
For Intel-based Mac owners, recovering items with Time Machine seems to be a piece of cake. All that needs to be done is plug in an external drive, run the tool, and locate the items. That?s it. This works differently on M1 Mac models. The process has gotten more sophisticated and time-consuming. To use Time Machine on a Mac with Apple silicon you?ll need to go into Recovery Mode. Assuming you?ve created a Time Machine backup (before the data loss), let?s boot your M1 Mac into Recovery Mode.
To recover deleted files from any Mac with an M1 chip with Time Machine:
- Click the Apple menu > choose Shut Down from the drop-down menu > wait until the complete Mac shutdown.
- Plug your USB drive or external hard drive with the Time Machine backup.
- Press and hold down the power button > wait for the ?Loading startup options? window to appear on your screen.
- Press the Options button > click Continue.
- You will be presented with four options. Choose the first one ? Restore from Time Machine.
- Follow the on-screen instructions to restore your M1 Mac.
You should try this: In addition to creating Time Machine backups, many Mac users also choose alternative backup methods. The most popular cloud services are iCloud, Google Drive, Dropbox, etc. As a rule, you get access to limited free storage. For instance, each Mac user gets 5GB of iCloud free storage (iCloud+). So, if you don?t wish to upgrade the plan, you can back up the most important information only. 5GB in the case with iCloud might suffice.
Parting Thoughts
Data loss is one of the most frequent problems a Mac user may experience. The first thought that pops up in our head is: ?That?s the end of the world.? It?s not if you?ve been creating regular Time Machine backups or using cloud storage services. Last but not least, the Stellar Data Recovery app lets you take a shortcut and recovers deleted files on M1 Macs in mere minutes.
Related reading:


