Summary: Receiving error, ‘The iPhone X could not be restored. An unknown error occurred (4005) message’ when trying to update or restore iPhone with iTunes on computer? This post shares how to fix iTunes error 4005 and restore your device. If you are unable to recover lost data, try Stellar Data Recovery for iPhone to quickly retrieve lost data from iCloud, iTunes, and iPhone device.
Tried to update or restore iPhone with iTunes on computer but received ?The iPhone X could not be restored. An unknown error occurred (4005) message’?
Read on this post to know how to fix iTunes error 4005 and restore your device.
What is error 4005 in iTunes?
Error 4005 is an annoying problem which iPhone users often face when performing device update or restore using iTunes. It is probably an unknown technical glitch, which results in failed update, eventually giving the error.
Possible reasons that lead to the iTunes error 4005
- Your iPhone disconnected during the update/ restore
- iTunes is not updated or properly installed
- iOS not updated
- Your computer operating system is not updated
- Device iCloud sync is not disabled
- USB cable is not connected properly
- Virus in the computer
- iOS or iTunes program files have corrupted
Methods to fix iTunes error 4005
One of the following methods may help you to fix iTunes error 4005. It is recommended to try these methods in the given order to avoid performing complex troubleshooting in the first place.
- Update to latest iTunes
- Update your PC or Mac
- Update iOS
- Force Restart your iPhone
- Restart your computer
- Connect iPhone to computer via USB cable
- Fix iTunes error 4005 by DFU mode
1. Update to latest iTunes
Install the latest version of iTunes on your computer. Follow the given steps as per your case.
Steps to update iTunes (For Mac users)
iTunes comes bundled with macOS 10.14 Mojave and above. To get the latest version of iTunes, update the macOS on your Mac.
- Click on Apple icon on Mac desktop.

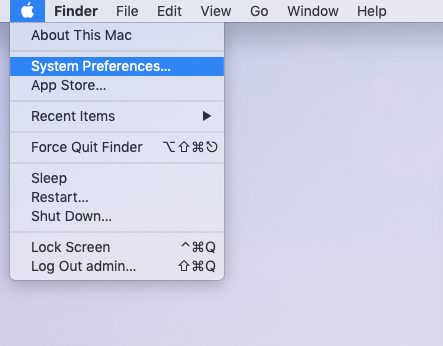
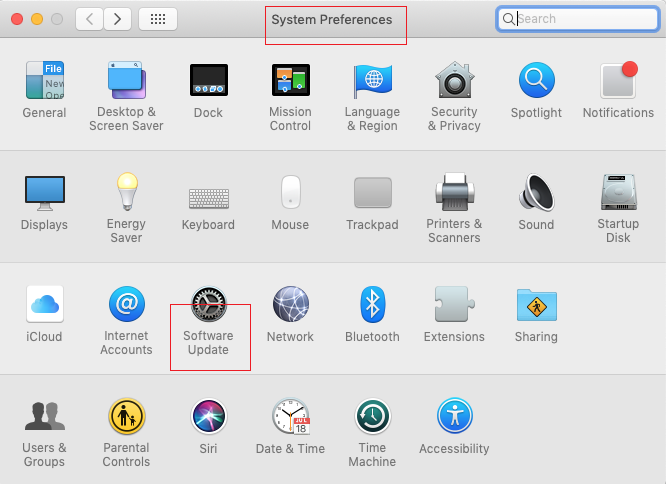
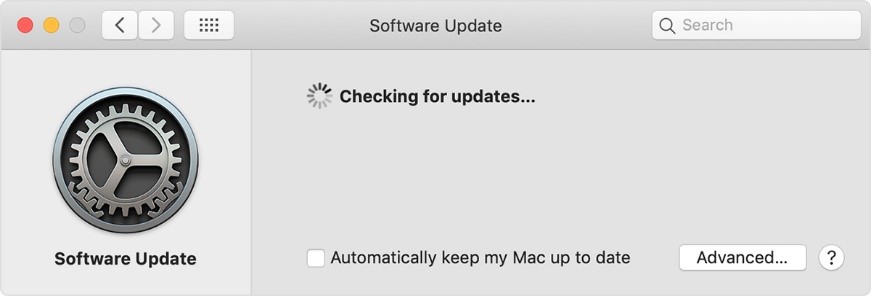
- Follow System Preferences > Software Update


Update iTunes on Mac via App Store: Open App Store on your Mac, click Updates. Click Install, if any iTunes update is available.
Steps to update iTunes (For Windows PC users)
- Open iTunes.
- From the menu at the top, follow Help > Check for Updates
- Follow the on-screen prompts
2. Update your PC or Mac
Follow the below steps to update your computer:
For Mac users: Click on Apple icon on Mac desktop. Go to System Preferences and click on Software Update.
For Windows users: In Control Panel, go to System and Security. Click Windows Update. Select Install, if any Windows update is available.
3. Update your iOS
Another iTunes error 4005 fix is to update your iOS. Update fixes bugs and other issues in the software as well as the device.
To update your iPhone iOS follow the below steps:
- Connect your device to Internet
- Tap Settings > General > Software Update

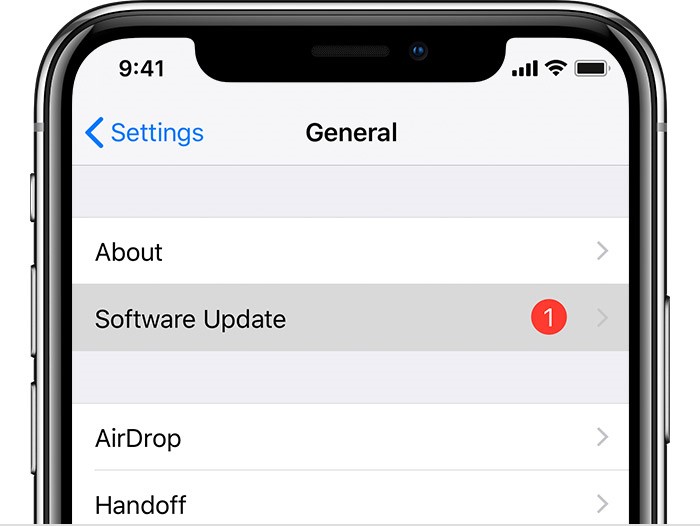
3. Tap Download and Install
4. If prompted enter passcode. Your phone will restart and the update process will begin.
4. Force Restart your iPhone
Force Restart your iPhone or iPad to fix error 4005 in iTunes. follow the given steps as per your device.
Steps to Force Restart iPhone 8 and later
- Press and quickly release the Volume Up button
- Press and release the Volume Down button.
- Press and hold the Side button until the Apple logo appears
How to force Restart iPhone 7 and 7 Plus
Press and hold both the Side and Volume Down buttons for about 10 seconds, until the Apple logo appears
How to force Restart iPhone 6s and earlier, iPad, and iPod touch
Press and hold both the Home and Top (or Side) buttons for 10 seconds, until you see the Apple logo.
5. Restart your computer
If software updates doesn?t help in fixing error 4005, then restart your computer. Next, try to update or restore iPhone on PC or Mac.
6. Connect iPhone to computer via USB cable
If you are directly accessing iTunes on your computer, open it once by connecting your iPhone to the computer using a USB cable. Ensure the cable and the port are working fine. The iTunes error 4005 should not appear now.
Note: Use a certified USB cable that you got with your iPhone.
7. Fix iTunes error 4005 by DFU mode
When none of the above methods resolves error 4005, you may want to put your iPhone on Device Firmware Update (DFU) mode.
DFU mode deletes complete iPhone data, including Camera Roll, Contacts, Calendar, Apps settings, Messages etc., making your device as new. However, restore by DFU is known to resolve several iPhone problems.
Caution: Always back up iPhone data, before putting it to DFU mode.
Steps to enter DFU mode (for iPhone 8, iPhone 8 Plus and iPhone X)
- Connect iPhone to the PC
- Quickly press and release the Volume Up button
- Quickly press and release the Volume Down button
- Press and hold the Side button until the screen turns black
- Press and hold the Volume Down button while continuing to hold the Side button for 5 seconds
- Now, release the Side button while continuing to hold the Volume Down button until your iPhone shows up iTunes
- Release the Volume button as you see the iTunes on your iPhone
Now you can restore your iPhone using iTunes. The error 4005 should not bother you again.
Restore iPhone data lost during troubleshooting iTunes error 4005
If in any case, you are unable to recover lost data after DFU mode, download Stellar Data Recovery for iPhone on your computer. The software helps you retrieve the lost data from iCloud, iTunes, and iPhone.
You just need to connect your iPhone or iPad to the computer, launch the software and follow the simple onscreen instructions to get back the erased photos, videos, Contacts, Call logs, Apps settings, Safari bookmarks etc.
The software performs iPhone data recovery via both Mac and Windows PC.
This iPhone recovery software works on series of iPhone 14, 13, 12, 11, XS, XS Max, XR, X, 8, 7, 7s, 6s, 6 Plus, 6, 5s, 5c, 5, 4s, 4 and supports latest iOS.
Step-by-step: Recover lost iPhone data after fixing iTunes error 4005
Restart your computer
- Connect your iPhone to the computer
- Launch Stellar Data Recovery for iPhone
- Select Recover from iTunes Backup

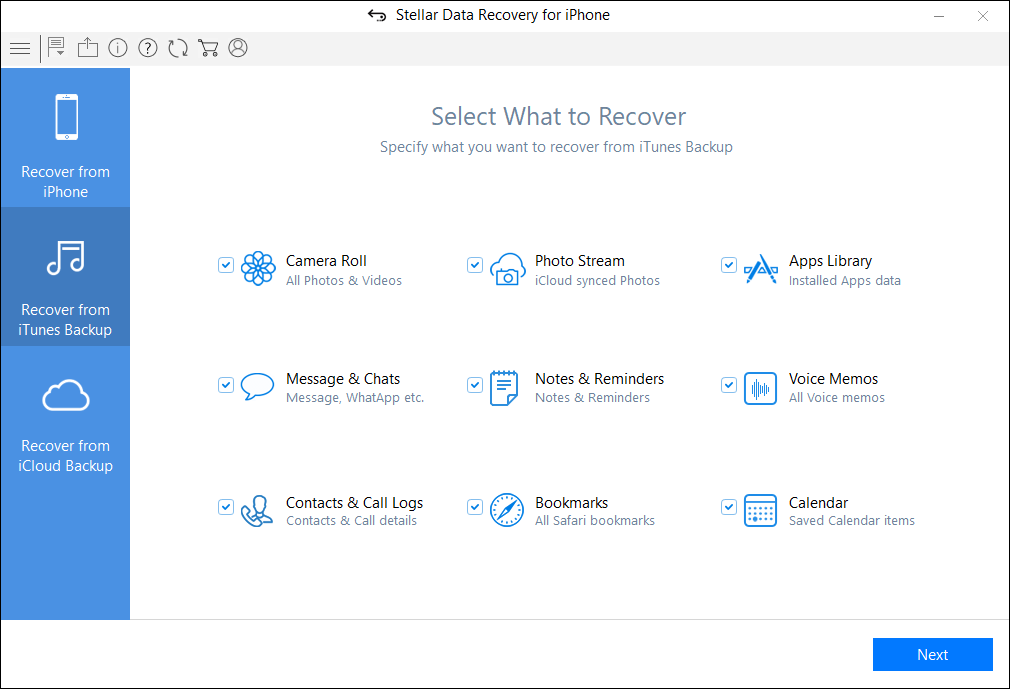
4. Select the data, which you want to recover. Click Next.
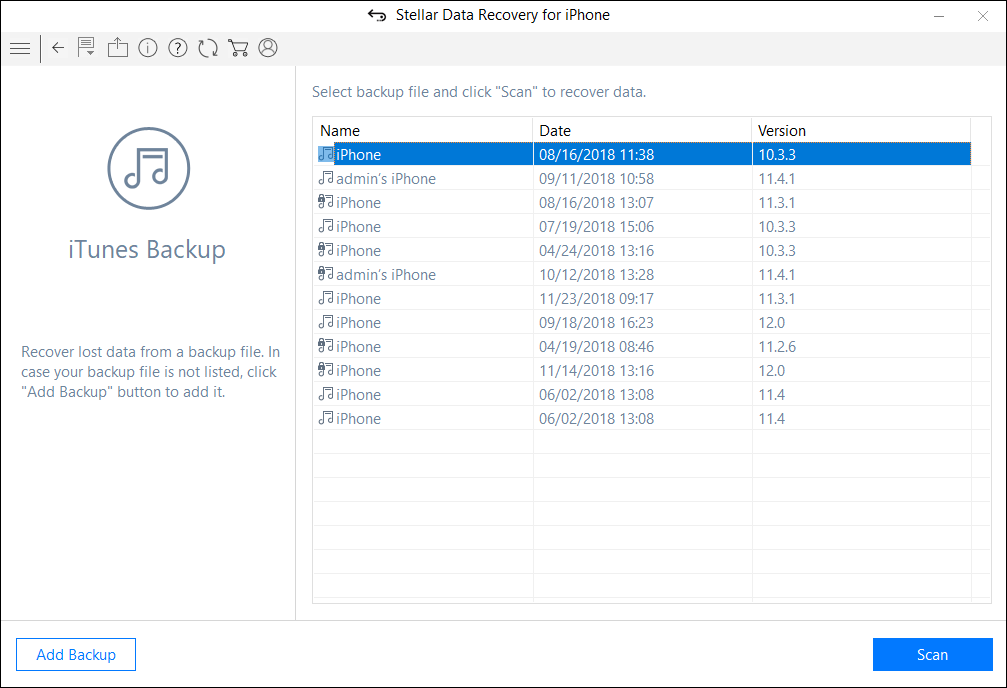
5. Select the relevant iTunes backup from the list

6. From the backup files list, click on what you want to recover. Preview and select the desired iPhone data.

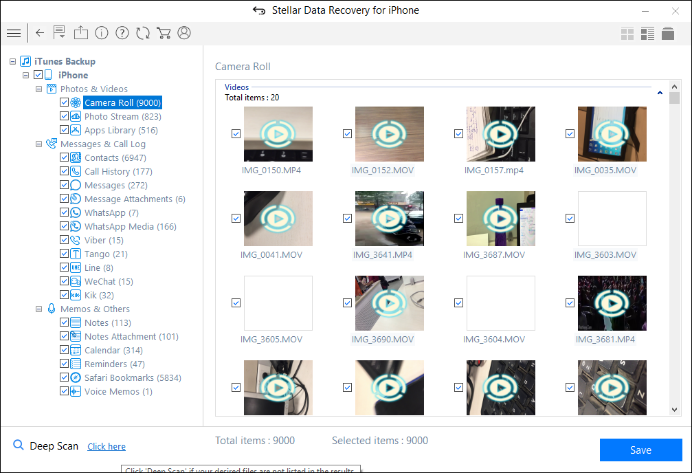
7. Click Save to save the recovered data either onto your iPhone or computer
Note: After fixing iTunes error 4005, you can also choose to recover lost iPhone data from iCloud backup using Stellar Data Recovery for iPhone software. The software helps you select and recover only those files, which you want in your iPhone, rather recovering the unwanted data from iCloud or iTunes.
Try the Free version of the software to see the recovery in action:


Recap of the methods to fix iTunes error 4005
- Update to latest iTunes
- Update your PC or Mac
- Update iOS
- Force Restart your iPhone
- Restart your computer
- Connect iPhone to computer via USB cable
- Fix iTunes error 4005 by DFU mode
Hope this post was helpful.
Do share how you dealt with iTunes error 4005 and the methods used to fix it. Use the comments section below.


