Summary: Are you frustrated with your camera taking black pictures? Are the photos coming out dark or shadowy in spite of ample light during the shoot? It is probably because of wrong exposure. This post explains why camera photos turn out black and helps you with the 13 workable solutions to fix the issue.


Contents
You love to shoot amazing pictures with your digital camera. But suddenly the camera starts taking black pictures. Photos appear too dark. Indoor photos are black despite the ambient light. And you wonder why?
Photography is not just a creative pursuit but a skill mastered with practice. Nevertheless, you don?t need to wrap your head around this problem. Camera recording black or dark photos is a common issue. And can be easily fixed using the below methods:
- Set aperture, shutter speed, and ISO to prevent dark pictures
- Use Auto Mode in the camera
- Adjust Exposure Value Compensation
- Use fill flash to remove darkness from photos
- Check the camera battery
- Shoot in RAW
- Clean the camera lens
- Check the LCD backlight
- Reset your camera to factory settings
- Use Histogram to correct picture exposure
- Fix dark photos during editing
- Contact the authorized camera service center
- Repair corrupt black pictures with Stellar Repair for Photo
Why are my pictures coming out black?
Your camera would do the best job when it receives the good amount of light. A combination of right aperture, shutter speed, and ISO settings is a key to perfect photos. When the 3 elements are not set to the correct level, your camera will produce underexposed, dark, or black photos.
In addition, the camera pictures can turn out black because of shooting on low battery or with a dirty lens. In case the LCD screen shows a black screen instead of a photo, the problem could be with the LCD backlighting.
How to fix camera taking black or dark photos
To fix black pictures issue, first check the camera settings. If you are shooting in Manual Mode, fix the aperture, shutter speed, and ISO settings. Alternatively, you can try your camera?s default Auto mode or shoot in RAW.
Plus, do the basic checks like lens cover is removed before shooting, battery is fully charged, and there?s no dust over the lens.
1. Set aperture, shutter speed, and ISO to prevent dark pictures
If your camera is taking black pictures, work upon the aperture, shutter speed, and ISO settings. But to obtain the correct settings that bring the perfect exposure in the photos, it?s essential first to understand these 3 camera elements.
Aperture

Aperture is a hole through which light enters your camera. The bigger the aperture more the light reaches into the camera sensor. It is measured in a focal ratio such as f/4.0, f/5.0, f/8.0, etc. The larger the focal-number, smaller is the aperture, i.e., lesser light passes the camera sensors. So aperture should be more to stop the camera from taking dark photos.
Shutter speed

Shutter speed is the duration for which the shutter is opened. It is measured in a fraction of a second such as 1/10, 1/40, etc. Less shutter speed lets more light into the camera. Hence, when taking pictures at night, keep the shutter speed low. Further, shutter speed also affects the picture sharpness in motion photography. You can follow the common rule ? to set the shutter speed as per the focal length of your camera lens. For example, if the camera focal length is 65 mm, set the shutter speed to 1/65.
ISO

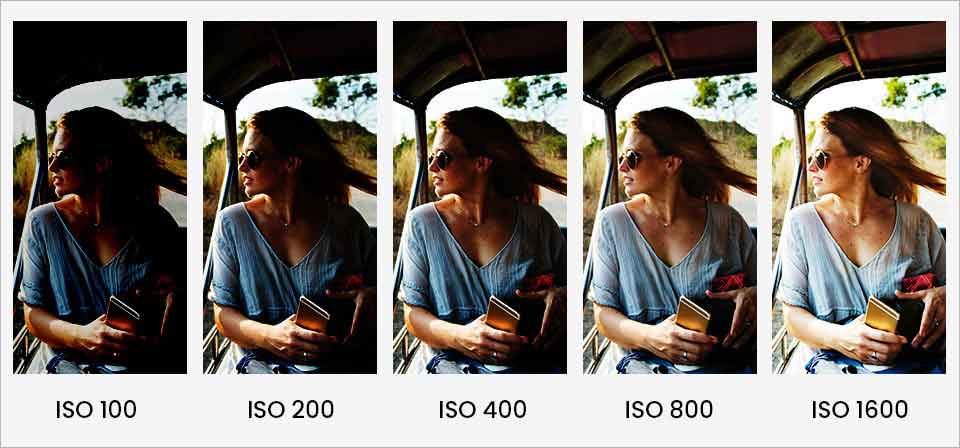
ISO is the sensitivity of your camera sensor to light. Lower ISO results in darker photos. Conversely, you can brighten a picture by increasing the ISO number. ISO value usually starts from 100 and can go up to 6400, depending upon your camera. When shooting in less light, keep the camera ISO value higher to prevent the camera taking black pictures. Try to set it to at least 200. Further, depending upon light conditions, you may need to raise it to 1600 or above.
Having said this, a very high ISO can result in grainy photos. Thus, use camera ISO to brighten photos only when low shutter speed and bigger aperture are causing blur or noise in pictures.
In a nutshell, adjust these 3 photography aspects to an optimal level so that the maximum light enters the camera. And you get a bright photo without noise, blur, or grains.
If you are still unsure about setting the proper exposure in a photo or find it complex, try the automatic mode of your DSLR camera.
2. Use Auto Mode in the camera
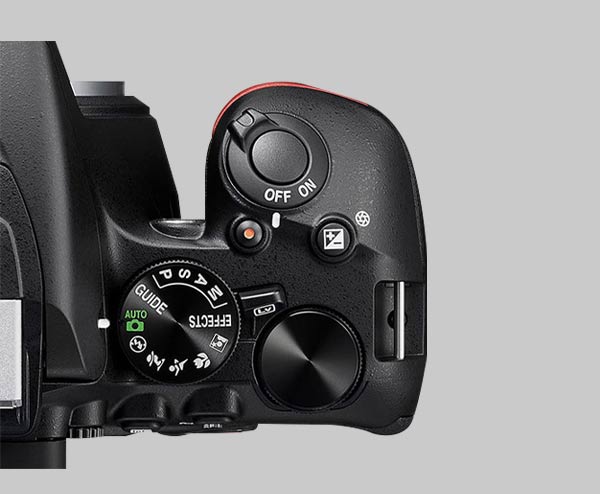
As an amateur photographer, you may not want to fidget with the multiple settings in your camera. Instead, take advantage of the camera Auto, also called Program Mode. The automatic mode in the camera auto selects the aperture and shutter speed settings to generate the best possible light exposure in your photo.
Professional photographers commonly denounce the Auto Mode in contrast to Manual Mode. But modern cameras built-in Auto mode is improved and better. Mostly you can obtain a well-exposed photo without the annoying darkness.
3. Adjust Exposure Value Compensation
Cameras now come with built-in Exposure Value Compensation. The feature helps to correct the brightness levels in pictures captured by the camera. You can quickly fix the camera taking too dark pictures. Especially while shooting in dim light or indoors, exposure compensation lets you take greater control of the exposure setting.

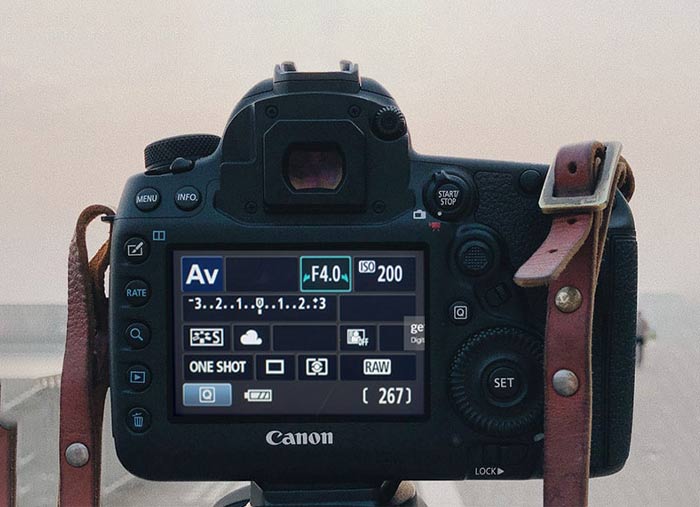
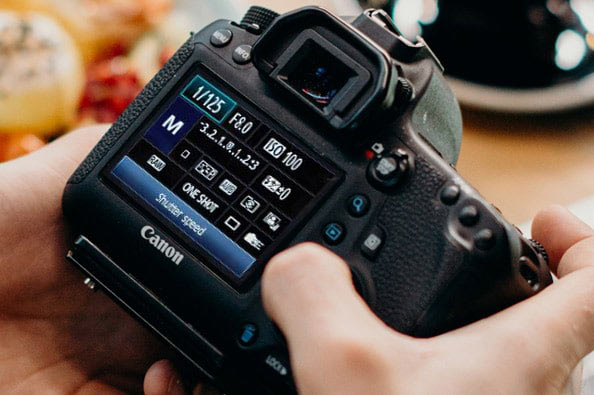
In order to use Exposure Compensation, first select any of the camera mode such as Program Mode (P), Aperture Priority (A/ Av), Shutter Priority (S) or other scenic modes present in your camera. Remember, Exposure Compensation doesn?t work in Manual (M) mode. Once you select the camera mode, adjust the exposure value compensation to remove darkness from your photos.
The Exposure Value Compensation is indicated with (+/-) sign. Check for the sign over your digital camera. It should be typically available on a button or a dial, depending on your camera model. If you set the exposure value towards negative, the camera will take darker photos,whereas moving it to the positive sign, the pictures will get brighter.
4. Use Fill flash to remove darkness from photos


Lighten up pictures by using the fill flash. The technique is best used to remove the darkness or shadowed areas from pictures when recording at night, dim light, or on extremely sunny day.
Typically, fill flash is used when the background is brighter than the subject in your frame. Like when your subject is in front of a sun-dappled river or a snowy mountain. Using the technique, you can remove the dark cast over your photo?s subject and brighten up the overall picture.
However, be careful when adding light to the shadowed areas of your photo. Too much light or flash too close to the subject can muddle your images. Maintain a balance between the ambient exposure (the existing light) and your flash light. Professionals prefer to control the exposure manually using both camera?s exposure settings and flash settings.
5. Check the camera battery
Turn off your digital camera. Remove the battery for a few minutes and reinsert it. Make sure the camera battery is fully charged and properly inserted.
Now check if the camera exposure issue in pictures is resolved or not.
6. Shoot in RAW
Cameras have options to record photos in JPEG and RAW. Choose to shoot in RAW format if you are getting dark JPEG pictures. The RAW file types capture all image data recorded by your camera sensor. The RAW format photos are of high quality and brighter compared to the compressed JPEG files.
7. Clean your camera lens
Turn off your camera. Remove the lens. Gently clean it using a microfiber cloth to remove the dirt, fingerprints, or smudges.
You can also use the ?Clean Image sensor? option present in your camera. The feature removes the dust that sticks to camera sensors during exchange or change of lenses. You can find the sensor cleaning option in the menu of your digital camera.
8. Fix the LCD backlight
If photos are black on camera LCD screen but appear fine on computer, it is possible that your LCD backlight is dead. Besides, to be rest assured that camera taking black pictures is actually an LCD display issue you can do the following checks:
- Make sure the digital camera powered on when viewing the photo.
- The lens cap is removed before taking pictures.
- Press the camera FINDER/LCD/ Display button more than once to check if the LCD screen is working.
- If none of these methods help, try factory reset your camera.
If your camera LCD display still shows black and you can?t see any picture, contact the manufacturer for repair. If the camera is in warranty, they should replace the LCD display.
9. Reset camera back to factory settings
If the pictures continue to come out black, try by resetting your digital camera to default settings. The reset option may vary with camera model. For instance, Canon variants usually have ?Clear all camera settings? options whereas to reset Nikon DSLR, navigate to ?Reset Shooting Options? from the camera menu.
10. Use Histogram to correct picture exposure

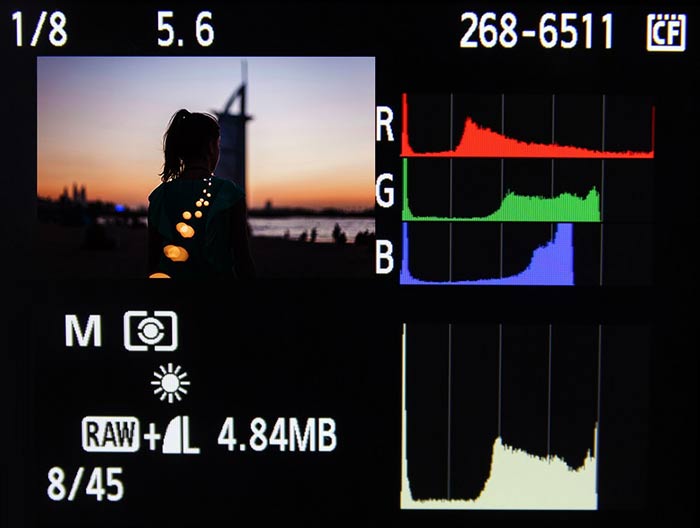
Histogram helps to assess the picture exposure settings on your camera LCD. It is a graphical representation of the brightness levels in the picture. You can quickly find if the photo is underexposed and change the camera settings accordingly.
If you see a tall spike on the left in the histogram, it indicates the photo is underexposed or dark. Whereas if the picture is overexposed, the spike will appear on the far right.
Most of the new cameras display histogram of each picture they take in the review or electric view finder mode.
11. Fix dark photos during editing
Do you already have dark or underexposed pictures and can?t reshoot them? Fix dark pictures using an advanced photo editor. Adobe Photoshop, Lightroom, Movavi, and others have multiple options to fix the brightness and contrast in your pictures. You can add hue/saturation adjustment layer, use filters or other features to enhance the image and minimize the dark cast.
12. Contact the authorized camera service center
If no technique works and the camera continues to take black or dark photos, contact your camera authorized service center. You can also email or call the manufacturer?s support service on its website.
13. Repair corrupt black pictures with Stellar Repair for Photo
If a perfectly shot photo appears completely black on your computer, it could be due to corruption. Image files stored in hard drive, SSD, camera memory card etc., can get corrupt due to virus infection, improper file transfer, bad sectors in drive and other reasons. The corrupt photos may appear black, grainy, color damaged, etc. However, you can repair them using photo repair software.
Photo repair tools don?t work like image editing software. They don?t fix overexposed, underexposed or other flaws in pictures caused due to wrong camera settings or poor light arrangements during shoot. Instead, they repair corrupt file header and data to bring back your photos in original form.
We recommend to fix damaged photos due to file corruption with an advanced Stellar Repair for Photo software. It is straightforward and simple to use. You can easily repair JPEG and other RAW photo file formats used in Nikon, Olympus, Sony, Fuji, Canon, and other camera brands.
But do take the free trial to assess the software. It fixes the corrupt photo and shows the preview after repair.
Finally,
It?s annoying when your camera takes black photos. But now, with the given 13 ways in this post, you can easily fix the camera taking black or dark pictures problem.
Hope you found this post helpful. Do share your comments in the box below.

