Summary: After migrating from the on-premises Exchange Server to Office 365, decommissioning the existing Exchange Server is an important step. In this post, we will be exploring the process to decommission a single Exchange Server instalment after migration to Office 365 or Microsoft 365.


Let?s assume that the migration has already been done and the MX records have already been re-routed to Office 365. The organization has decommissioned the Exchange Server while retaining the Active Directory Server for authentication and having the client machines all joined to the Azure Active Directory. Also, a final backup is taken before the servers are decommissioned.
Before diving straight into the process of shutting down the Exchange Server and decommissioning the server?s hardware, it is important to perform a clean uninstallation. So, you need to clean off the Active Directory Schema. A manual clean-up of the schema using the ADSIEdit is highly risky as after removing or modifying the ADSIEdit, there is no undo button. If something goes wrong, you could end up with your Active Directory being unusable.
The Decommissioning Process
The process for this is as follows:
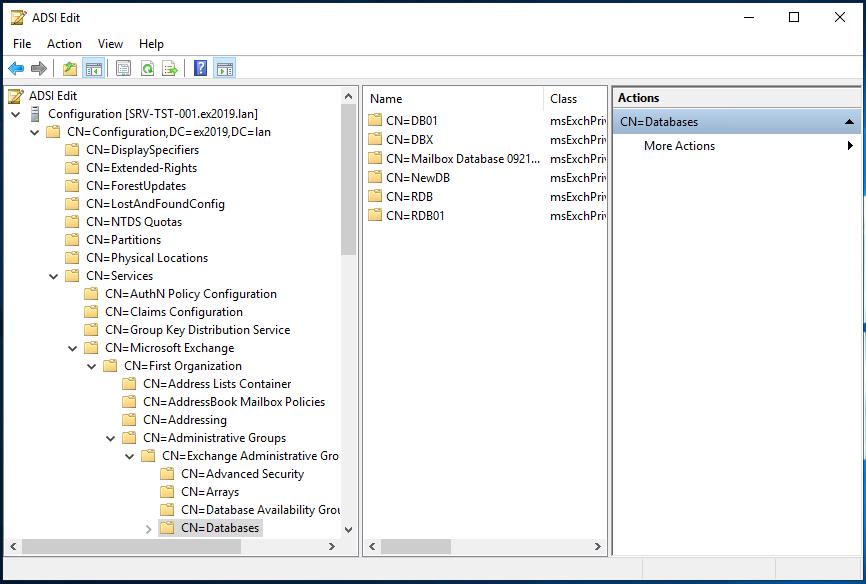
- Right-click on Start.
- Click on Run and type ADSIEdit.msc.
- Open Configuration/Configuration Services.
- Open Microsoft Exchange/ <Your Organization>.
- Open Administrative Groups and Exchange Administrative Groups.
- Open Databases and delete the desired databases from the list.

This could have repercussions on the stability of your Active Directory setup and the users would be unable to log into their services or machines. This would also impact applications which are Active Directory dependent.
The first step is to delete all the mailboxes from the databases. After this is complete, you need to manually remove the arbitration mailboxes. This can be done by using the below command in the Exchange Management Shell (EMS).
Get-Mailbox -Arbitration ?Database | Disable-Mailbox ?Arbitration ?DisableLastArbitrationMailboxAllowed


Once this is done, you can go ahead and remove the actual mailbox database from the server. For this, use the Remove-MailboxDatabase command as given below.
Get-MailboxDatabase | Remove-MailboxDatabase


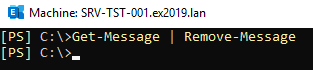
Next, you need to remove any pending messages in your Exchange Server Queue. These are the messages which are not delivered or stuck.
Get-Message | Remove-Message

The next step is to uninstall the Exchange Server from the Add remove programs. Once all is done and there are no issues, you can simply disjoin the Exchange Server from the Active Directory and decommission the hardware hosting the Exchange Server.
In case of a hybrid setup, before you go ahead and uninstall the Exchange Server, you need to first remove the hybrid configuration of the local setup. For this, use the following command.
Remove-HybridConfiguration -Confirm:$false
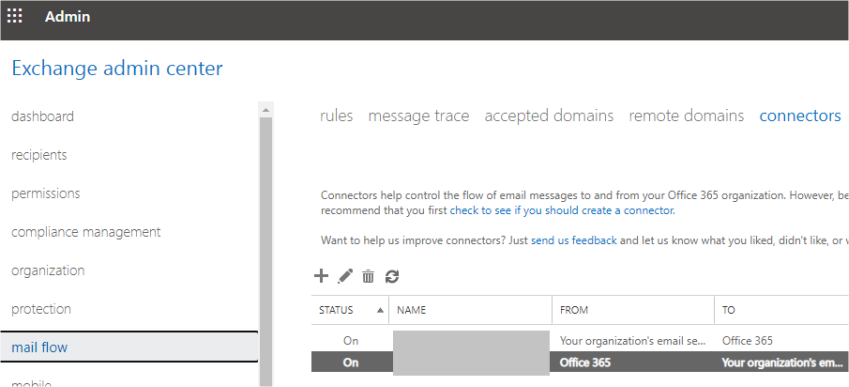
Then, you need to remove the connectors from your Exchange Online from the mail flow and Connectors section.

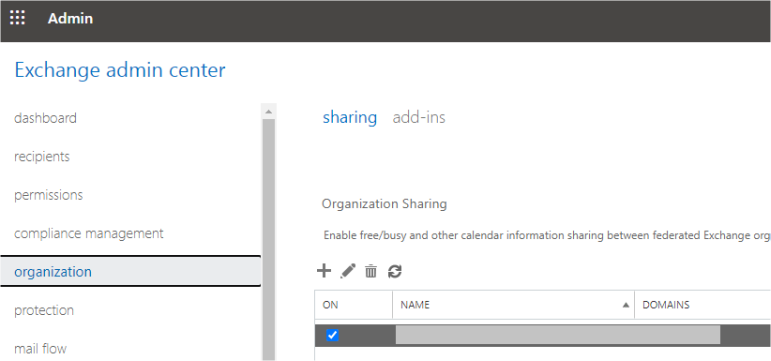
Also, the Organizational Sharing from the organization and sharing section.

Lastly, disable OAuth on-premises using the command below on both the local Exchange Server and Exchange Online.
Get-IntraorganizationConnector | Set-IntraOrganizationConnector -Enabled $False


Note: Microsoft recommends to not remove the Exchange Hybrid option in the Azure AD Connect.
What Could go Wrong?
You may either miss resources or encounter an issue or lost some data in the transition. It is a very difficult task to restore the whole server, especially after migrating from on-premises to Office 365 and decommissioning the Exchange Server. If the Active Directory is retained, the Exchange Server is decommissioned, and the Active Directory schema is cleaned up, restoring the Exchange Server alone would not be sufficient as you will end up with the mailbox databases that are not mounting due to requirements from the Active Directory.
You also need to consider the resources and administrative effort required to restore the whole infrastructure. In case you only backed up the databases, you will not be able to port those databases back into the new Exchange Server installation. Also, if you have decommissioned all the servers after the migration, you need to acquire new hardware.
The Solution
In such cases, you can take the help of an application, such as Stellar Converter for EDB. With this application, you can easily restore the EDB file to a normal computer or another server. You can open multiple EDB files from any Exchange Server version without having an Exchange Server installed. You can browse through the mailbox database and granularly export to PST file and other formats, such as PDF, HTML, EML, and MSG. You can also use Stellar Converter for EDB to export directly to either a live Exchange Server mailbox database or an Microsoft 365 or Office 365 tenant. You can also export/import archives, shared mailboxes, disabled mailboxes, and public folders with no issues.

