Summary: The article aims to help you download, install, and use Stellar Data Recovery software on your MacBook Air, MacBook Pro, iMac, iMac Pro, Mac Pro, or Mac mini that is running on macOS Ventura or earlier. Also, know the key differences among various software editions and decide the right one for your data recovery endeavor. Start by downloading Stellar Data Recovery Free Edition for Mac to recover up to 1 GB of files for free.


Contents
Stellar Data Recovery for Mac is one of the most trusted data recovery software that works harmoniously with macOS Ventura 13, Monterey 12, Big Sur 11, Catalina 10.15, Mojave 10.14, and earlier versions up to OS X El Capitan 10.11. You can download and install the software on any Mac device to recover your permanently deleted photos, videos, audio, documents, emails, and other files. The software can recover data from an external or internal Mac storage medium?be it a hard drive, solid-state drive, or fusion drive.
The following section describes the various editions of the software. Once you know the editions and unique features among them, you can download and install the right one on your Mac.
Different Editions of Stellar Data Recovery for Mac Software
| FEATURES | FREE | PROFESSIONAL | PREMIUM | TECHNICIAN |
| Recover Data | 1 GB Free | Unlimited | Unlimited | Unlimited |
| Create Recovery Drive | X | ? | ? | ? |
| Monitor Drive | X | ? | ? | ? |
| Repair Photo | X | X | ? | ? |
| Repair Video | X | X | ? | ? |
| Installations | Single System | Single System | Single System | 1 Systems |
| Official Webpage | Read More | Read More | Read More | Read More |
Download & Install Stellar Data Recovery Software for Mac
The process to download and install Stellar Data Recovery software for Mac is straightforward?Download, Install, and Register. Perform the following steps to use the software for data recovery:
a) Download: Go to the official website of Stellar Data Recovery and select the required edition of the software. To try the software before making a purchase decision?click Free Download to save the zip file of the software on your Mac. Or else, to check the current offers for the software?click Buy Now to receive the registration key on your email ID.
b) Install: Go to the Downloads folder, then find and unzip the downloaded zip file of the software. Next, double-click the dmg file to mount a virtual volume. Finally, drag the application from the mounted virtual volume to the Applications folder. macOS installs the app on your Mac.
c) Register: Double-click the Mac Data Recovery software present in the Applications folder to launch it. Accept the License Agreement. On the Activation dialog window, enter the registration key and click Activate. If you don?t have the activation key, click the Get it now button to receive the registration key. Click OK on the message box. When the server registers the copy, you can use the software with all features active.
Stellar Data Recovery for Mac (Free Download vs. Registered)
Leaving aside the Free Edition that costs nothing for 1 GB data recovery, all the rest software editions provide Free Download copy to try out the software and acquaint yourself with the software?s interface. Below are the differences between the free download and registered copy of the software.
| FREE DOWNLOAD | REGISTERED |
| Allows you to select, scan, and preview recoverable files | Allows you to select, scan, preview, and recover files |
| The advanced features related to the software edition are inactive | All the advanced features related to the software edition are active |
| Requires registration via the ?Get it now? button to save data and use all features | Allows saving of files to a specified location that is distinct from the source location |
Procedure to Use Stellar Data Recovery Software for Mac
You can use Stellar Data Recovery software for Mac to recover data, create recovery drives, monitor drive, and to repair photos & videos. The complete procedures are shared next:
1. Recover Data
On all the editions of Stellar Data Recovery software, the data recovery process works on the three fundamental steps?Select, Scan, and Recover. The steps to use the software to recover lost data are as follows:
a) Select: Launch Stellar Data Recovery Software for Mac on your MacBook, Mac mini, or iMac. In the ?Select What to Recover? screen, turn on the requisite toggle switch, then click Next. In the ?Select Location? screen, select the volume where you lost your data.


b) Scan: Toggle on Deep Scan, then click Scan to scan the selected volume. Allow the scanning process with dynamic preview (or Turn Off Preview). When the scan is over, click OK. Subsequently, choose a view of Classic List, File List, or Deleted List from the left pane, then expand the tree structure and click the desired folder. Double-click a file on the right pane to preview in a window.


c) Recover: Select the required files and click Recover. Click Browse to select a distinct volume or an external drive to save data on the recover dialog box. Next, click Save to initiate the saving process. Once the software saves the files successfully on the specified volume, navigate to the location to view the recovered files.


2. Create Recovery Drive
The registered copy of Professional, Premium, or Technician edition of Stellar Data Recovery software for Mac allows you to create a recovery drive. Connect a 16 GB USB flash drive on a working Mac to create a bootable medium. Once a boot drive is ready, perform the following steps to recover your inaccessible data from a non-booting or crashed Mac.

a) Connect the boot drive to the affected Mac. Start your Mac, then press and hold the Option key until the startup manager screen appears.
b) In the Startup Manager screen, select the boot drive and press the Return key. Let the Mac boot from the recovery drive.
c) In the macOS Utilities window, select StellarDataRecovery and click Continue. Next, use the software to recover the inaccessible data from the troubled Mac.
d) Once data recovery is recovered, shut down the Mac. Now, start your Mac again and immediately press and hold the Command + R hotkey until the Apple logo appears.
e) In the macOS Recovery mode, click Reinstall macOS, then click Continue. Use the on-screen instructions to install the system software.
f) Once the installation is over, restore the recovered data to the revived Mac.
3. Monitor Drive
Likewise, the activated edition of the software permits you to monitor your Mac storage drive and perform other advanced tasks. The steps to use monitor drive are as follows:
a) Launch the Stellar Data Recovery software on your Mac, and select the Monitor Drive option from the More Tools menu present on the top-right corner.
b) In the Disk Status option, select a storage drive from the drop-down list. View the Temperature, Performance, Heath, and Disk Details.
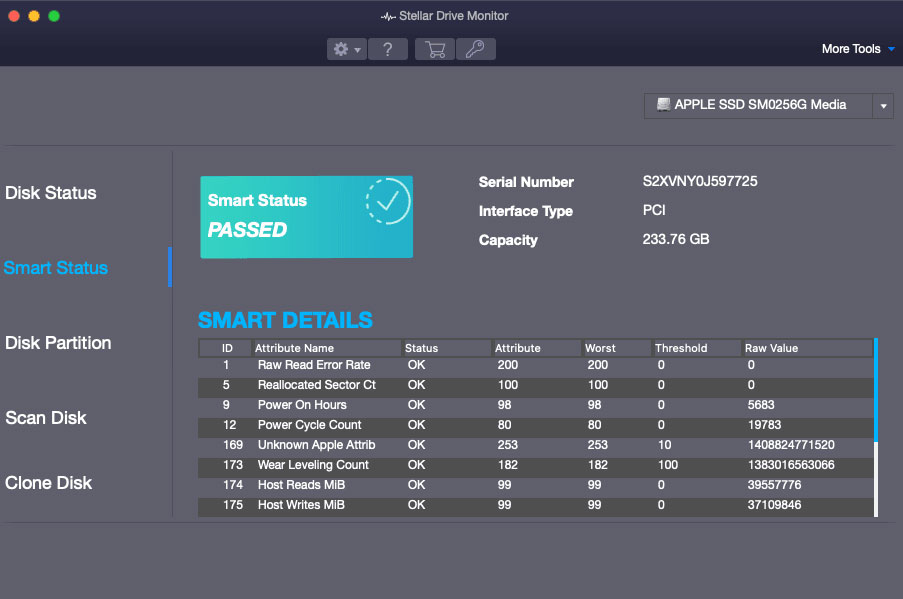
c) To know the SMART attributes of the drive, click Smart Status from the left pane. View the selected drive?s status: passed or failed together with other Smart Details.

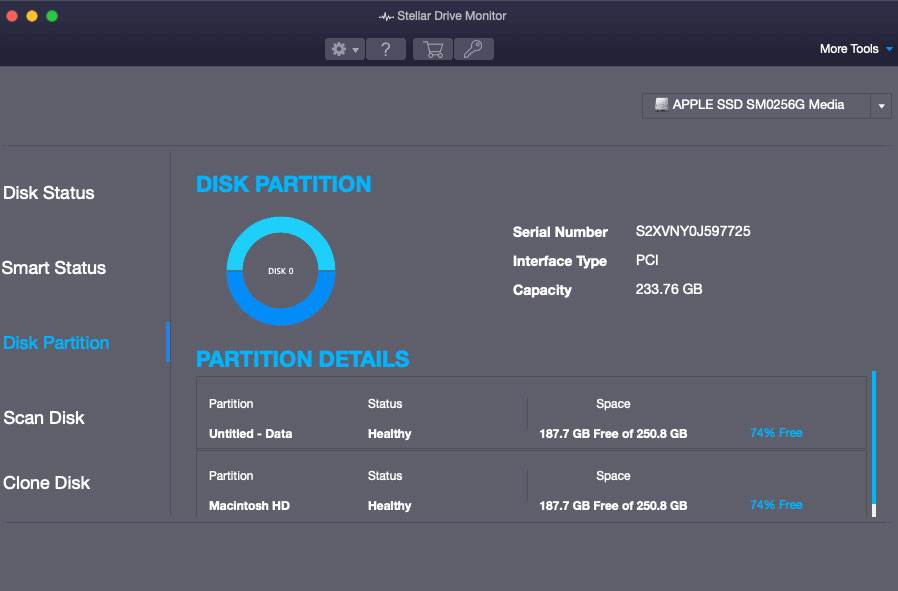
d) To know the partition details of the drive, click Disk Partition from the left pane. View Partition (Drive Letter, File System), Status (Healthy/Failed), and Space (Total, Free).

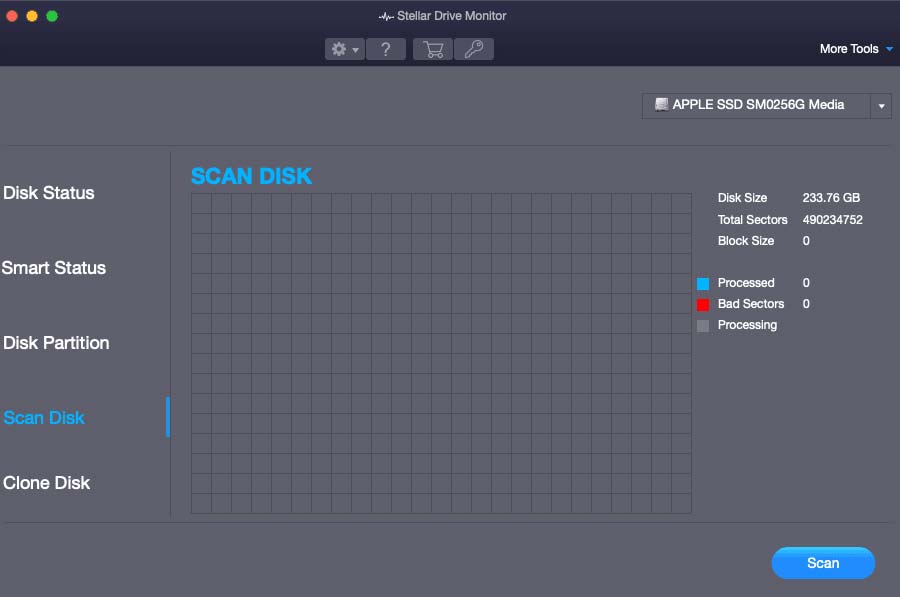
e) To create a disk map, click Scan Disk from the left pane. Click Scan to view the bad sectors (if any in red).

f) To clone a severely corrupt drive, click Clone Disk from the left pane. Select a Source Disk and a Target Disk from the drop-down list, then click Clone.
4. Repair Photo
You can use the premium or technician edition of the software to repair your damaged/corrupt photos stored on a Mac storage drive. Undelete photos and repair if any of them are not opening, pixelated, distorted, or split. The photo repair steps are as follows:
a) Launch the software and from the More Tools menu, select Repair Photo.

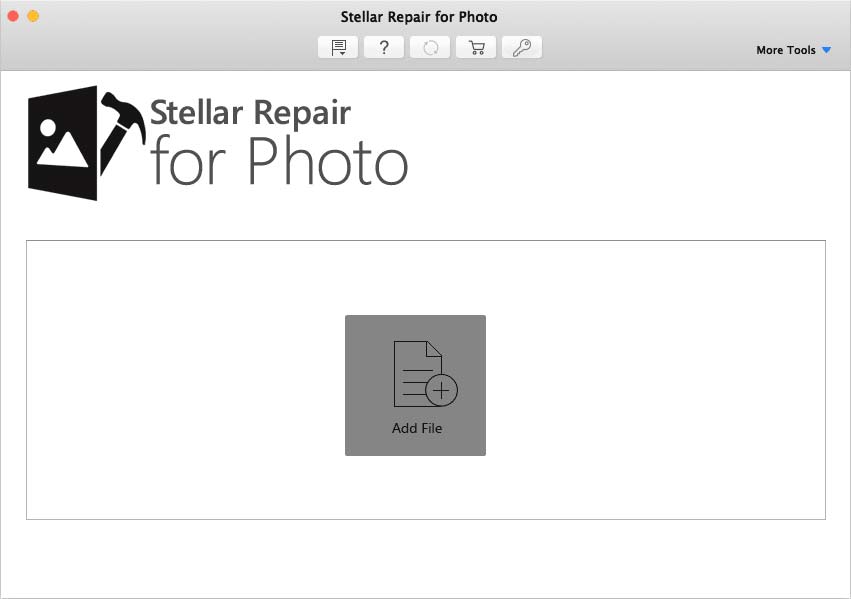
b) In Stellar Repair for Photo, click Add File to add your damaged photo files.

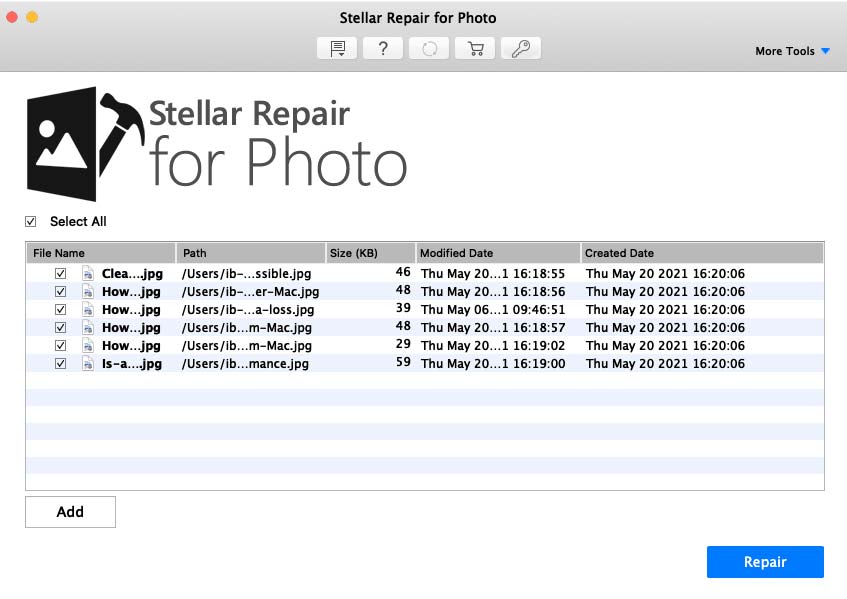
c) Once you?ve added all the files, click Repair to resolve the video corruption issue.
d) When the tool repairs the photos, you?ll be able to open them without any imperfections.
The software also provides an advanced photo repair feature to fix severely corrupt photos by using sample files. Use the feature when any image is irreparable.
5. Repair Video
Similarly, you can use either the premium or technician edition to repair damaged/corrupt videos of mp4, m4v, 3g2, 3gp, and f4v file formats stored on a Mac drive. Undelete videos and repair when any are unplayable, blurry, frozen, grainy, or out of sync with the audio. The video repair steps are as follows:
a) Launch the software and from the More Tools menu, select Repair Video.


b) In Stellar Repair for Video, click Add File to add your damaged video files.
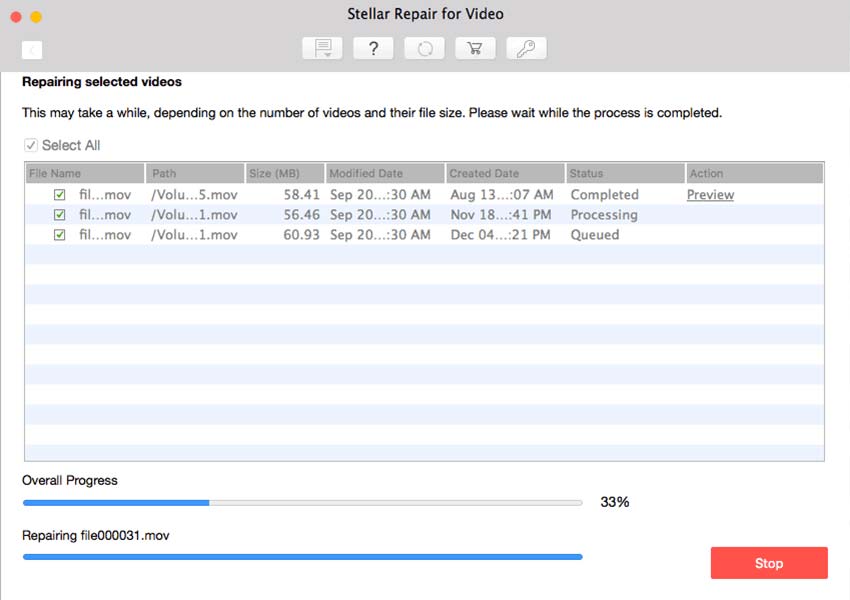
c) When you?ve added all the video files, click Repair to resolve the video corruption issue.

d) Once the tool repairs the videos, you?ll be able to play them without any problem.
The software provides advanced video repair functionally to fix severely corrupt videos by using sample files. Use the feature when any video is irreparable.
Conclusion
We hope the article helped you learn how to download, install, and use Stellar Data Recovery Professional for Mac software. You can find the tool helpful in the following data loss scenarios:
- Emptying of Trash
- Formatting of Storage Drive
- Time Machine Backup Deletion
- Corruption of Drive?s File System
- Virus Infection
- Volume Loss
- Drive Encryption
- Bad Sectors on Hard Drive
Apart from data recovery, the software is helpful to create a recovery drive, monitor drive, repair photo, and repair video. Besides, you can find lost volume, create a disk image, or clone a storage drive to an external storage medium. Also, you now know the key distinctions among the various software editions and the differences between an unregistered and a registered software copy.


