Summary: Your Mac suddenly stopped working? Do not panic. There are several solutions to recover your files, even if your Mac crashes. One of the easiest solutions is professional recovery software like Stellar Data Recovery Professional. It will allow you to recover data from a crashed, failed, corrupted, or damaged Mac.


Contents
The situation can be catastrophic and devastating when your Mac won’t boot up, and you don’t yet have a backup of your data. You may have irreplaceable photos, important work documents that are hard to recreate, or some other valuable data stored on your Mac that needs to be fixed.
Data recovery can be challenging if your Mac won’t turn on despite your many attempts. However, various methods can help you recover your important files.
Mac Stopped Turning On – Common Reasons
Here are the most common causes of why your Mac doesn?t turn on:
- OS failures: If you fail to complete a macOS update successfully, your Mac may become corrupted and crash.
- Malware issues: Macs are generally considered to be safe and secure. However, virus infections are becoming more common than they used to be. Different types of malware, like adware, spyware, worms, etc., can permanently harm your Mac.
- Hardware: If you ignore hardware issues on your Mac (such as problems with the logic board or memory or when you accidentally dropped your Mac), they can spiral out of control and prevent your Mac from booting up.
3 Easy Solutions to Recover Data from Dead Mac
If your Mac system has crashed or cannot boot, you can use the system’s built-in utilities and specific recovering software to restore the data.
Solution 1: Recover Data Using Recovery Software
If your Mac is dead and you can’t boot it properly, a specialized data recovery tool is the simplest and quickest way to recover the data stored there.
Stellar Data Recovery Professional allows you to recover data from a dead Mac hard drive or a crashed computer. When a computer (or, more specifically, its hard drive) crashes, the operating system fails to load, and the computer doesn’t boot up. Stellar Data Recovery Professional has the option to recover data without the use of external bootable devices in such cases.
To recover a non-booting Mac, follow these steps:
1. Connect an external disk to your Mac.
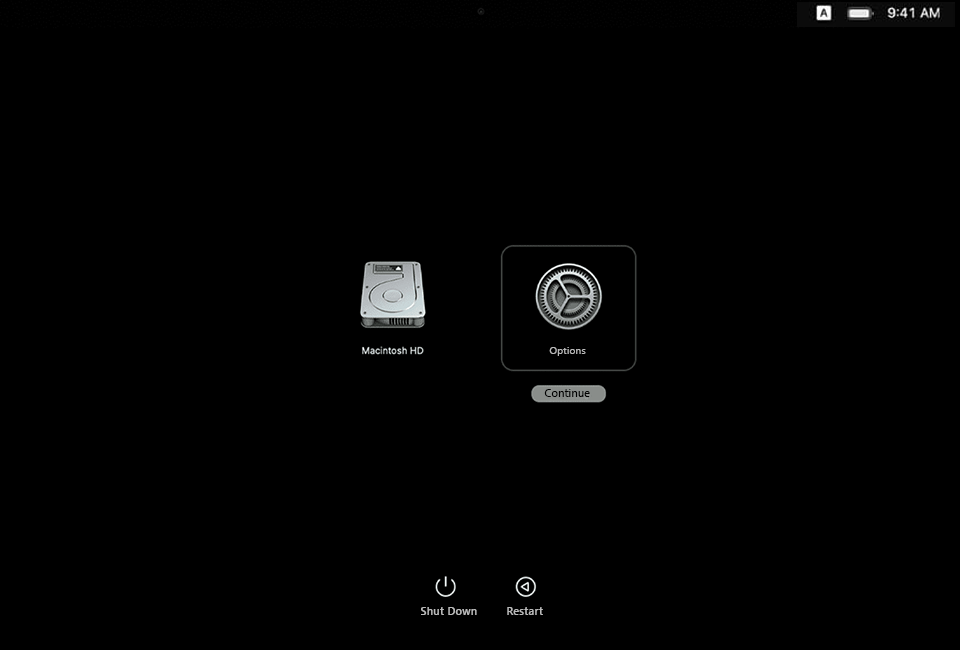
2. To turn on your Mac in Recovery mode, press the Power button until Recovery mode appears.
3. Click Option > Continue.

4. Click Next after you see the macOS recovery windows.
5. After that, you will need to enter the Admin Password > and press Continue. Now you should see the Recovery mode.
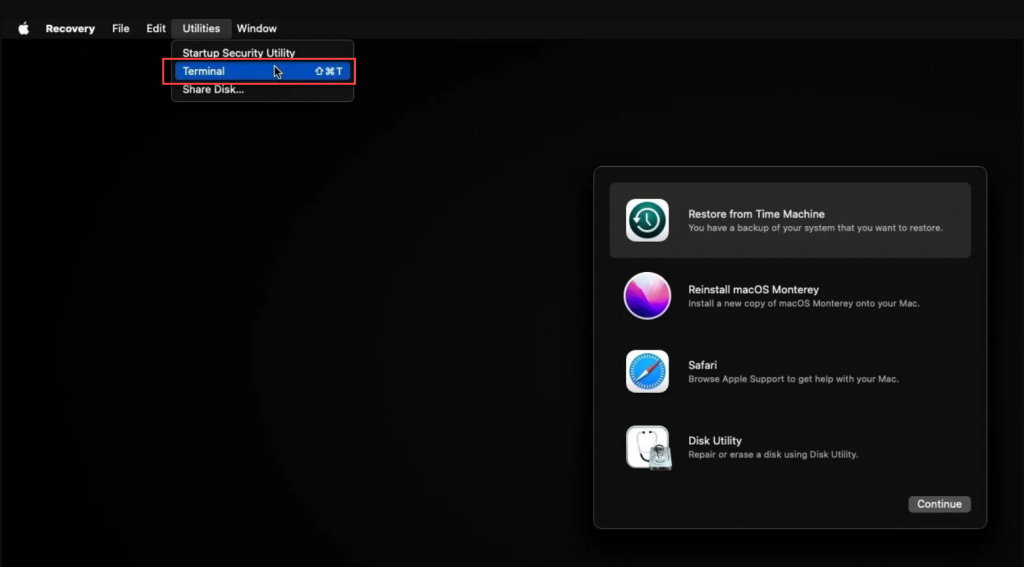
6. Select Terminal from the Utilities menu.

7. Type in the following command in the Terminal and click the Return button.


8. Follow the onscreen instructions to start the Stellar Data Recovery Professional application.
9. Select Scan after choosing the drive to be recovered.


10. After completing the scan, you will see a message: Scanning Completed Successfully! Click OK to continue.
11. Click on Recover to get your files back.
Solution 2: Recover Data from a Dead MacBook Air and Pro Using External Drive
Another solution is using an external hard drive to retrieve the files from your unresponsive Mac. To create a disk image backup, you must boot your Mac into Recovery Mode and use Disk Utility.
Here is how to do it:
1. Plug in the external disk to your dead Mac.
2. Enter Recovery Mode. To do that:
- Turn on your Intel-based Mac while holding down the Command + R keys.
- Hold the Power button on M1 Macs until you see the Startup Options window.
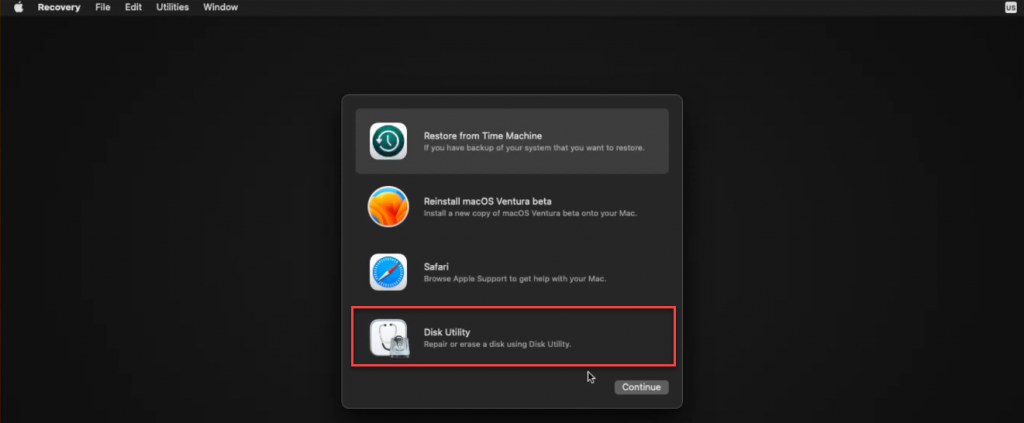
3. Select Disk Utility.

4. After choosing the needed external drive from the list of devices on the left, click on Erase.

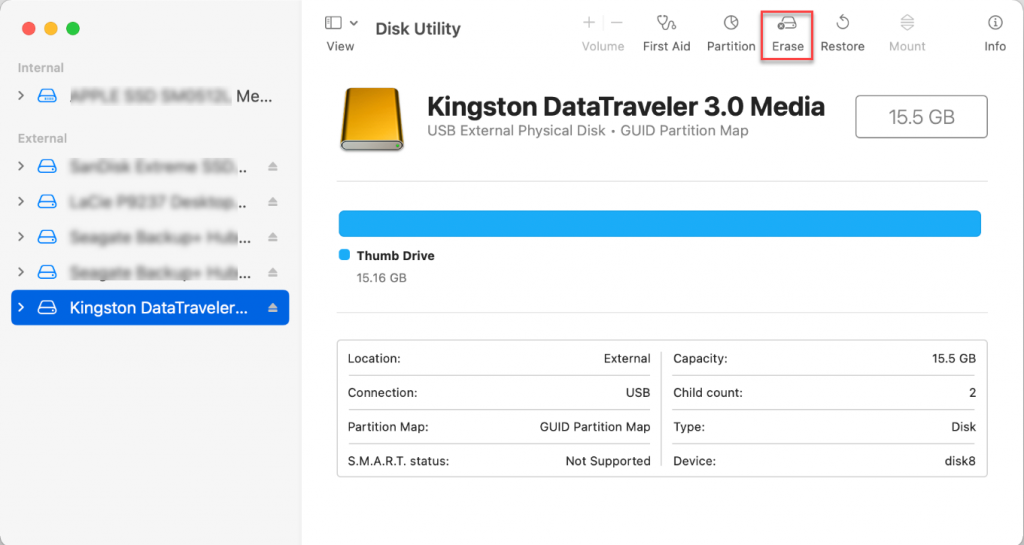
5. Choose the file format (the Mac OS Extended) and confirm the erasing.
Then you will need to create a new image with a backup:
- Click Macintosh HD in the left sidebar, then navigate to File > New Image > Image from Macintosh HD.
- Follow the onscreen instructions to create a new disk to make a backup copy of your files there.
- After the backup is done, eject the external drive and plug it into the working Mac.
- Launch Stellar Data Recovery Professional software and select the image backup file from the list of available storage devices. Start a scan and recover all the available data from a dead Mac.


Solution 3: Recover Data on Another Mac
If you have one more Mac that works, you can connect them using a cable and Target Disk Mode to make your non-working MacBook work as an external drive. It allows you to transfer files from an old Mac to a new one. Here are the steps to do it:
- Connect your dead Mac to the working Mac using the appropriate cable.
- Press and hold the T key while turning on the dead Mac. After that, you should see the disk icon on your new Mac.
- Open the disk to view your data by double-clicking it on the working Mac.
- Drag your files to the desktop on the working Mac to transfer them.
- When you are done transferring the files, disconnect the non-working Mac by dragging the disk icon to the Trash folder of the new Mac.
How to Avoid Data Loss in Case Your Mac Goes Dead
Make sure you have a backup of your files on an external drive to access them even if your Mac breaks.
Here’s how to create a Time Machine backup of your Mac:
1. Connect your Mac to an external hard drive or Time Capsule.
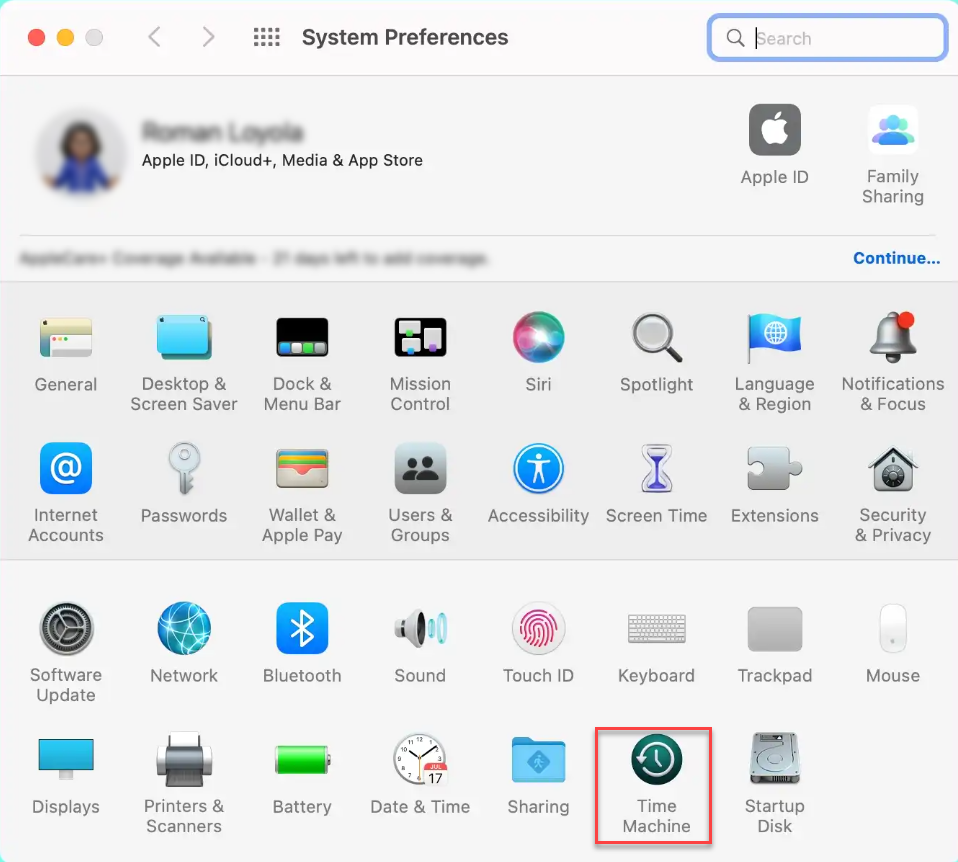
2. Open Time Machine by going to the Apple Menu in the upper left corner of the screen and selecting System Preferences > Time Machine.

3. After that, click Select Backup Disk.

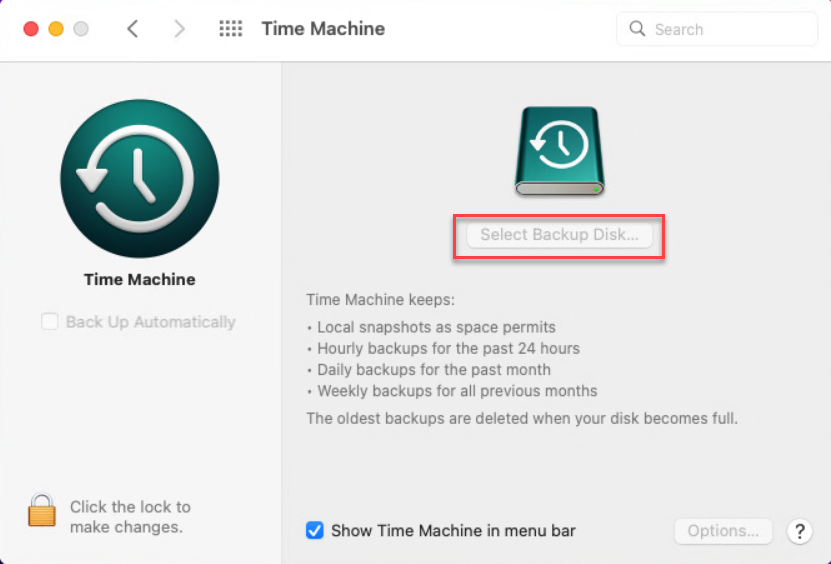
4. Select the required disk and press the Use Disk button.
Voilà. Time Machine will now have your system’s most recent backup.
Wrapping Up
Don’t let file loss get in the way. There are several methods and solutions to fix and restore them. All you have to do is choose the most convenient procedure for you. One of the solutions is to use data recovery software called Stellar Data Recovery Professional. Also, remember to back up your data outside your Mac, so you don’t lose important files.


