When you plug an external hard drive or SSD into your Mac, you expect it to mount and show up on your desktop immediately. The same situation with cleaning the SSD. Ideally, for a couple of minutes, you can solve your problem. However, drive errors, USB hubs, faulty cables, and other reasons can prevent this from happening.
So if you are having issues with that SSD not erasing/mounting on Mac, then use the guide below to fix the problem.
Ways to Solve SSD not Erasing or Mounting on Mac
1. Reconnect the SSD
It sounds obvious and elementary, but you may have accidentally ejected your SSD. So try to unplug your drive from your Mac’s USB port and plug it back in.
2. Try Another USB Port
Sometimes the problem is simply a defective USB port. If you use a USB hub, try different inputs or connect the SSD directly to your computer.
3. Restart Your Mac
Another quick solution involves restarting your Mac. It is the best way to troubleshoot any system glitches preventing removable drives from working correctly on your desktop or Finder.
1. Unplug your SSD from your Mac.
2. Go to the Apple logo ? click Restart.

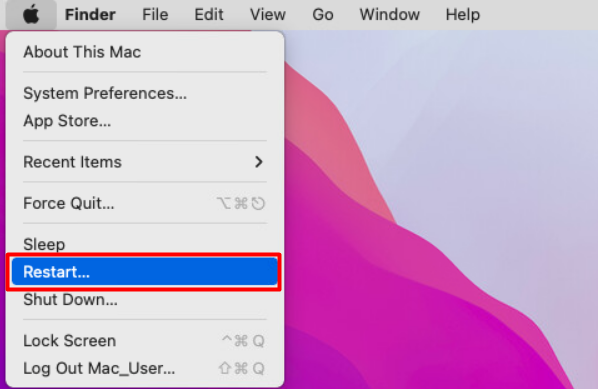
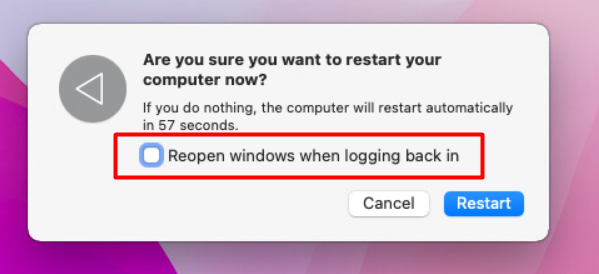
3. When the message window Are you sure you want to restart your Mac appears uncheck the box next to Reopen windows when logging back in and click Restart.

4. Wait until your Mac restarts and plug in your SSD again.
4. Restart Finder
Sometimes the problem is that the Finder just freezes and does not load new information. To check if it is the issue, you need to restart Finder. To do it:
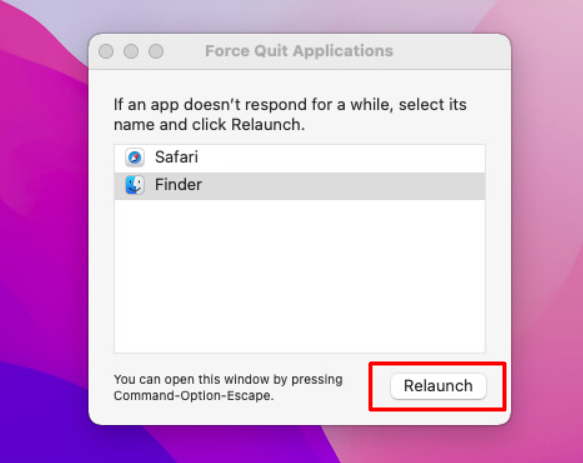
1. Open the Force Quit Application window by clicking Command + Option + Escape buttons.
2. Select Finder ? click Relaunch.

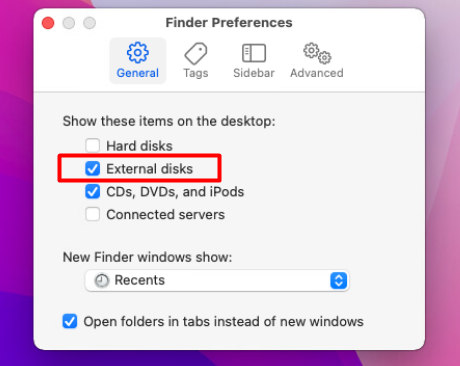
5. Check Your Desktop Settings
Sometimes the SSD has mounted, but it just doesn’t appear on the desktop. It’s easy to fix. All you need to do is change your desktop settings.
1. Open Finder Preferences.

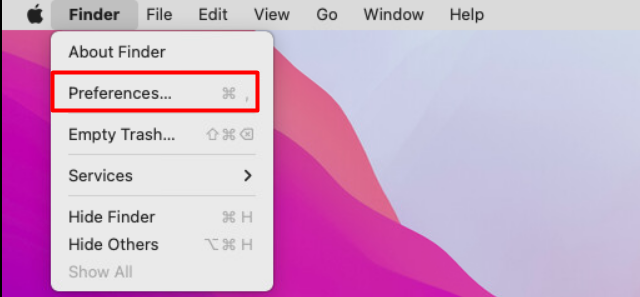
2. Choose the General Tab ? check the box next to the External disk option.

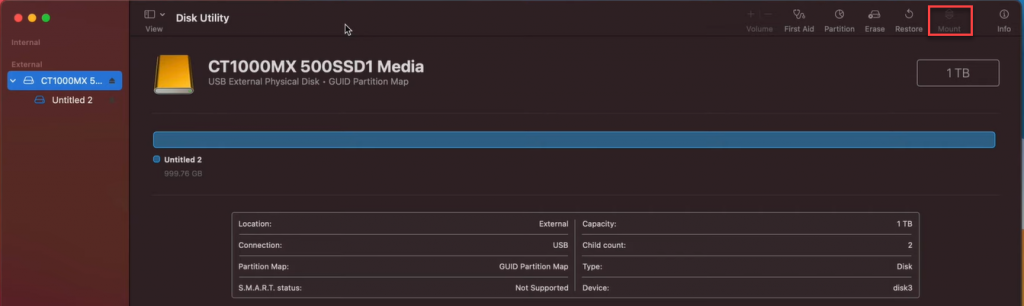
6. Mount SSD Using Disk Utility
If the SSD does not mount automatically, let’s try to do it manually.
1. Open Disk Utility by going to the Finder ? Applications ? Utilities.

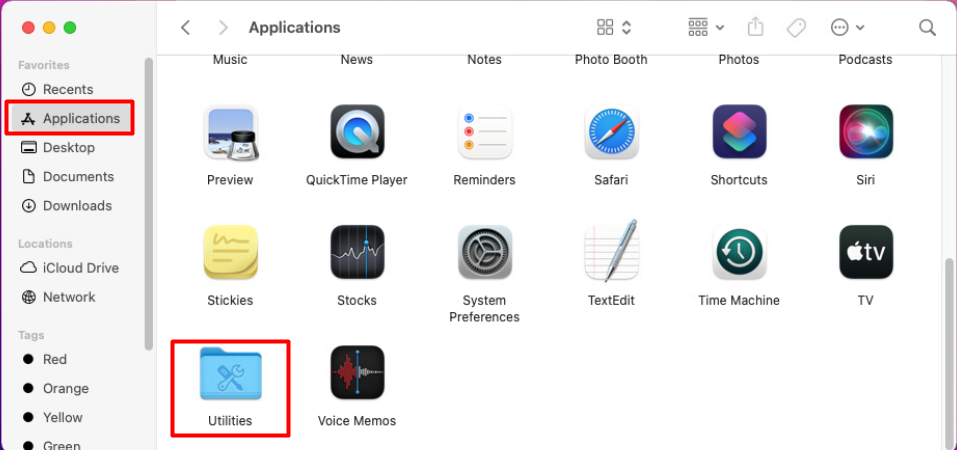
2. Choose the needed SSD from the list and click Mount.

7. Use Terminal to Mount the Disk
Another way to mount the SSD is using Termina. To do that:
1. Open Terminal by finding it via Spotlight.
2. Type in the command diskutil list. It will show you all the disks on Mac. Then, find the identifier of the needed drive.

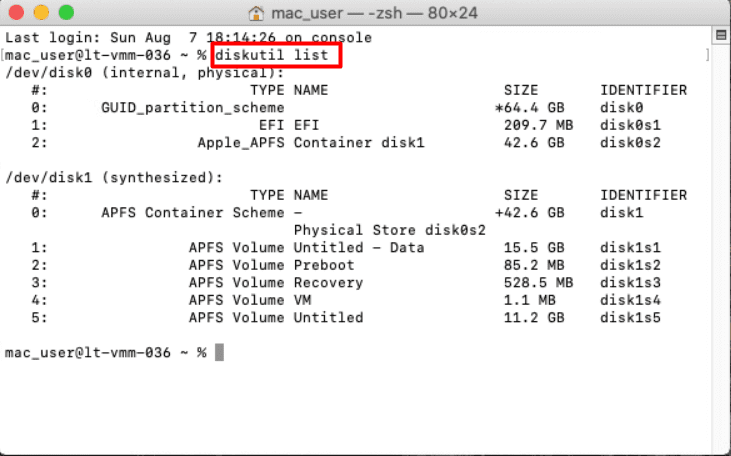
3. When you find the needed disk, enter this command diskutil mount /dev/disk0 to mount the SSD.
Note: disk0 should be replaced with the SSD identifier you want to mount.
Before proceeding with the following possible solutions, make sure you have a backup of your Mac. You will ensure you won?t lose any of your essential data.
Here is how to make a backup of your SSD using Time Machine:
1. Plug in another external HD to your Mac.
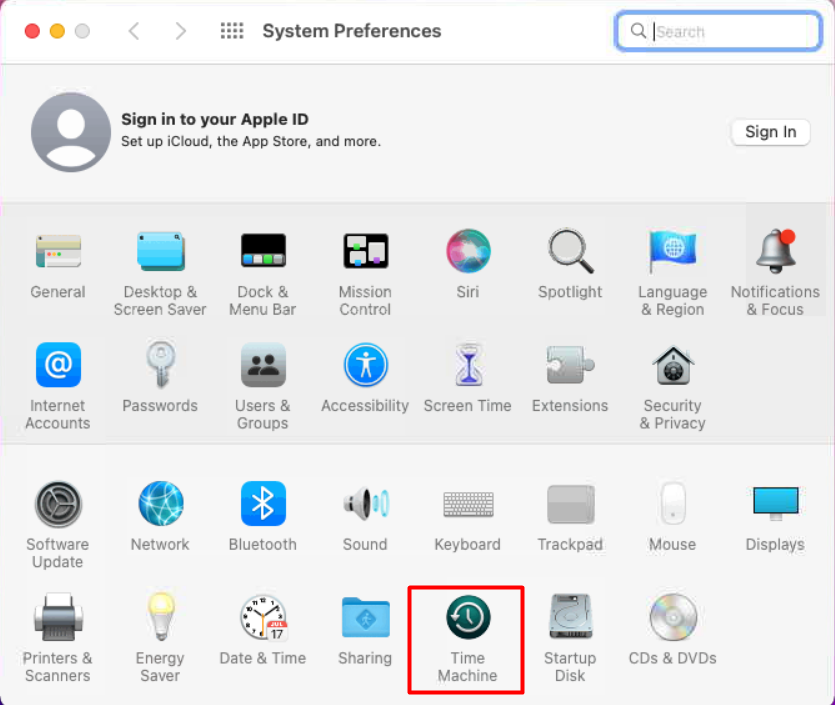
2. Open Time Machine. Click on Apple Menu in the top left corner of the screen ? System Preferences ? Time Machine.

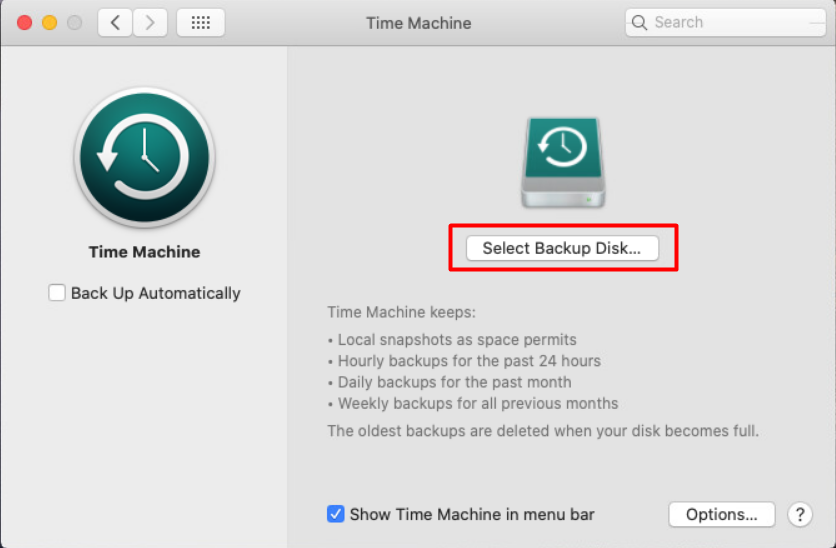
3. Click on Select Backup Disk.

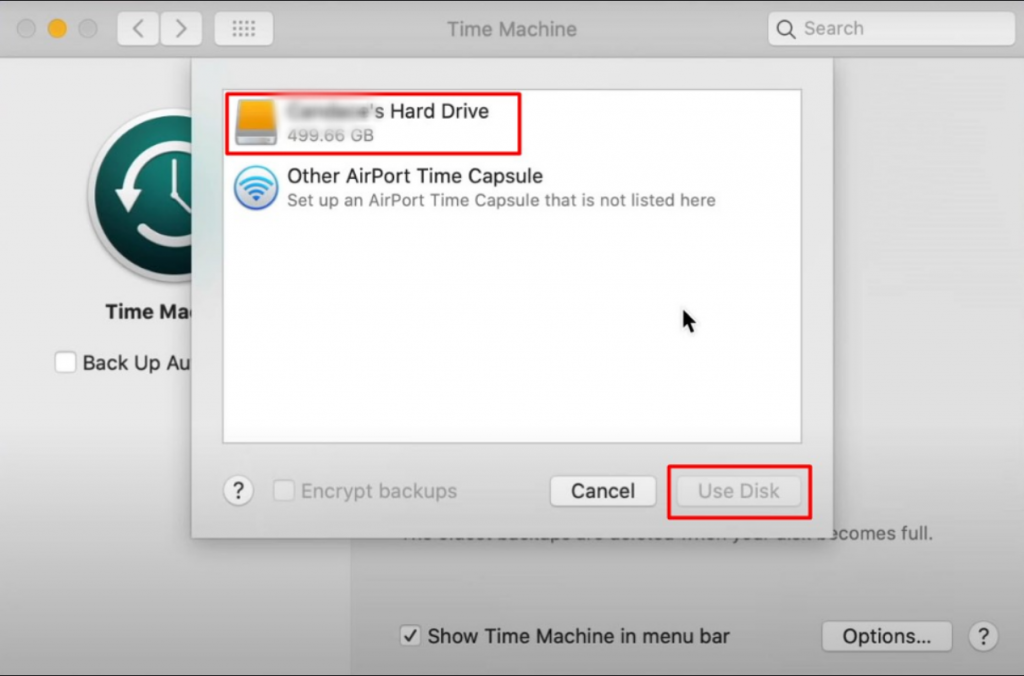
4. Select the needed disk where you want to save a backup and click the Use Disk.

When the backup is finished, you will have a copy of your Mac on the external drive.
8. Run First Aid in Disk Utility
The first Aid option is used to make a checkup of your disks. It can find and fix mistakes in a disk?s directory structure and formatting.
First, you will need to open Disk Utility in Recovery Mode. To do that follow the next steps:
For Intel-based Mac:
- Restart your Mac.
- Click and hold the Command + R keys.
- Open the Disk Utility when the macOS utility window appears.
For M1-based Mac:
- Restart your Mac and
- Press and hold the Power button until you see the Loading Startup Options.
- Select the Gear icon ? open the Disk Utility.
Then run Fist Aid to repair the needed SSD:
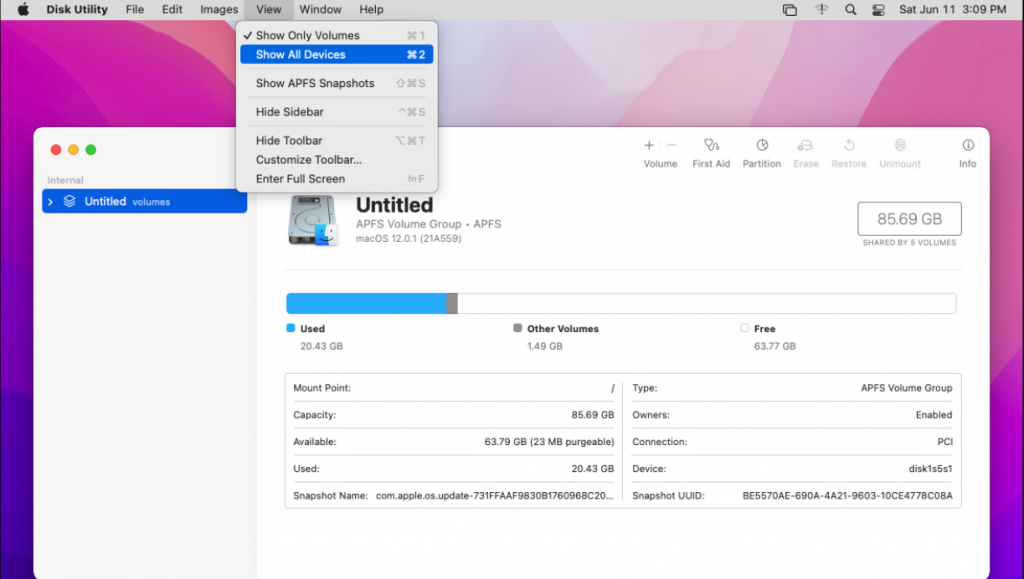
1. When in the Disk Utility, choose View on the menu bar ? Show All Devices.

2. Select the needed SSD ? click the First Aid button > choose Run.
Do not worry if Disk Utility possibly alerts you that a disk is close to failing, you have a backup of your data that you will be able to restore.
9. Erase the SSD
The final possible solution is to erase the SSD and then restore the information stored there.
That is why we asked you to prepare your SSD and make a backup of your files. If you haven?t done it yet, please proceed with the steps above.
To delete the disk, follow these steps:
1. Open Disk Utility from the Recovery Mode again.
2. Select the SSD you need to delete.
3. Click on Erase and follow the on-screen instructions to finish the process.
After you did that you will need to restore your files. The best possible solution apart from getting a backup from Time Machine is using a specific restoring application like Stellar Data Recovery Professional for Mac to revive the information that was stored on SSD.
To recover the disk with Stellar Data Recovery Professional, follow the next steps:
1. Download and install Stellar Data Recovery Professional for Mac.


2. Open Stellar Data Recovery Professional app ? select the file types you want to recover ? click Next.
Note: You can recover everything or choose the needed file types.


3. After the application finishes scan ? click on Recover to finish.
Wrapping Up
Now you know the possible solutions if your SSD not Erasing/Mounting on Mac. If the instructions from the guide didn?t help you, most likely you are dealing with a hardware issue, that is possible to fix only by replacing it.
Read more:


