Summary: In this blog, you’ll learn how to read console log reports on Mac. In case the log report is deleted accidentally, download Stellar Data Recovery Free Edition for Mac to recover the lost log report from the storage medium.


Contents
Your MacBook Air/Pro, iMac, or Mac mini creates reports that can help you identify and solve issues with macOS and its installed apps. The computer stores the report files as text in its storage drive, and you can readily view them on your Mac.
Now, suppose your Mac is behaving erratically. You need to diagnose the issues and troubleshoot them to ensure your Mac runs perfectly. The log reports can help you pinpoint the root cause of the common Mac problems. But before you learn how to read the reports, know different types of reports.
Types of Reports
- Crash Reports that details the apps or processes that crash and have the extension of .crash
- Spin Reports that details issues of apps or processes and have the extension of .spin
- Log Reports that details apps or system events and have the extension of .log, ._log, or .its
- Diagnostic Reports that details response time, etc. and have the extensions of .diag or .dpsub
- Mac Analytics Data that details diagnostic message at /var/log/DiagnosticMessages
- system.log that details the legacy system at /private/var/log/system.log
Also, viewing all reports on your Mac is possible only if you are logged in as an administrator; else, you can check only user reports. The following sections describe different methods to read and recover reports on Mac.
Read Reports Using Finder
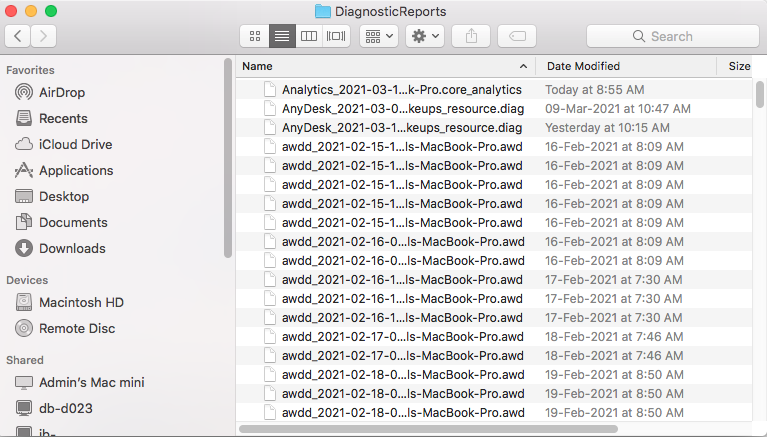
When you know where the reports are stored on your Mac storage drive, you can directly access the report file from that Finder location. Navigate to Finder > Go > Go to Folder and enter any one of the following paths (as per requirement) to access reports:
- ~/Library/Logs to access application logs of Mac user

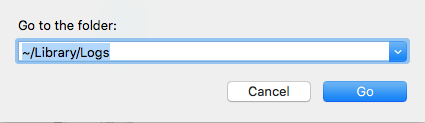
- ~/Library/Logs/DiagnosticReports to access diagnostic reports of Mac user
- /Library/Logs to access application logs of system
- /Library/Logs/DiagnosticReports to access reports of system

- /var/log to access system log folder
- /var/log/system.log to access system log
- /var/log/DiagnosticMessages to access Mac analytics data
A dedicated application like Console can help you perform a lot of tasks using reports. The following section describes how to read reports on your Mac using Console.
Read Reports Using Console
You can view reports on your Mac through Console. The steps are as follows:
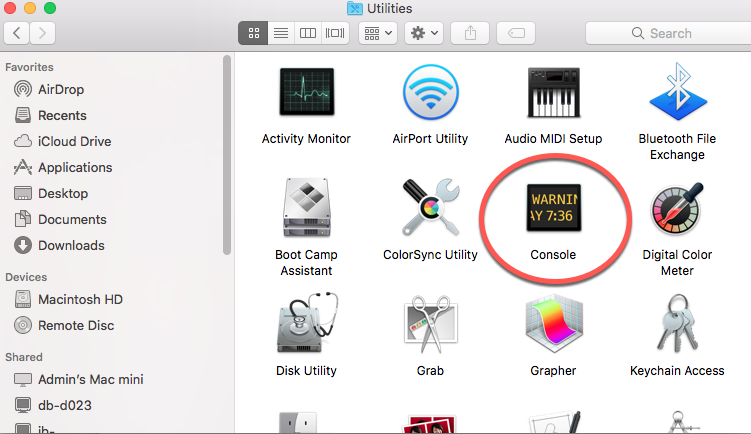
- Press Command + Space Bar to open Spotlight. Type console and select the Console app. Else go to Utilities folder and double-click the Console icon to launch the tool.

- From the sidebar of the Console window, select a report category under Reports.

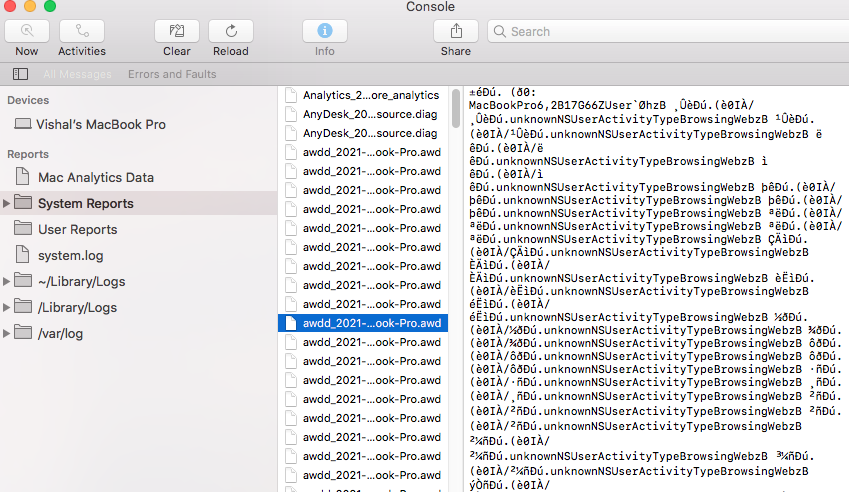
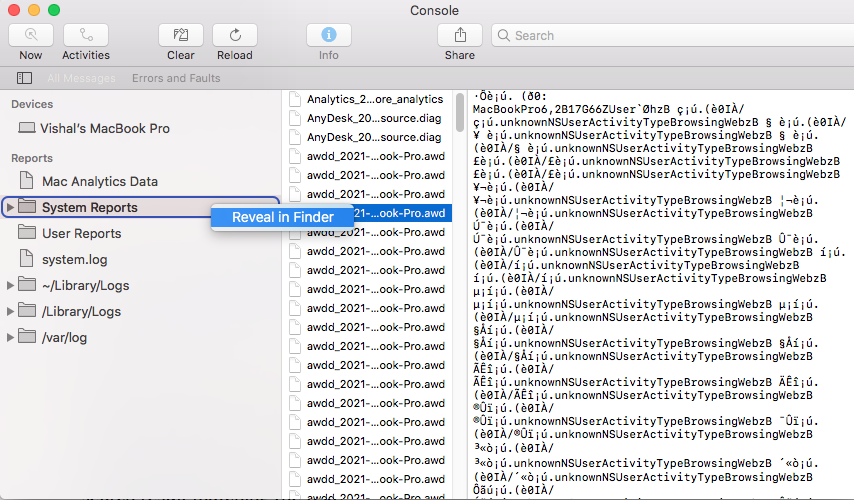
- Select a report from the top panel and view the report details at the bottom panel.
- Double-click a report to open it in a window, or go to File > Reveal in Finder to open in Finder.

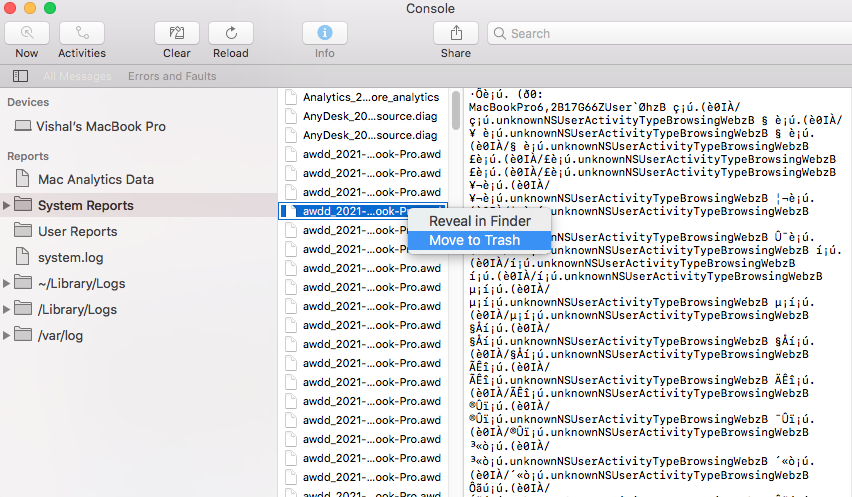
- To delete a report, navigate to File > Move to Trash.

Apart from viewing a report, Console allows you to sort reports and even search for text within a report. To sort a report, click the required column. All the rows in the report are sorted according to the column. Click the column again to sort the rows in reverse order. To search text within a report, double-click a report and type the required text in the search field. You?ll find the search result matching the text.
Recover Reports Using Free Mac Data Recovery Software
When you have moved your report to Trash, navigate to the Trash folder and put back the report. In case you emptied the Trash, use a free Mac data recovery software to recover your permanently deleted reports. The steps are as follows:
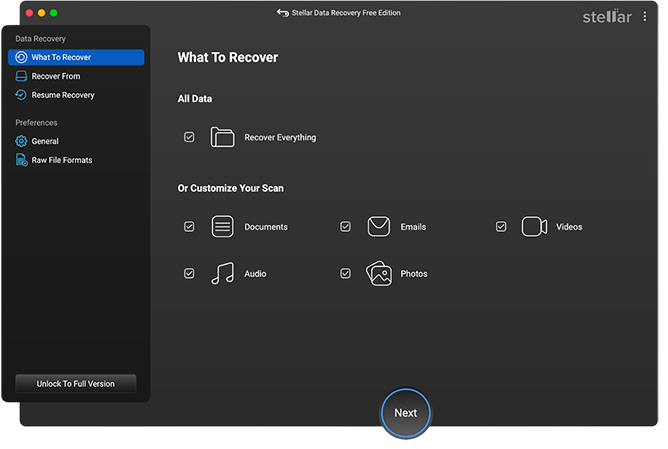
a) Install, launch Stellar Data Recovery Free Edition for Mac software.


b) Select the required file type (say Documents), then click Next.

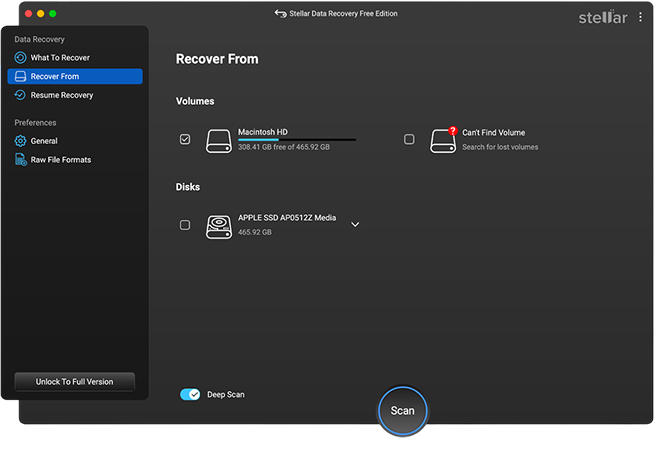
c) Select the Mac drive, toggle on Deep Scan, and click Scan.

d) After the scan is over, select the required report file.
e) Click the Recover button. Next, provide a save location, then click Save.

| *Stellar Data Recovery Free Edition for Mac free scans, free previews, and free recovers up to 1 GB of files. Upgrade the software to either Professional or Premium edition to get unlimited data recovery capability. Also, you can avail yourself a 30-day money-back guarantee, just in case. Readers also find the below topics helpful: 1. How to Recover Files from a Deleted Mac User Account? 2. Best Ways to Free Recover Failed Mac Hard Drive Data 3. Internet Recovery Stuck on Mac. How to Solve? 4. Resolve Error Code 36 on Mac 5. Rebuild the Spotlight Index and Rescue Files on Mac |
Conclusion
When your Mac drive is not behaving as it should, you can view your Mac’s reports to know what is happening. You can read the crash report, spin report, log report, diagnostic report, Mac analytics data, and system log using Console. The required report can help troubleshoot issues on your Mac quickly. In case of accidental deletion of reports, leverage the free data recovery software for Mac to recover them on your system. Also, the recommended software supports macOS Ventura and earlier, so use it with complete confidence.


