Contents
An external hard drive is a helpful tool for copying or transferring data from one device to another. It may contain critical information required at essential times; thus, discovering your device in read-only mode would be highly distressing. The read-only mode limits your access to the drive; it only allows you to view the content on the hard drive and does not allow you to copy it to another device or free up space for anything else.
Is your external hard drive configured to be read-only? Can you access data on the external hard drive of your Mac that has been set to read-only? Then don’t worry because this article will cover several tried-and-true methods for resolving Mac external hard drive read-only problems.
Reasons for Mac External Hard Drive Read-Only Error
When the drive is in read-only mode, you can only read data from the drive but cannot write it. What could be behind this read-only status? Let?s see in more detail:
- Assigning permissions. You can change the read and write permission of your computer’s external hard drive. When you plugged in the disk, the read-only permissions could have been transferred to the Mac. It is easy to change with the Finder. Click here to open this section.
- Formatting errors. Startup errors indicate a faulty hard drive. Virus attacks, interruptions in read-and-write operations, software problems, or physical damage can all cause corruption. You can try to fix it with Disk Utility. Click here to open this section.
- NTFS file system formatting. Your hard drive could be formatted as NTFS. If you use an NTFS drive, you won’t be able to write to your Mac’s external drive due to compatibility issues. To fix the problem, you must format your drive in an appropriate file system format.
How to Check External Hard Drive Permissions on a Mac
An external hard drive’s permissions can be changed and verified for Mac users anywhere in the Finder. You must perform the following:
1. Open Finder > right-click your external hard drive > select Get Info.


2. To expand these settings, scroll down to the bottom of this new window and click the switch next to Sharing & Permissions.

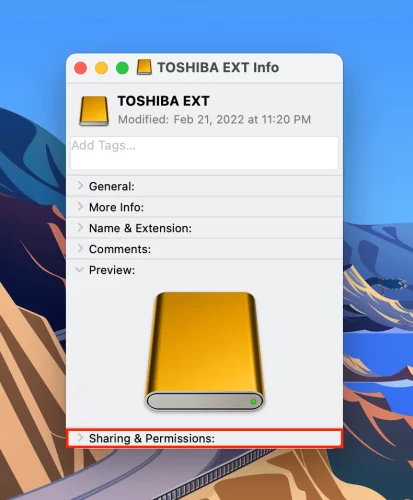
3. From the bottom of the window, check whether it shows You can only read or You can read & write.


You can also expand the General toggle to see what file system is installed on your drive. If it’s NTFS, you’ll need to format it for macOS to recognize it.
How to Repair an External Hard Drive that is Read-Only on a Mac
Choosing the best solution starts with identifying the problem, so if you haven’t already, read the first part of this article. Here are three ways to fix the Mac external hard drive read-only problem on Mac.
A. Change macOS Drive Permissions
Try manually altering the permissions in Finder if your drive isn’t NTFS-formatted and you still need help accessing it.
You can use the steps below to change the permissions on an external hard drive on a Mac:
1. Go to Finder > right-click your external hard drive > select Get Info.

2. Scroll down to the bottom of the opened window and click the toggle next to Sharing & Permissions.

3. Click the entry beside your username (or “everyone”) in the Privilege column and select Read & Write.

B. Use First Aid in Disk Utility
If manually changing the permissions doesn’t help, your drive may have disk errors. Therefore, it is recommended to use First Aid in Disk Utility. It is the default macOS tool that automatically finds and fixes errors.
To repair a read-only external drive or USB drive on a Mac, follow these steps:
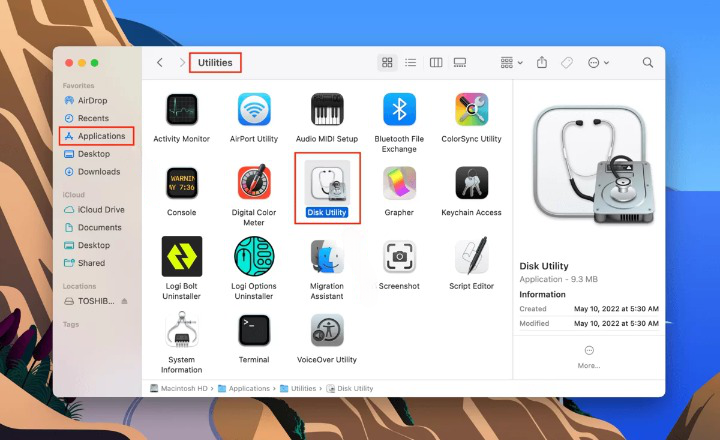
1. Go to Finder > Open Applications > Utilities > Disk Utility.

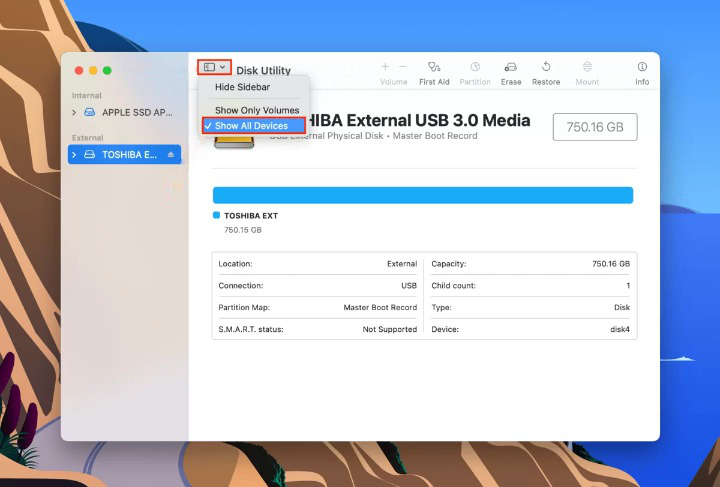
2. Select Show All Devices from the View menu in the top-left corner of the middle pane.

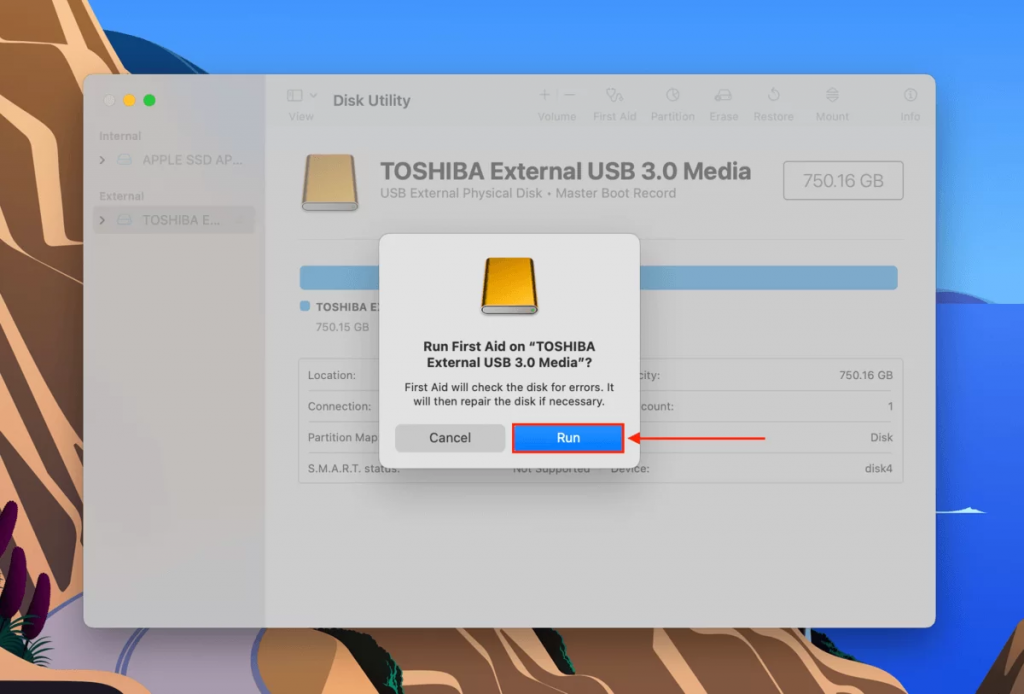
3. Click the First Aid button at the top of the Disk Utility window after selecting your external hard drive from the list.
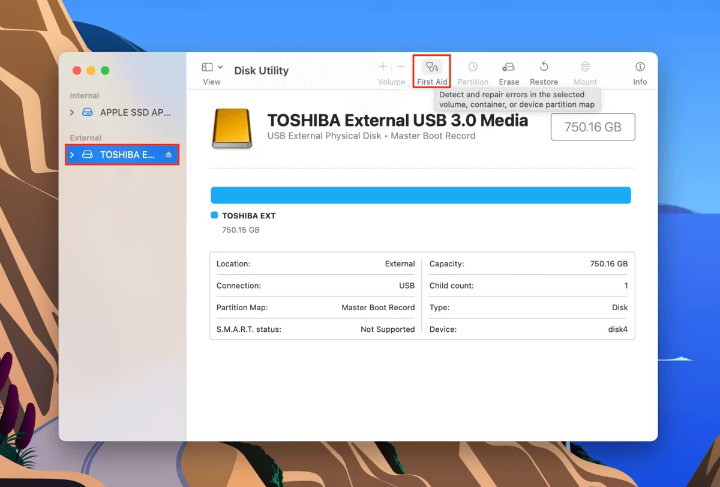
4. When the next window appears, click on Run.

C. Erase the Disk with Error
If First Aid doesn’t help, the next step is to delete the disk with the error. Please keep in mind that the disk you are supposed to delete may contain your files. As a result, permanent deleting deletes all data from it.
As a result, before erasing the extra volume, make sure you have prepared your Mac and made a backup of your system (see the instructions above).
To delete the hard drive, follow the next steps:
1. Open Disk Utility from the Recovery Mode.
2. Select the needed disk.
3. Click on Erase.
4. On the window that appears, choose the following parameters:
Name: Macintosh HD
Format: APFS or Mac OS Extended

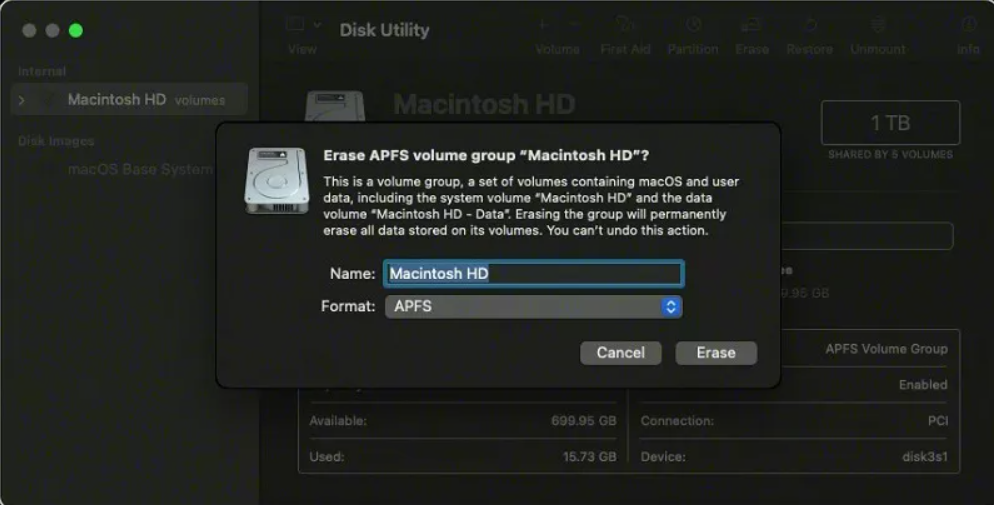
5. Click the Erase button to confirm.
6. Follow the instructions that appear on the screen.
How to Recover Data from the Deleted Disk
When the process is finished, you can restore your Mac from the backup (if you made a backup before erasing the disk).
To do that:
- Go to the Utility window by pressing Command + R on an Intel-based Mac or pressing and holding the Power key on an Apple Silicon-based Mac.
- Select Restore from Time Machine backup > Next.
- Select the disk you want to restore your data from.
- Select the backup date.
- Choose the destination disk on your Mac and click Restore.
- Restart your Mac.
Another option is to restore disks using specific restoring software such as Stellar Data Recovery Professional. It’s a simple tool that will assist you in restoring your data regardless of the circumstances under which you lost it.
To recover partitions with Stellar Data Recovery Professional, follow the steps below:
1. Download and install Stellar Data Recovery Professional for Mac software.


2. Following installation, you will be prompted to select the file types you wish to recover.


3. Select Can?t Find Volume > click Next.
4. Click on the Lost Volume (always indicated by a flag), select the Deep Scan option on the bottom left, and continue with the scan.
5. When the scan is finished, go through the files and select the ones you want to restore.


6. Click Recover at the end.
Wrapping Up
When dealing with hard disk read-only issues, you can try to repair the disk or erase it and format it in the correct file format. Also, make sure you have restoring software to make sure you can have all your data back after erasing the disk.
Read more:


