Summary: You want to ensure the highest quality sound for your project. But if you are facing a synchronizing issue in your videos, read this blog to learn how to sync audio and video in Premiere Pro CC perfectly.
Adobe Premiere Pro User 1: ‘I synced my documentary’s audio and video in Premiere Pro using the Merge Clip function. But, the audio is not properly in Sync. I do not want to return to the original clips and re-merge. How can I sync Audio and Video in Premiere Pro?’
Adobe Premiere Pro User 2: ‘I captured the football match in two-hour footage. Next, I imported it to Premiere Pro CC to edit. But the video is out-of-sync. There are no clappers in the footage. How can I sync the audio and video files in Premiere Pro?’
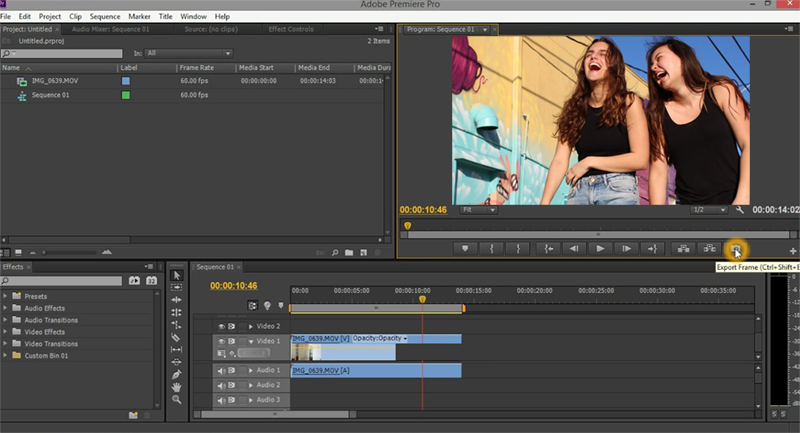
Ways to Sync Audio and Video in Premiere Pro
Synchronization of audio and video files in Premiere Pro is time-consuming and requires precision too. Also, Premiere Pro audio sync problems are pretty standard. Sometimes even after mixing the audio and video clips in Premiere Pro, your video may appear out-of-sync. Ensure you follow the proper steps while merging or synchronizing multimedia files. Premiere Pro CC also allows you to sync multiple audio clips based on the audio itself.
Check the below methods to effectively deal with issues related to audio and video out of Sync in Premiere Pro CC:
- Sync with Merge Clips: Can be done in Project Panel or via the Timeline function
- Use Synchronization option
- Manual synchronization in Premiere Pro
- Use PluralEyes 4 in Premiere Pro
1. Sync with Merge Clips
You can choose to sync audio either in Project Panel or on Timeline.
Steps to Sync using Merge Clips in Project panel
- Select the video clip to which you want to merge audio
- Select the audio-only clip to merge using Shift or Control-click (Command-click in Mac)
- Right-click (Control-click on Mac), and choose Merge Clips from the shortcut menu to launch the Merge Clips dialog box.
- In Merge Clips, select one of the following options for the point of synchronization:
- Based on the In point
- Based on the Out point
- Based on matching timecode (For locating Sync based on standard Timecode between the clips)
- Based on clip markers (Locating a sync point based on a numbered clip marker in the middle of the shot. This function is disabled unless all component clips have at least one numbered marker.)
- Click OK. Your merged clip now appears in the Project panel with ‘- Merged’ added at the end of the clip name. You can also rename this clip.

Steps to Sync using Merge Clips in Timeline
- Select the video clip to which you want to merge audio
- Select the audio-only clip to merge using Shift or Control-click (Command-click in Mac)
- Drag the component clips into the Project panel
- The Merge Clips dialog box launches
- Click OK. Your merged clip appears in the Project panel.
2. Use Synchronize Option in Premiere Pro
This method is almost the same as that of Merge Clip in Timeline. The difference is that you can merge clips based on Clip End, Timecode, or Numbered Marker, unlike ‘Merge Clip in Timeline,’ which synchronizes from Clip Start. Also, no additional merged video clip is created.
Steps to Synchronize clips in the Timeline panel
- First, edit the clips in the Timeline panel
- Select the edited clips you want to synchronize. Choose Clip > Synchronize.
- The Synchronize dialog box launches. Choose from one of the following options for the point of synchronization:
- Based on the Clip Start
- Based on the Clip End
- Based on matching Timecode
- Based on Clip Markers
- Click OK. Your clips are now synchronized.
This method is not viable if you want to sync hundreds of clips. The better way would be to use Stellar Repair for Video tools or audio/video syncing plugins like PluralEyes.
Note: With Premiere Pro, you can quickly do Batch audio sync.
3. Manual synchronization in Premiere Pro
Manual syncing is easy for small videos but can be time-consuming for more extensive projects requiring you to sync hundreds of files.
The auto sync in Adobe Premiere Pro may not consistently deliver the perfect sync videos. Syncing it manually is tiresome but gives the best results. If you have the time, try it to get the best results.
Steps to manually sync audio and video in Premiere Pro:
- Pull the audio and video files in the Timeline on top of one another.
- Next, find a good reference point (spike) in waveforms and put a marker.
- Finally, align the audio and video tracks using the markers.
- Play the clip to ensure that the out-of-sync issue is resolved. You might require a few adjustments frame-by-frame at a couple of places.
4. Use PluralEyes 4 in Premiere Pro
Red Giant’s PluralEyes 4 work with video editing applications like Premium Pro to fix audio sync problems. It is beneficial when you have thousands of files to sync for a movie, music video, or documentary. In addition, it is a relief for videographers and filmmakers who do not have clappers or timecodes in their footage.
Download and connect PluralEyes 4 to Premiere Pro CC. Launch Premiere Pro and PluralEyes will be listed under Window > Extensions. The plugin imports the entire project (video and audio clips), syncs them, and then exports media files for use.
Merged & Synchronized Clips, still they are out of Sync! Use Stellar Repair for Video
There are certain limitations associated with when you are working with Merged Clips. Have a look below:
- The Replace Footage command won’t work.
- Analyzing speech to text is not supported after attaching Adobe Story scripts.
- Reveal in Adobe Bridge is not supported.
- Finally, complete audio channel mapping control is not supported in the merged clip.
- Final Cut Pro XML and AAF interchange formats are not supported since merged clip audio results in mono-track audio-only.
- Auto-sync is not supported using audio waveforms, free-run Timecode, time-of-day Timecode, AUX timecode, or separate audio timecode.
- Once a merged clip is created, it can’t be resynchronized or adjusted. So for this, we need to make a new merged clip.
- Adjusting the contents of a merged clip is not supported. However, in the case of a particular component, the clip is deleted, and the merged clip may be relinked.
- To make a new merged clip, previously merged clips or parts can’t be used apart from component clips.
If your videos, after merging or synchronization in Adobe Premiere Pro, appear out-of-sync, the chances are that they are corrupt or damaged.
The best way is to use video repair software like Stellar Repair for Video. Unlike manual or automatic synchronization in Premium Pro, the Stellar Video Repair tool quickly fixes the out-of-sync issue without you fretting over the waveforms or frames.


Whether the out-of-sync issue occurred during the shoot, editing, transferring files, or converting to a different format, Stellar Repair for Video fixes everything. The software supports the repair of AVI, ASF, WMV, MKV, FLV, DIVX, WEBM, MJPEG, MPEG, AVCHD, MTS, MOV, MP4, M4V, 3G2, 3GP, and F4V video files.

To Sum Up
Premiere Pro’s inbuilt synchronization functions perform well in syncing individual clips, but it is not the best way to sync many audio and video clips of a big project. Comparatively, PluralEyes is easy to use and syncs thousands of multimedia files in less time. Still, if the merged or synchronized videos appear out-of-sync, you can easily use Stellar Repair for Video to fix the issue and get superior sound quality.
Which method of synchronization worked for you in Premiere Pro? Were you able to get the perfect audio and video sync? Do share your experience with our readers.

