Contents
In some cases, reinstalling the operating system may be the only method to resolve a Mac issue. You can accomplish this by entering recovery mode and reinstalling the most recent version of macOS.
But what if you get an untrusted cert title error? This problem commonly happens when you attempt to reinstall macOS, causing the installation to fail. It’s a frequent defect in macOS, and there’s no particular OS version where it’s more prevalent. You will be unable to continue installing macOS until the fundamental cause of the problem is resolved.
Why Does the Error Untrusted_Cert_Title Appear?
There are three reasons why this error occurs:
- The MacBook?s battery is worn out and needs to be replaced.
- The user hasn’t used their Mac for a while.
- If the user mistakenly modified the date and time settings.
How to Fix the Untrusted_Cert_Title Issue?
The solution to the problem is straightforward. You need to set the correct time.
Most encryption techniques require an accurate and up-to-date clock to establish a secure connection. The encryption system checks to see if the digital certificate proving the software’s integrity has not yet expired. Suppose the date and time encoded in the certificate are before or after the issue date. The encryption mechanism will not accept it in that situation, and the macOS installation will fail.
Read on to see how to change the date and time to fix the untrusted_cert_title issue error message.
How to Check the Time and Date on Mac?
To fix your Mac’s date and time settings, you must first know the current date and time to format it for the required command. You’ll need the exact day of the month, the month’s numeric equivalent (from 1 to 12), the current time in hours and minutes in 24-hour format, and the year’s last two digits.
In the United States and other countries where the day of the month usually appears after the month, such as October 20, 2023, the format follows this sequence:
- Day of the month (1 to 31)
- Month (from 1 to 12)
- Hour (0 to 23)
- Minutes (0 to 59)
- Year (22 as of 2023)
For single digits, a zero (0) is put before the number. Therefore they are always two digits long. For example, 1020203022 is the format for October 20, 2023, at 8:30 PM.
In regions where the day of the month comes first, the day and month of the year are switched. In this situation, the above example would be 2010203022.
A. Check the Date and Time on Mac
If you still have access to your previous macOS, you can quickly check your system time and settings by going to the Apple menu and selecting System Preferences > Date & Time.
B. Check the Date and Time via Terminal
If you don’t have access to macOS, you can only use the Terminal to get this information.
To double-check the date and time via Terminal:
1. Enter Recovery Mode.
2. In the top menu, select Utilities.
3. Choose Terminal.

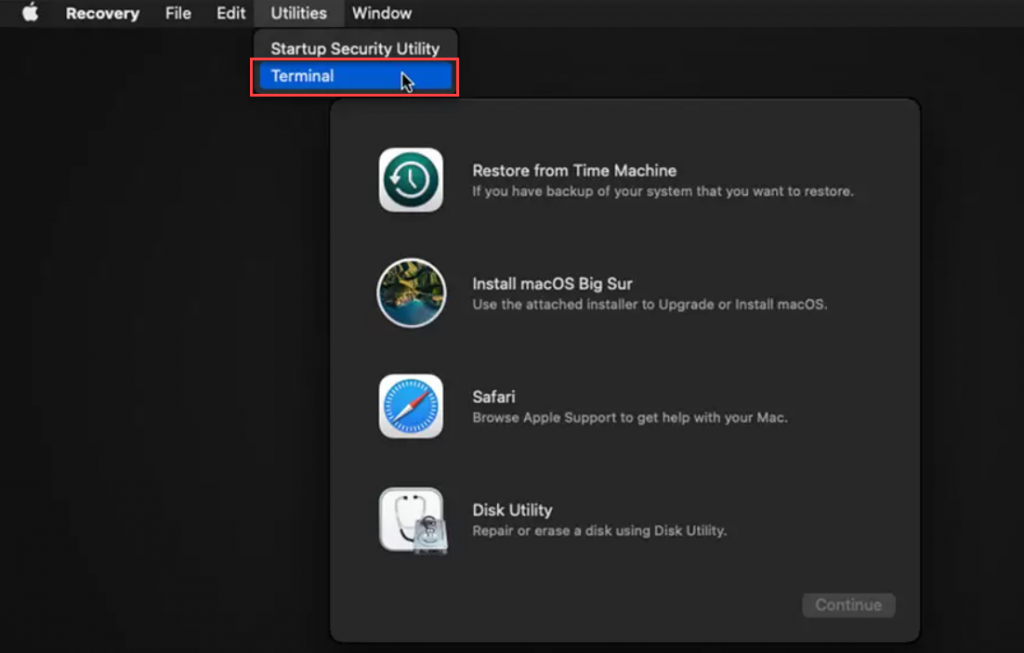
4. Enter the following command in the Terminal window: date.
This command displays the current date on which macOS is installed.
How to Change the Date and Time on Mac?
There are several ways to fix the incorrect date on your Mac.
A. Change the Date and Time via Mac Settings
If you see that the date and time on your Mac are inaccurate, you may quickly alter them using System Preferences. Here is what you need to do to modify it:
1. Select System Preferences from the Apple menu and Choose Date & Time.

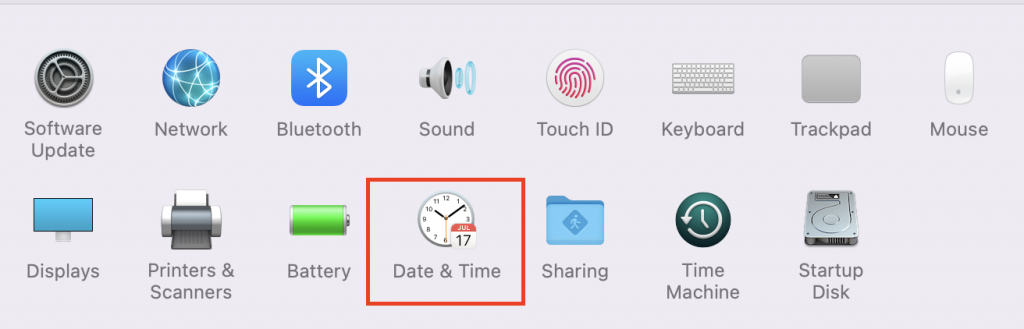
2. To make changes, click the lock symbol and enter the administrator password.


3. Remove the check mark from the Set date and time automatically check box and enter the current date into the calendar.
B. Change the Date and Time via Terminal
As previously noted, the untrusted_cert_title problem frequently happens when Mac users reinstall macOS, preventing them from accessing system preferences.
In this scenario, you can try the following steps to restore the date and time settings on your Mac:
- On Intel Macs: Start your Mac while holding down the Command and R keys. It will allow your computer to enter macOS Recovery mode. On M1 Macs: Turn on your Mac by pressing and holding the power key > release it when you see the startup options menu.
- Ignore any options on the screen, go to the main menu, and select Utilities.
- Choose Terminal from the dropdown menu.
- Enter the command below and supply the date and time sequence.
Date 1020203022
- Click the Return key.
- When you run the command, you will see an output line containing the date. It indicates that the command was appropriately entered.
- Exit by Terminal.
- Go back to the main recovery window.
- Click Reinstall macOS and follow the onscreen instructions.
How to Prepare Your Mac Before Having it Fixed?
Before you repair your Mac for the untrusted_cert_title problem, begin backing up your important data to ensure it is safe in case something goes wrong.
If you lose any of your data, you can restore it all using the macOS backup.
Here’s how to use Time Machine to back up your Mac:
1. Connect your Mac to an external hard drive.
2. Open Time Machine by going to the Apple Menu in the upper left corner of the screen and selecting System Preferences > Time Machine.

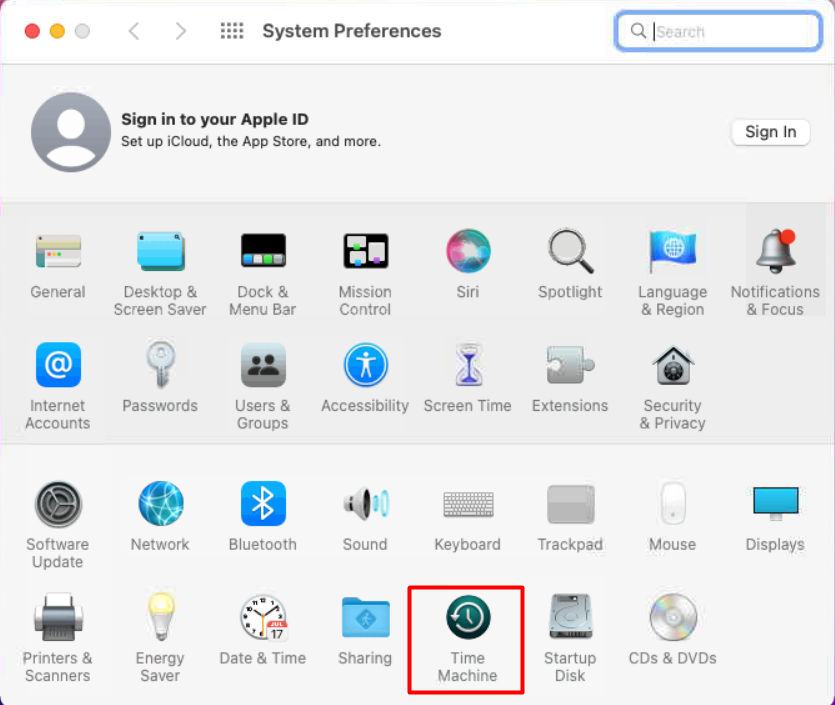
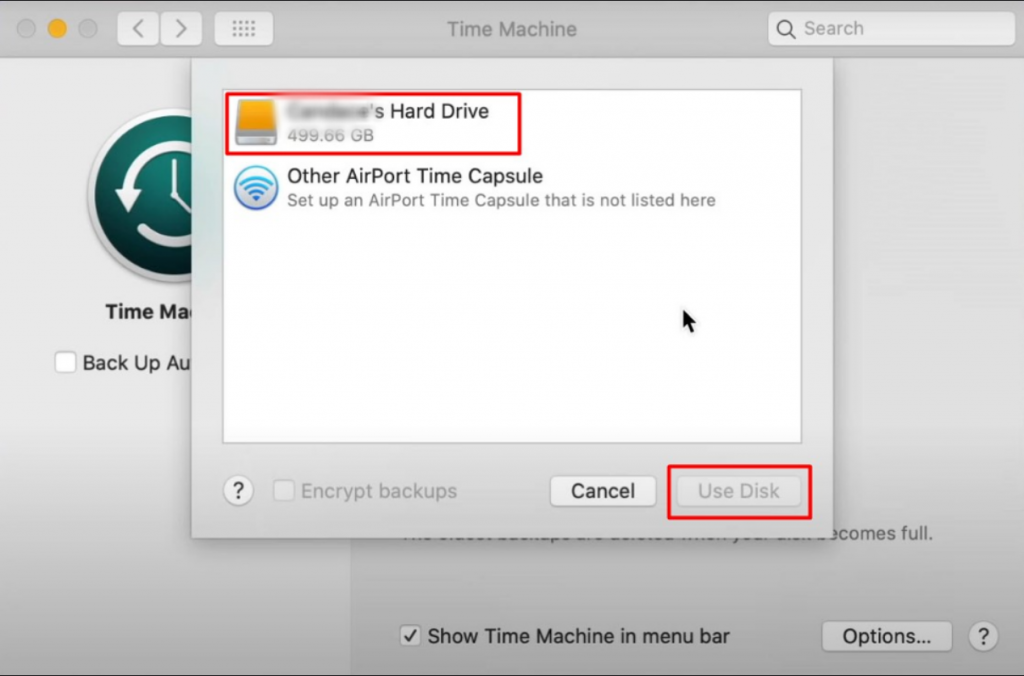
3. Next, click on Select Backup Disk.

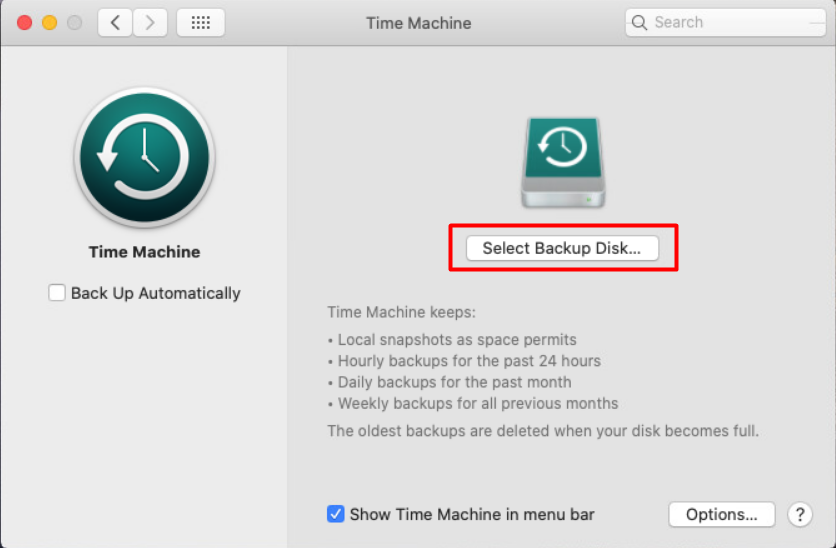
4. Choose the needed disk and hit the Use Disk button.

Voilà. Time Machine will now have the most recent backup of your system.
How to Restore Possibly Lost Files?
Another option for recovering lost files after freeing your Mac from untrusted_cert-error is to use Mac data recovery software. You can recover deleted files on your Mac using data recovery software such as Stellar Data Recovery Professional. It is a simple tool that will help you retrieve your files.
Follow the instruction below to recover lost data:
1. Download & install Stellar Data Recovery Professional for Mac software.


2. After installing the application, launch it and select the type of data you want to recover (photos, videos, documents, etc.). You can recover all or just the data you need.


3. Next, you’ll be required to select the location from which you want to recover the selected files.


4. When the scan is finished, the files that can be retrieved will be displayed. Choose which ones you require.


5. The final step is to select the target folder on your Mac and begin the recovery procedure.
Wrapping Up
This error is a typical issue for Mac users. Fortunately, the reason has been recognized, and the fixes are relatively simple to implement. Make it a practice to verify your system’s time and date settings every time you use your Mac to ensure you’re prepared for anything. Allow macOS to set the time and date on your machine automatically.
Read More:


