Contents
Time Machine is a convenient default backup tool for Macs. It protects your files by making a copy on an external drive.
Different issues with connection, disk errors, and drive damages may lead to incorrect work of Time Machine. Consequently, you will have trouble making a backup copy of your Mac.
In this guide, we will discuss solutions to fix the “Waiting to complete the first backup” error.
Why Is Time Machine Getting the ?Waiting to Complete First Backup? Error?
Here is the list of why the “Waiting to complete the first backup” issue appears:
- Not enough storage. During the entire backup process, there may not be enough space on your Mac to create a backup.
- Security issues. Since Time Machine runs as an ongoing process on your Mac, your default antivirus protection may flag it as malware, stopping it from running.
- Hard drive issues. If your hard drive is damaged, Time Machine won’t be able to store backups.
- Unstable connection. The backup process can be hindered by incorrect network configuration whenever your Time Capsule has been connected to your Mac wirelessly.
How to fix the ?Waiting to Complete First Backup? Error?
Take a closer look at the steps below to help resolve the issue with Time Machine with the notification “Waiting to complete the first backup.”
I. Wait a While
The backup time p depends on the amount of data you have on your Mac. The more data you have, the more time it takes. That is why try to leave your Mac with the backup in progress and wait patiently.
If the process of Time Machine backup hasn’t progressed and you are seeing the “Waiting to complete the first backup” issue, continue with the other solutions below.
II. Restart your Mac
The easiest solution is to restart your Mac. This removes system-related stale data and effectively fixes macOS’s odd hitches and bugs.
Here is how to restart the Mac:
1. Cancel the Time Machine backup. Go to System Preferences > Time Machine and stop the process.
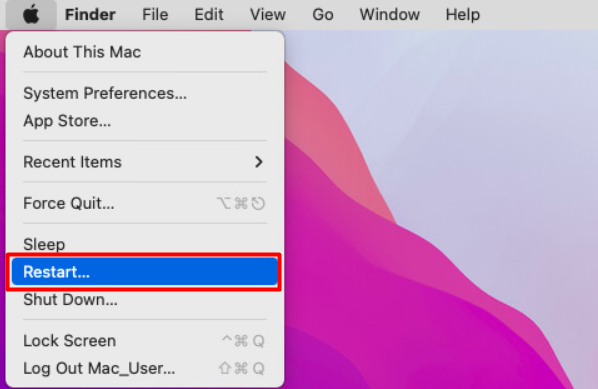
2. Then restart your Mac. Go to Apple logo > click Restart.

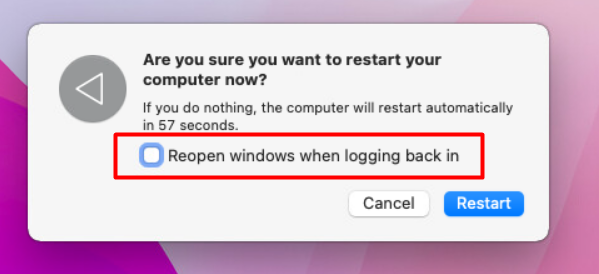
3. When the notification saying Are you sure you want to restart your Mac appears, uncheck the box next to Reopen windows when logging back in and click Restart.

4. When the reboot is done, open the Time Machine app again and restart the backup process.
III. Try to Restart Time Machine Backup
Stopping the backup process and starting again may also help to fix the issue.
To restart the Time Machine backup, follow the next steps:
1. Open the Apple menu > select System Preferences.


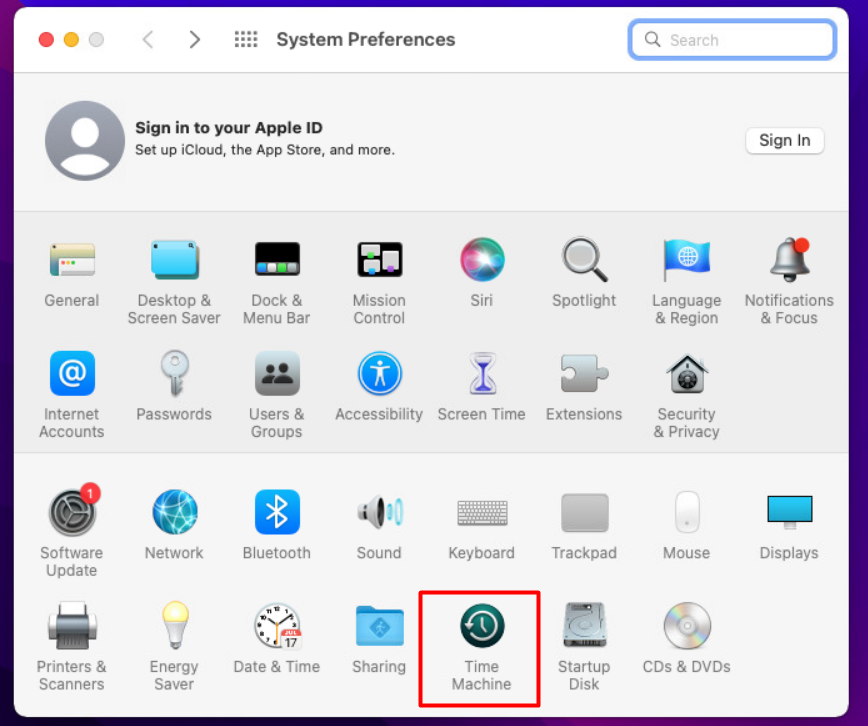
2. Select Time Machine.

3. Click on X to cancel the current Time Machine backup.
4. Click on Back Up Now.
IV. Run First Aid
With the First Aid utility, you can run diagnostics on your disks. If the problem is with the disk you are trying to use as a backup, this tool will find and fix mistakes in a partition directory.
First, you will need to open Disk Utility in Recovery Mode. To do that, follow the instruction:
For Intel-based Mac:
- Restart your Mac.
- Click and hold the Command + R keys.
- Open the Disk Utility when the macOS utility window appears.
For M1-based Mac:
- Restart your Mac.
- Press the Power button until you see the Loading Startup Options.
- Select the Gear icon > open the Disk Utility.
Then run Fist Aid to repair the backup disk:
1. Open the Disk Utility, choose View on the menu bar > Show All Devices.

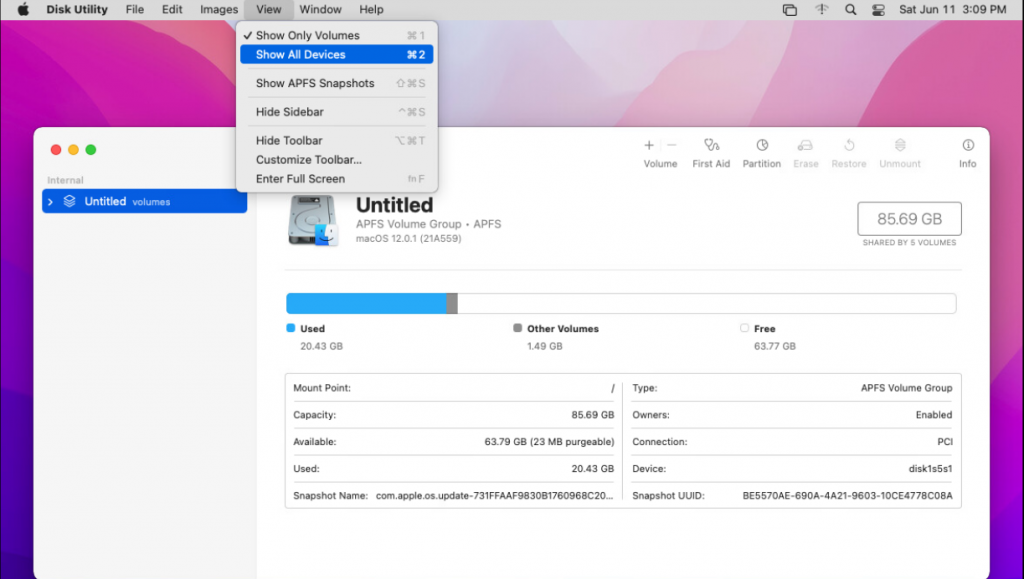
2. Select disk > click the First Aid button > select Run.
V. Exclude Affected Directories
Some directories may prevent your Time Machine from finishing the backup process. So, first and foremost, you must identify the incorrect directories. After excluding the problematic directories, you can completely erase your Time Machine backup drive and back up your Mac. Note that formatting a disk would delete all data on it. That is why do not forget to install specific recovering software like Stellar Data Recovery Professional to get your files back.
Follow the next steps to check and find the incorrect directories:
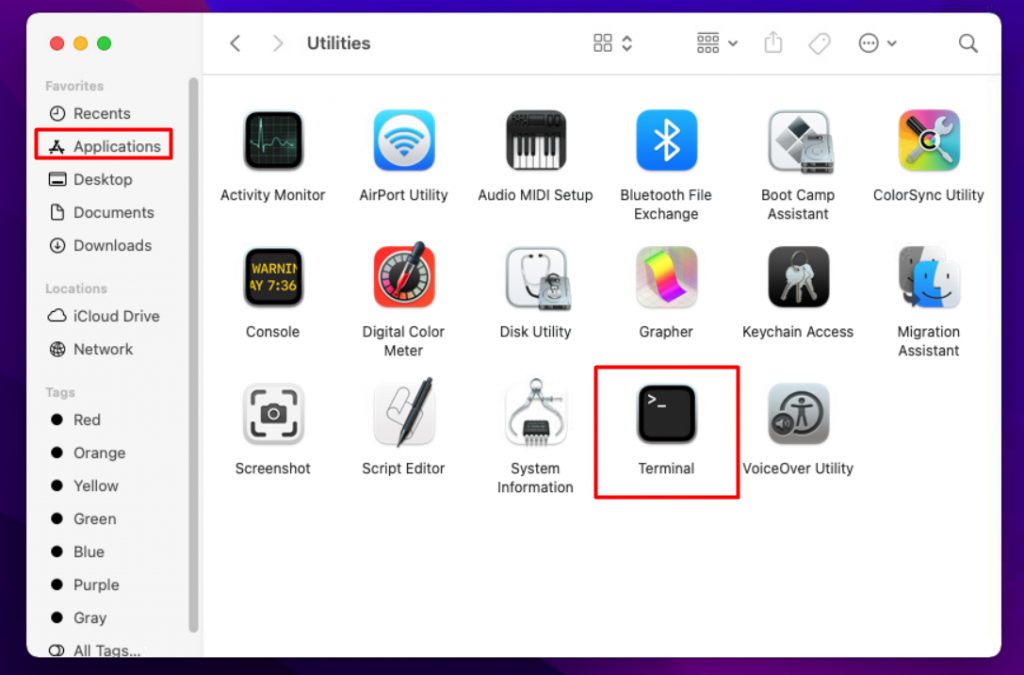
1. Open Terminal. Go to Finder > Applications > Utilities > Terminal.

2. Type the command below in Terminal and hit Return.
log show –info –style compact –predicate ‘(subsystem == “com.apple.TimeMachine”) && (eventMessage like[cd] “Failed * acquire device lock assertion*”)’ –last 24h

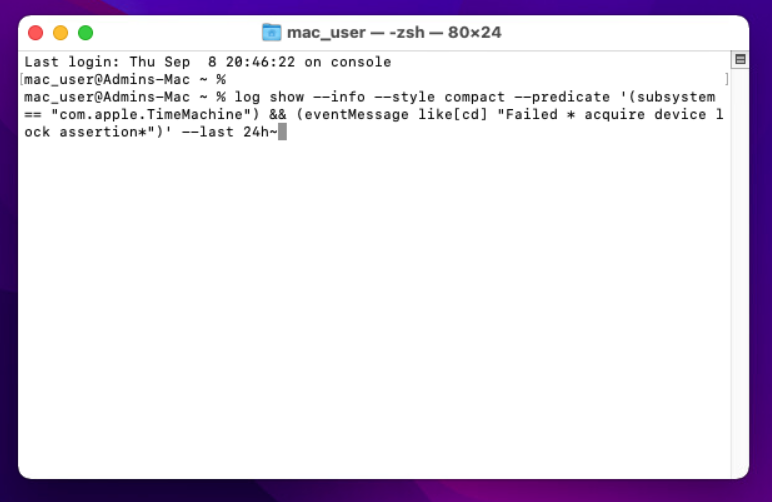
3. After that, you will see a list of directories that contain errors.
Now you need to exclude the damaged directories from the Time Machine backup list. To do that:
- Go to Time Machine and open Preferences
- Click on Options.
- Click the + button on your keyboard> select the needed directories > click Exclude.
VI. Erase the Backup Disk
The final solution is to erase the Time Machine backup disk.
To delete the disk, follow these steps:
- Open Disk Utility from the Recovery Mode again.
- Select the disk you need to delete.
- Click on Erase and follow the instructions on the screen to finish the process.
After this procedure, you?ll need to restore your files. The most efficient way is using a specific restoring application like Stellar Data Recovery Professional for Mac to revive the information stored on disk.
To recover the drive with Stellar Data Recovery Professional:
1. Download and install Stellar Data Recovery Professional for Mac.


2. Open Stellar Data Recovery Professional app > choose the file types you want to recover > click Next.


Note: You can recover everything or customize the scan by clicking next to the needed file type.
3. Select the drive you want to recover data from and click on Scan.


4. After the application finishes scan > click on Recover to finish.
Wrap Up
With this guide provides detailed steps to fix the issue with your Time Machine quickly and easily, unless you’re dealing with a more severe reason for the problem. Contact professional support if the error “Waiting to complete the first backup” continues appearing.
Read more:


