Got your first Mac? Congrats! Once you take it out of the box and turn it on, you must follow a series of steps before you start using your new Apple computer. In this article, we?ll navigate you step by step and show what you need to do to set up a new Mac as a first-time user.
What are Basic Mac Settings?
When you boot your MacBook for the first time, the Setup Assistant will help you customize your new Mac in just a few steps. You can complete all requests or skip some steps and complete them later.
You will be offered to configure the following things:
- Language and region. You will need to modify the language and time zone on your Mac and select a country and area.
- Setting up the Wi-Fi. A network connection will be required for some setup steps.
- Data transfer. If you have already used Apple computers before and want to reproduce the previous parameters on the new Mac, you can easily use this option. The data will arrive on the laptop from the backup copy. You can also click on Not now and postpone/cancel this process. Apple has a special migration assistant with which you can transfer information anytime from another computer or cloud.
- Geolocation. Some apps use device location data, for example, Find my Friends. You can check this item and allow the system to collect geolocation data or skip this.
- Creating Apple ID. You will have access to all Apple services (App Store, FaceTime, etc.). This identifier is one for all Apple services. You can do this at this stage if you haven?t created it yet.
- Terms and Conditions. It?s necessary to read and accept them to continue further work with the MacBook.
Now let?s talk about some of the points in more detail.
1. Connect to Wi-Fi
After you turn on your Mac, you will need to connect your Mac to Wi-Fi. Here is how to setup it up:
- Select your Wi-Fi network if you connect to the internet via Wi-Fi. If you’re using Ethernet, select Other network > Ethernet.
- Enter your Wi-Fi password.
- Wait for your new Mac to connect to the network and click Continue.
2. Create an Apple ID
An Apple ID is an account you need to install apps from the App Store, sync photos and other data with iCloud, buy content from the iTunes Store, and more. If you have an iPhone, iPad, Mac, or other Apple device, you won?t be able to use them without such an account. You can register an Apple ID in a browser, mobile, or computer.
Do the following to create an Apple ID:
- Go the Apple.com account in any browser from any device.
- Fill in your first and last name, date of birth, and country.
- Enter the email you will use as the login.
- Create a password.
- Add your phone number and choose the verification option: text or call.
- Enter the captcha and click Continue.
- To confirm your email, enter the 6-digit code that will be sent to the specified email. Click the Continue button.
- Next, confirm the phone number by entering the code from the SMS or answering the call. Click Continue again.
Great. Your Apple ID is ready.
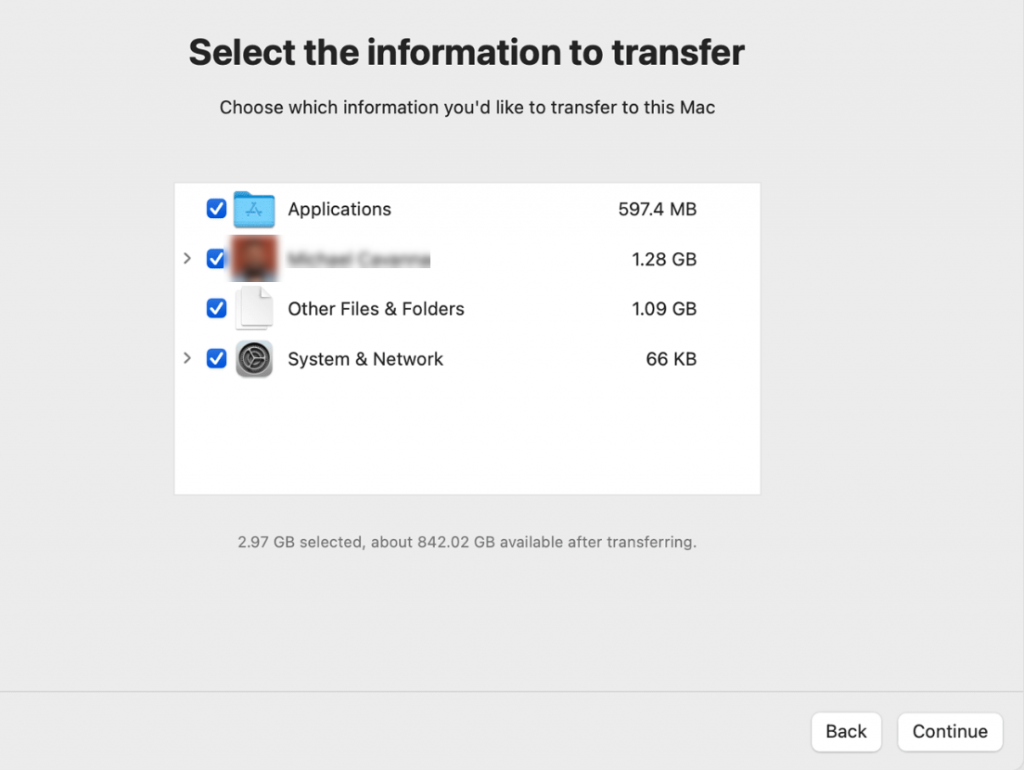
3. Data Transfer
If you’re moving from an older Mac, you can then use a Time Machine backup to transfer all of your data and your previous settings and preferences. But remember that to restore the backup here, you had to create a Time Machine backup of your old Mac. You can use the Migration Assistant to restore a Time Machine backup anytime. But if you don’t want to restore the backup because it takes a long time, you can skip the Migration Assistant for the time being.

Note: In the future, you can use specific restoring software like Stellar Data Recovery Professional. With such software, you will never lose your files even if you accidentally delete your data or your hard drives will be logically damaged.
4. Location Services
The next step is enabling Apple’s location services. This setting is required for Apple Maps and the Find My app to access your location. If you intend to use these apps, you should enable location services here. However, you can skip this step now if you prefer.
5. Data and Privacy
After enabling Location Services, you will be directed to the Data and Privacy window. It will notify you that Apple will inform you whenever access to your personal information is required. You must now click the Continue button.
6. Sign in with Your Apple ID
Next, you will need to sign in to your Apple ID if you created one (as described at the beginning of the article). If not, follow the onscreen instructions to create the Apple ID.
7. Siri
The following window will prompt you to turn on Siri on your Mac. Siri is the voice assistant that will help you in getting the most out of your Mac. You can allow Siri now or skip this step.
8. iCloud
Here, you?ll need to configure iCloud. By default, Apple provides its users with 5 GB of free storage space on iCloud Drive. iCloud syncs calendars, mail accounts, reminders, notes, contacts and other. You can easily store downloaded files like pictures, videos, etc from Documents and Desktop here and retrieve these files when needed.
9. Touch ID
If you purchased a Mac with Touch ID, you will be prompted to configure it now. You can always skip it and come back to it later. However, most Apple users find this feature extremely useful.
10. Choose Your Look
With the release of macOS Mojave in 2018, Apple introduced the option of using a dark or light interface.
11. Set Up Time Machine
Time Machine automatically backs up your system every hour and sorts them by the hour, week, and month. The oldest backups are deleted when there is not enough free disk space.
Here is how to set up Time Machine:
1. Connect an external HD to the Mac you want to use as your Time Machine backup.
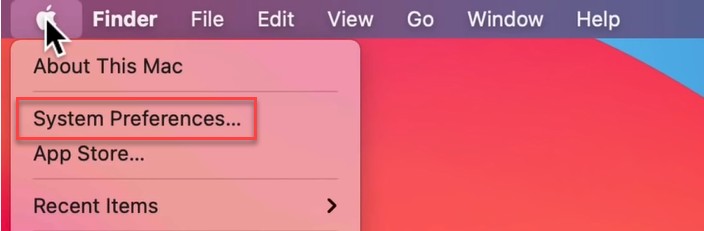
2. Open Time Machine. Click on Apple Menu > System Preferences.

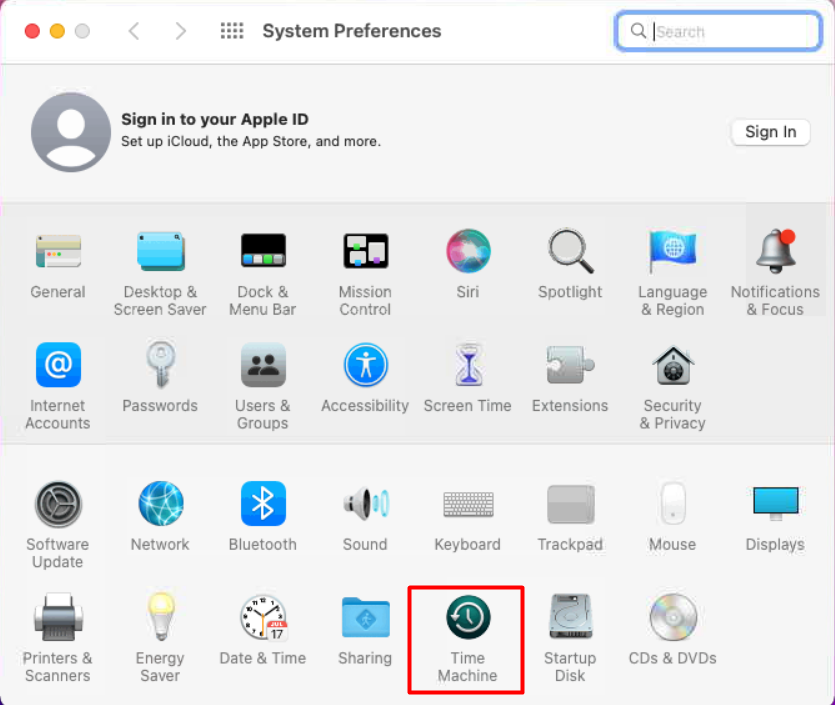
3. Select Time Machine.

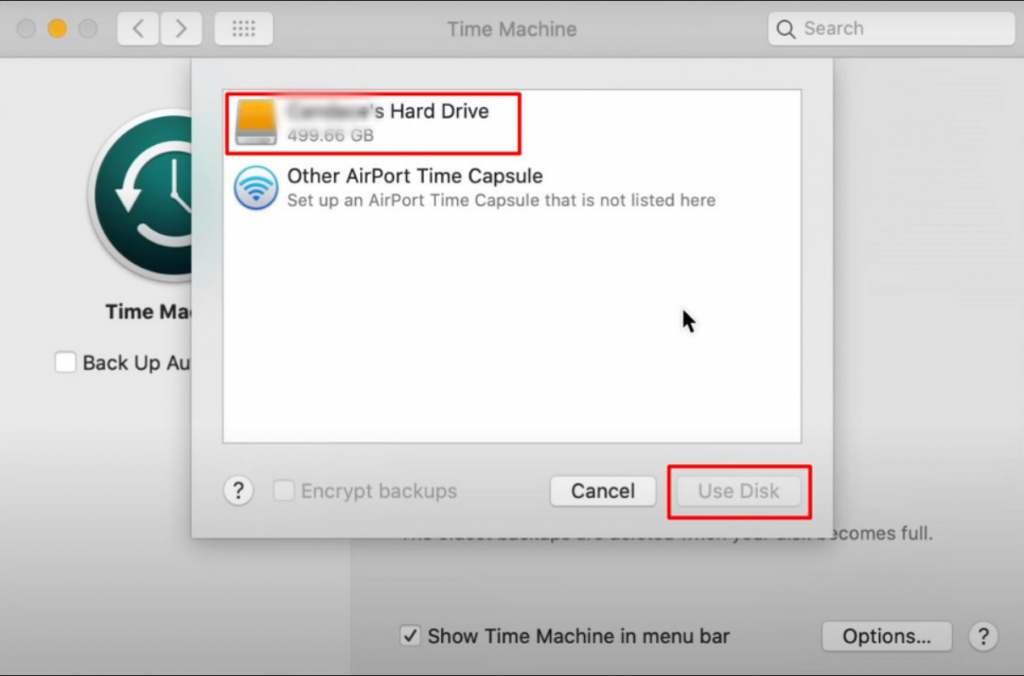
4. Click on Select Backup Disk.

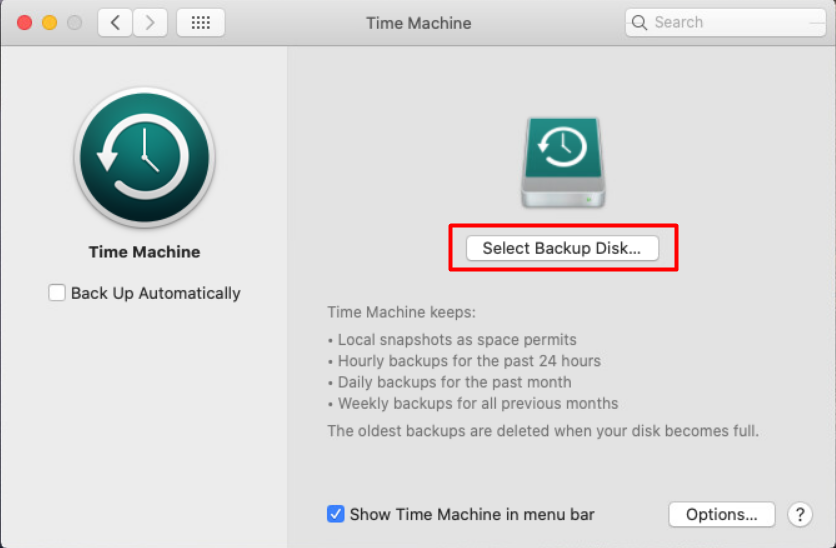
5. Choose the disk > click the Use Disk button.

Wrapping Up
Now you know how to set up a new Mac and see that the initial setup of your computer is easy. Further changes in the system settings are purely individual, so it will not be redundant for new users to take care of configuring the computer for their own needs since macOS initially provides sufficient functionality.
Read more:


