Stellar Repair for Video has become more powerful and effective after the key inclusion of ?Advance Repair? feature in the new version. The upgrade to 3.0 not just improves the overall user experience with the software but significantly increase the success rate of the video repair.
It is a known fact that Stellar Repair for Video is an easy-to-use application to fix corrupt, damaged or broken videos taken from any camera. Be your bad videos from DSLR, GoPro, surveillance cameras, CCTVs, drones or mobile phones, the software is well equipped to repair all. Available for both Windows and Mac users, Stellar Repair for Video 4.0 supports AVI, ASF, WMV, MKV, FLV, DIVX, WEBM, MJPEG, MPEG, AVCHD, MTS, MOV, MP4, M4V, 3G2, 3GP, and F4V videos repair.
Now with its new ?Advance Repair? feature in the 3.0 version, the software makes a remarkable progress in its video repair capability.
This video illustrates how the software functions for different file formats:
What is unique about ?Advance Repair? feature?
?Advance Repair? feature is added to deliver more power and better performance to the software. It is a feature that makes the application stand out among other video repair tools in the market. Significantly increasing the success rate of video repair, ?Advance Repair? is also a relief for those who lose their videos due to severe corruption.
The feature uses the technique of ?Sample File? as reference to repair videos that are severely corrupt.
A ?Sample File? is a working video file created from the same device and of the same format as your bad video file. For example, a sample file for a corrupt video shot from Canon EOS-1D will be the working file shot from the same camera model. The file can be of any size.
The software uses the information from the sample file as reference and repairs the highly corrupt videos.


So, when does ?Advance Repair? work?
The video fixer?s ?Advance Repair? works in all situations. It repairs corruption and errors that occur due to changes in file format or header corruption, video compression issues, virus attacks, incomplete download, bad sectors in storage media, improper system shutdown, or file read and write errors. You can repair all kinds of severe visual and audio distortions in the videos through this application.
Step-by-Step Guide to Repair Severely Corrupt Videos using ?Advance Repair?
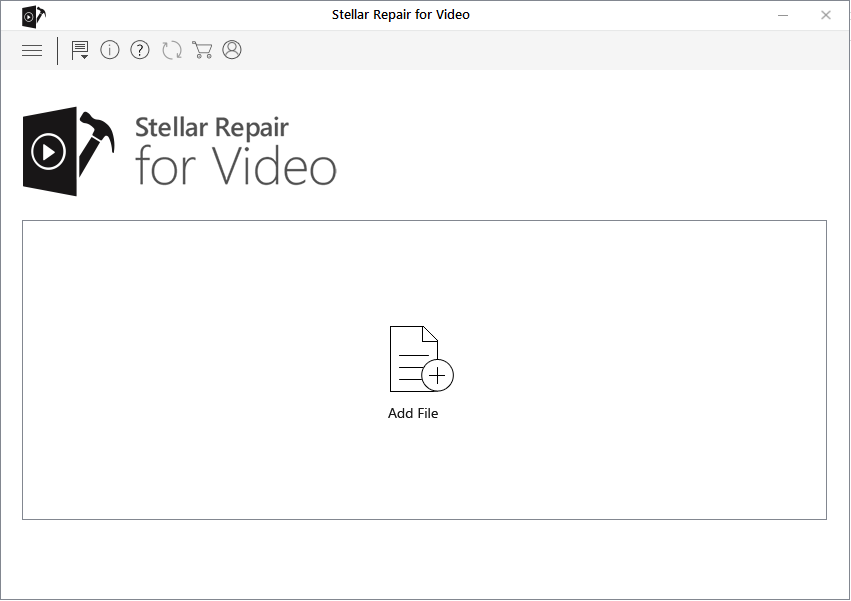
Step 1: On the main screen of the software click on Add File.

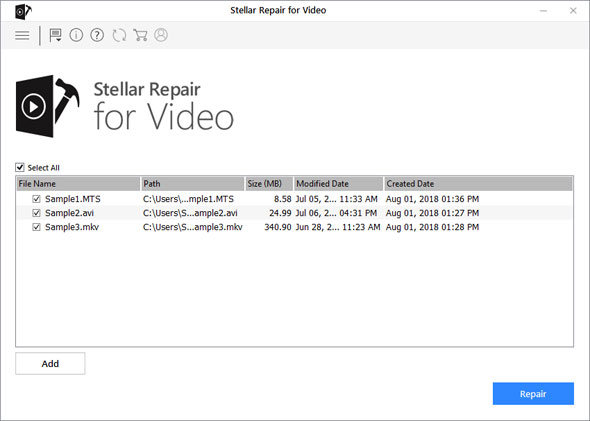
Step 2: The added video files are listed in the next window. If you want to add more files for repairing click on the Add File button. Check in Select All for repairing. Click Repair to fix the selected videos.

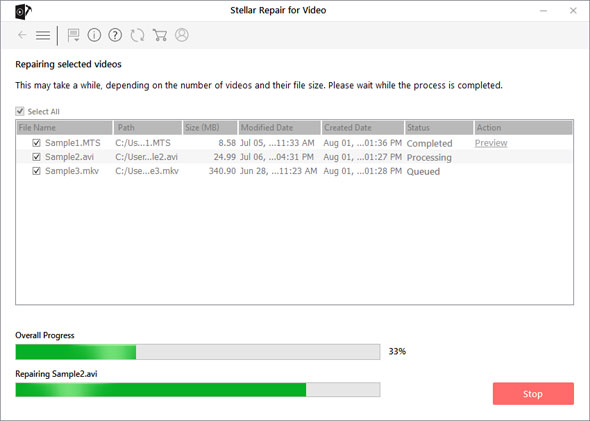
Step 3: Repairing begins showing the progress in two bars ? Overall Progress and progress of individual file. A Stop option is also there to stop the process in between.

Step 4: A message box with repair process completed appears. Click OK.
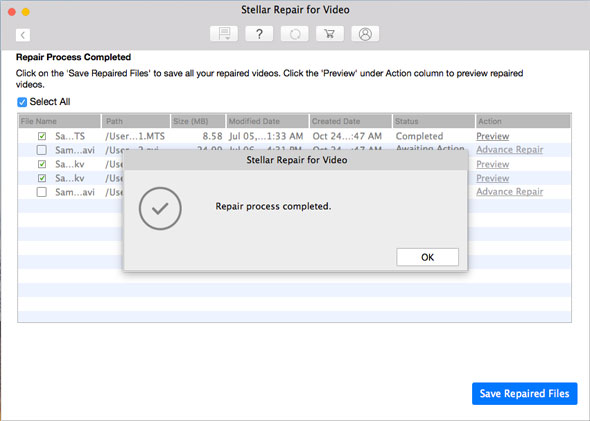

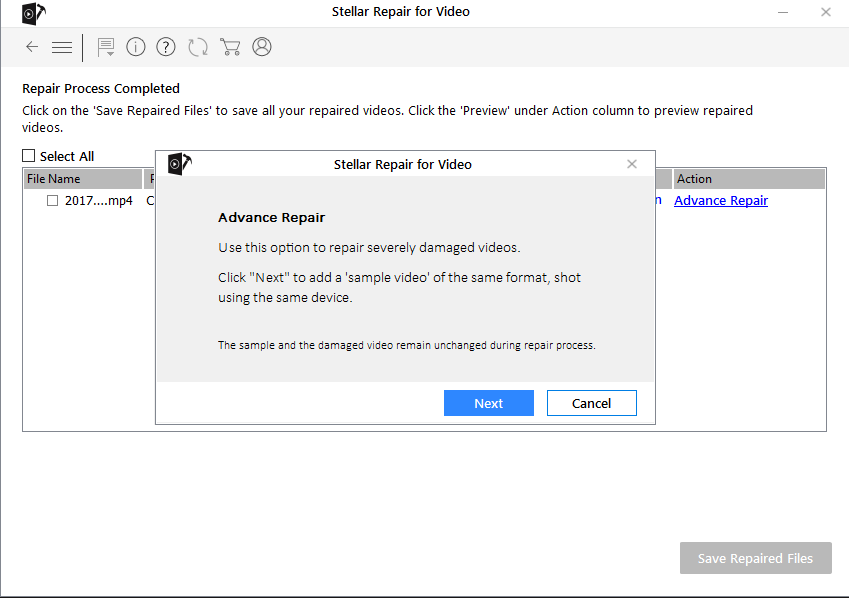
Step 5: You will see the Preview option in front of each repaired video. The Advanced Repair option is visible with status Awaiting Action against any video file that is not repaired. These are your severely corrupt files that require advance repaired. Click on Advanced Repair.

Step 6: A box appears asking for a Sample video. A sample video is a working video of any size shot from the same device as the corrupted file. Click Next.

Step 7: Click Browse and select the required Sample file from the location. Select the option Apply to all files of same format to use the selected sample file for repairing all the bad video files in the list.
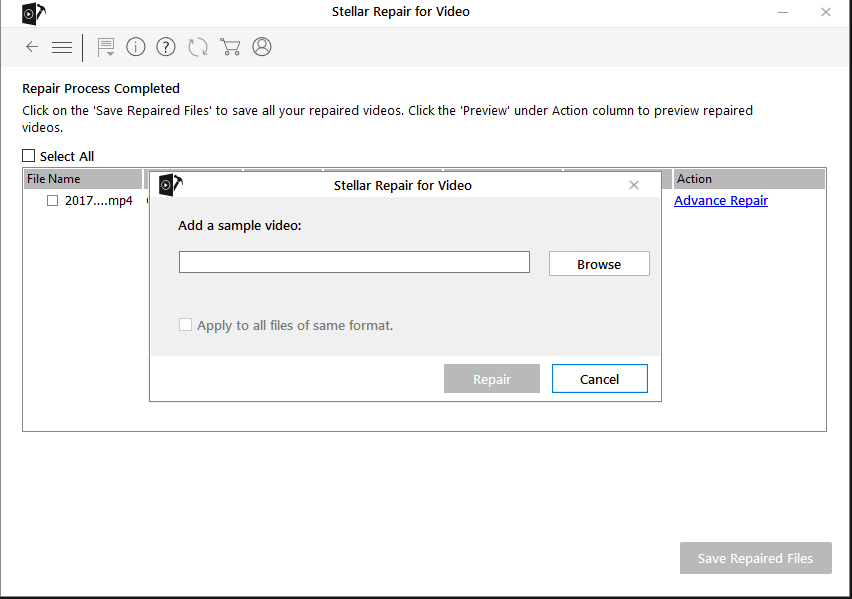

Step 8: Click Repair button after adding the sample video. A ?Repair process completed? dialog box appears. Hit OK.
Step 9: Click Save Repaired Files. A dialog box gives options to save repaired files either at source location OR at custom location if you want to save the file at your desired location.


Once saved, a dialog box appears with Repaired files saved successfully message. Click OK to close the message box.

