“Photo Noise” is the grainy, or colorful dots you sometimes see in images, especially when you take photos in the low light conditions, or at night. This generally happens if the camera’s has a small aperture, the image sensor is not designed for low light mode, or has trouble clicking clear images in dark conditions.
To compensate for quality, the camera sensor increases ISO sensitivity, which brightens the images. This impromptu boosting in low light conditions brings optimization issues, which shows up as noise. “Photo Noise” also occurs when you try to brighten up an image with external software that was captured in low light.
Noise in photos is not limited only to the above causes, but don’t worry, there are various fixes to reduce noise in photos. Taking photos in bright light, reducing ISO sensitivity, and precisely handling brightness in dark pictures will help keep your photos cleaner and less noisy. Let’s understand how to reduce noise from images.
Types of Noise in Photos
Primarily, there are two types of noise in an image or photo.
- Digital noise – Digital noise usually occurs because camera aperture is small, and the sensor is inadequate for low light condition, and it brightens the image by increasing ISO sensitivity.
- Shot noise – While digital noise is generally caused due to hardware. Shot noise is related to natural lighting conditions or random grain you see in photos because the camera gets a different amount of light at each pixel. It’s natural and happens more in dark conditions.

Simple Ways to Reduce Noise in Your Photos
- Shot in Good Lighting – Always take photos in well-lit areas. Adequate amount of lighting helps your camera capture clearer images with less noise.
- Decrease ISO – Set your camera to a low ISO value in the range below ISO 800. A lower ISO setting makes photos less grainy.
- Correct Exposure – Make sure your photo is not very dark. Underexposed photos become grainier if you try to brighten them later.
- Shoot in RAW – Always choose RAW format instead of JPEG. RAW photos preserve the details more accurately and provide you with better results while editing.
- Use a Tripod – Hold the camera steady or use a tripod. This lets you use longer exposure times without blur, so you don’t need to raise the ISO.
- Add Extra Light – When shooting in visibly low light conditions, always use an external lighting setup.
Moreover, when you brighten a photo, try to apply the filters more smoothly and don’t overdo it because it will make the photo grainy and increase noise.
How Can I Remove Noise in Photos?
I just bought a Nikon D3200. My first DSLR. Am using a 50mm f1.8D Nikkor lens. Now, at ISO 200, I took a few test shots and though the images look fine on the small screen, as soon as I view them on my laptop, immediately I feel the pictures to be a touch grainy……… Stack Exchange
Below are some effective ways to remove noise from your images.
1. Use Built-in Noise Removal in your Camera
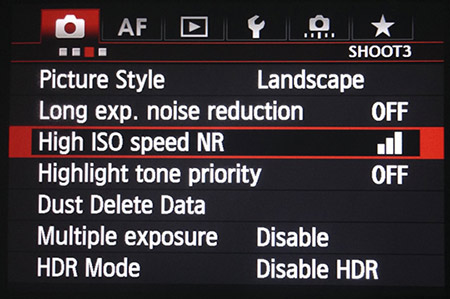
Many new-age cameras (especially DSLRs and mirrorless) have built-in noise removal settings.
- You can usually turn this feature ON, OFF, or set it to LOW/HIGH.

- It is suggested to leave noise removal ON for the camera to fix it automatically.
- Always shoot in RAW mode so you can edit and remove noise later.
2. Use Special Noise Removal Plugins
If your camera is older, or lacks built-in noise removal, you can use software plugins.
- Popular plugins and software include: Nik, Dfine, Topaz, DeNoise AI, Neat Image, Noise Ninja, Photo Ninja, NoiseWare, etc.
- These tools offer fast, one-click options to clean up noisy images, and fix even very grainy ones.
3. Use Adobe Lightroom to Remove Noise
Lightroom automatically applies some noise removal when you open a file in it for editing. However, you can use the “Noise Reduction” sliders to perfectly remove noise and grainy texture from your photos.
- Luminance: Regulates the grainy, sand-like noise (brightness issues). Boost the overall Luminance of photos that smooths irregular, lumpy surfaces in dark shots or high-ISO photos.
- Color: Reduces and removes colored dots (red, blue, green spots) that show up in shadows or low-light, cleaning up unnatural color patches without impacting overall detail.
- Detail: Regulates and fine tune image sharpness that is gained from Luminance or when color noise reduction is applied. Higher Detail retains more texture and fine line sharpness but can allow more noise.
- Smoothness: It smoothens over colored noise areas and intensifies color where needed, thus ensuring transitions look smoother and less spotty, but excess of smoothness can blur delicate color texture.
For best results, try the Blacks and Dehaze sliders that can also hide leftover noise in dark photos.
Suggested Read: How to Reduce Haze in Photos Using Lightroom?
4. Remove noise from photo using Photo Repair Software
It’s a great idea to fix unwanted noise in multiple photographs at once, using a photo repair software, such as Stellar Repair for Photo. Based on advanced repair algorithms, the software can fine-tune a noisy photo without affecting its core elements and data structure.
You can easily restore unreadable files with a corrupt header, data, and invalid file structure. Without further ado, download the free version of the software that can fix a noisy, distorted, split, blurred, or pixelated image.
Steps to Repair a Photo with Photo Repair Software:
- Download and install Stellar Repair for Photo on your Windows or Mac PC.
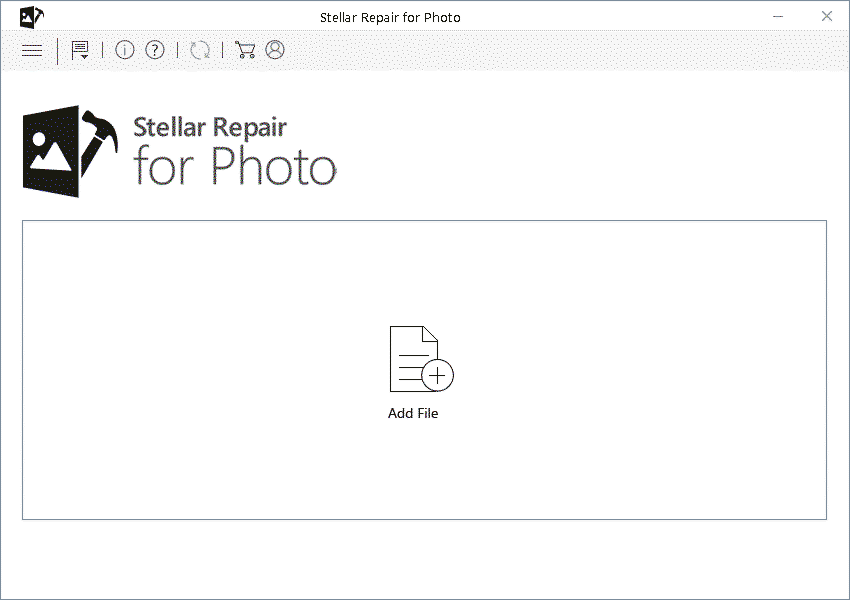
- Launch the software and click on Add Files to load the corrupted images into the software.

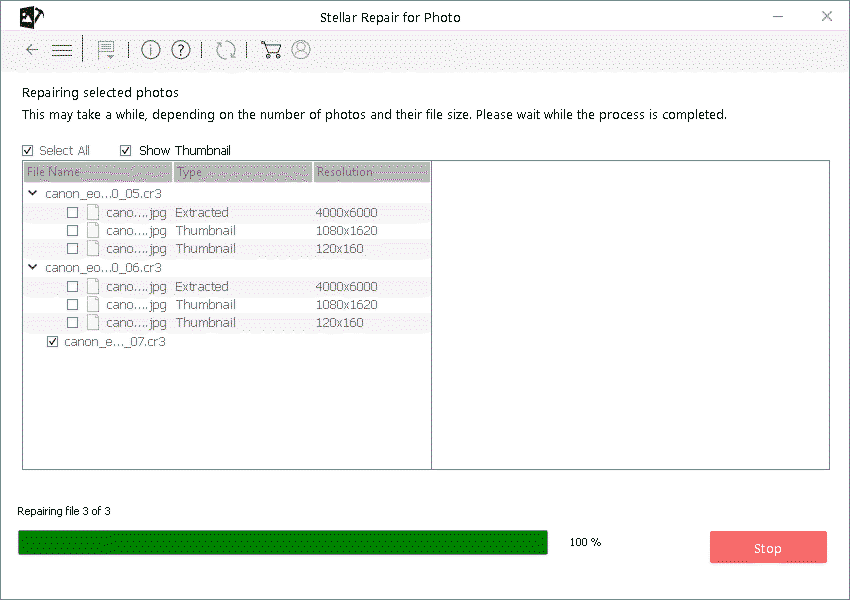
- Click on Repair, to start the repair process.

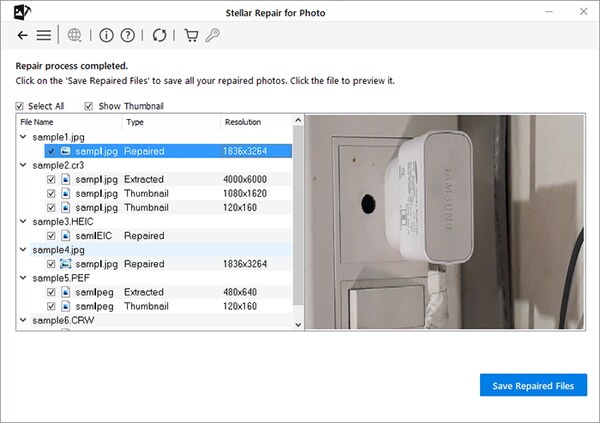
- Once the images are repaired, select the files to preview them.

- If satisfied with the result, buy the subscription of the software online to save the corrected photos to a desired location on your computer.
In a Nutshell
If your photos have noise, post-processing options can save the day for you. Commonly known as Denoise, noise reduction is a significant post-processing technique in photography.
The photo editing tools pacify disturbing noises in a picture by evaluating the inconsistencies between adjacent pixels using the intensity of the pixel colors as a reference. On the other hand, photo filter plugins make the noises subtle and even.
Similarly, AI noise reduction tools with AI algorithms help detect noise in photos. However, most AI tools focus on random noises which might affect picture quality. To keep the core elements of a photograph, try Stellar Repair for Photo now and tune into other photography tips.