For setting up Directory synchronization for Microsoft 365, you need to first fulfil some prerequisites. Then, you have to download and install the Microsoft Entra connect and follow either Express Settings method or Custom Settings method, depending on your business requirements. In this article, we will be talking about the complete process to setup Directory synchronization for Microsoft 365. We will also be mentioning a specialized Exchange migration tool that can help in seamlessly migrating data from local Exchange to Microsoft 365.
What is Directory Synchronization?
Directory synchronization is the process of synchronizing identity data between the local Active Directory object in your Exchange and the Entra IDs on Microsoft cloud. This is used to simplify logins and to have a seamless authentication. If there is no migration in place, this will be used as a single sign on feature where the user will have one username and password across the local Active Directory and Microsoft 365/Azure. When migrating from a local Exchange Server to Office 365 using hybrid method, Directory synchronization will help in a smooth and seamless migration between the systems. Following are the main benefits of Directory synchronization:
- Single identity across on-premises and cloud.
- Easier user onboarding and offboarding.
- Password synchronization including two-way method.
- Co-existence between local server and cloud.
- Consistent user experience throughout the organization’s ecosystem.
How to Setup Directory Synchronization for Microsoft 365?
Here is the process you can follow to successfully set up directory synchronization for Microsoft 365.
Fulfil the Prerequisites for Setting up Directory Synchronization
Although this process is to facilitate authentication between the local server and the cloud, you must also take into consideration the requirements and housekeeping tasks that need to be done prior to setting up the Directory synchronization.
You must have a healthy Active Directory and the server must be fully updated. The Windows Server must be either 2019 or higher. Some of the things to do before implementation are:
- Remove any duplicate proxy addresses
- Check for stale or orphaned objects
- Remove unrouteable domains such as .LAN or .LOCAL
- Check for any schema issues in the forest
- Ensure there are no invalid characters in objects
Also, you must have full administrator access on the server, local Active Directory, and global admin in Entra.
Download Microsoft Entra Connect
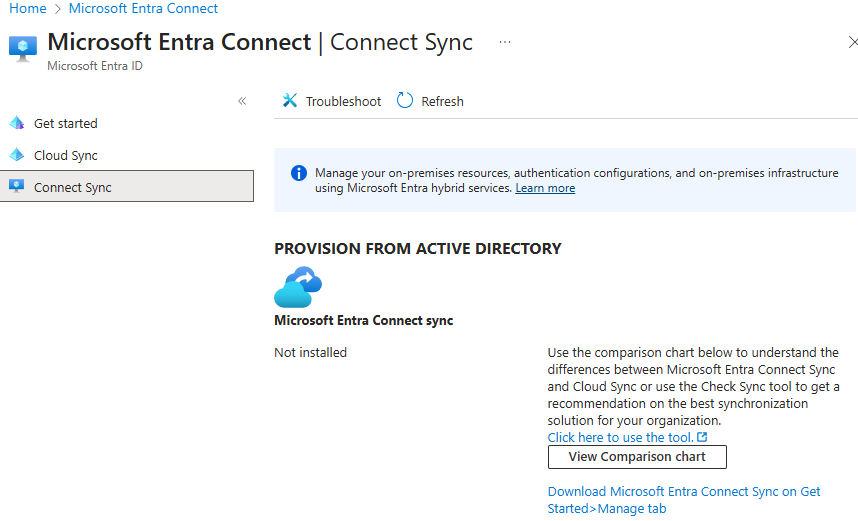
You need to install the Microsoft Entra Connect. The installation is no longer available on the Microsoft website. It is now accessible from the Entra Connect blade in the Entra Admin Center. Follow these steps:
- Click on Connect Sync.
- Click on Download Microsoft Entra Connect Sync on Get Started > Manage.
Scroll down and click on Download Connect Sync Agent.
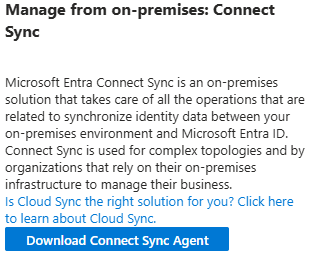
- Accept the terms and conditions. The downloading of 144 MB file will start.

Before starting the installation, the Entra Connect tool offers two methods of implementation – the Express Settings and Custom Settings.
The Express Settings Method
The Express Settings method is a good fit for businesses with a single Active Directory forest and use the password hash synchronization to synchronize the passwords from local to cloud. Let’s see how to use this method:
- Log in to the server where you will be installing the Entra Connect.
- Open the AzureADConnect.msi file you have downloaded.
- On the welcome screen, accept the licensing terms and conditions.
- In the setup options, click on the Use Express settings.
- Now, you will be asked to enter the global administrator or another user with global administrator rights to the Azure Entra.
- Next, you will be asked to enter the username and password which will be used as the Hybrid Identity Administrator. This can be the domain administrator. It must be entered using the DOMAIN\Administrator or domain.local\Administrator format.
The last screen will allow you to review the configuration. Afterwards, the setup will be complete and the synchronization will start.
The Custom Settings Method
The Custom Settings method will give more granular configurations and offers more flexibility if you require the following features or have the following setup.
- Multiple forests in your organization.
- Require pass-through authentication where the password is not validated with the synchronized hash, but only from the Active Directory.
- Federations with Active Directory Federated Services.
- Filtering with Active Directory object filtering.
- Staging environment.
The installation is similar to the Express Settings method, but when you choose the custom method, you can setup the authentication methods – password hash, pass-through, or federated. The filtering options will also be open for the domain-based, organizational unit-based, or by an Active Directory attribute.
Optional features for the synchronization are also available, like password write-back, group write-back, and device write-back. You must take into consideration that some additional features would require an Entra subscription, like Entra AD Premium P1 and others.
What are the Challenges you can Face during Directory Synchronization Setup?
There are a number of challenges or issues that you might encounter during the setup and operation of Entra Connect, and during migration from local Exchange Server to Office 365.
There could be Entra Connect failures due to misconfiguration of installation and setup. These can result in synchronization scheduler being disabled, SQL Express limits, upgrade failures, external tools blocking the execution of the application, and others.
Mistakes in the configurations can also lead to inconsistent users or duplicate users in the Entra resulting in login issues. You could encounter issues with UPN suffixes and domain mismatches where mailbox mapping will fail and users will not be able to login.
All these, along with using legacy or unsupported systems, will affect the operations. When it comes to migration of data, it will delay and cause multiple issues with the data transfer.
With Exchange migration tools, such as Stellar Migrator for Exchange, the migration process can be done with no extra configurations or long migration batches. The tool’s installation is fairly simply to follow. It supports all versions of Exchange Server. It can granularly migrate user mailboxes, user archives, shared mailboxes, and public folders to Office 365. The tool also offers the following:
- Exchange Server to Exchange Server migration
- Office 365 to Office 365 migration
- Office 365 to Exchange Server migration
Conclusion
As mentioned earlier, Directory synchronization helps in smooth and seamless migration from local Exchange Server to Microsoft 365, when using the hybrid model. However, a successful migration requires a lot of administrative efforts, cost, and resources. To make the migration process simple and seamless, you can consider using Stellar Migrator for Exchange – a specialized Exchange migration tool. This tool facilitates direct migration of mailboxes from local Exchange to Microsoft 365, with complete data integrity.