Many companies with on-premises Exchange Server still make heavy use of Public Folders. The Public Folders are good in consolidating files, archives, and other common data between teams and the company.
Being an Exchange Server administrator, you may pass through one or more major migrations due to limitations or for upgrading to a newer Exchange version. In the case of Exchange Server 2010, you need to upgrade to a newer Exchange version as Exchange 2010 has already reached its end of life. This means that there will be no more fixes, service packs, and most importantly the security.
It is to be noted that both Exchange Server 2010 and Exchange Server 2016 can co-exist. It means that you can have both in the same infrastructure. In this article, we are going to look into the steps to migrate Exchange 2010 Public Folders to Exchange 2016. However, this does not mean that you can easily migrate or move the Public Folders from one database to another like you do with mailboxes. Migrating Public Folders can be a little bit tricky, especially when you are dealing with large folders with massive data.
Procedure to Migrate Public Folders from Exchange 2010 to Exchange 2016
Before you begin, make sure that the Exchange Server 2010 is fully updated, with Exchange Server 2010 SP4 RU8 or later.
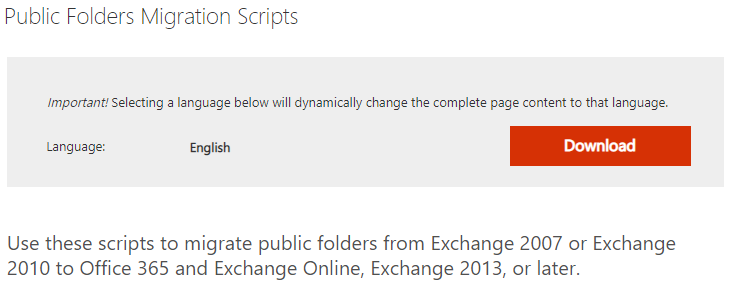
You need to download the Public Folders Migration Scripts from the Microsoft Download site, by using the link: https://www.microsoft.com/en-us/download/details.aspx?id=38407.
Now, save the Scripts in your Exchange Server. Usually, I like to create a folder for Scripts under the operating system drive and save all my scripts there. But it is up to you where you want to save the Scripts. Once you are ready, you can start off by preparing the migration.
Open the Exchange Management Shell (EMS) and run the following command to identify all the existing and non-existing Public Folders as you might still have some link to a non-existent folder which you do not want to migrate.
Get-PublicFolder -Recurse | Export-CliXML C:\Scripts\structure.xml

This will get the information required to map out the Exchange 2010 to 2016 Public Folder migration plan. Also, you can use this to compare the folders after the migration.
The next step is to check if there is any Public Folder which is either locked or already migrated.
Get-OrganizationConfig | Format-List PublicFoldersLockedforMigration, PublicFolderMigrationComplete

If you have any folders which are showing ‘True’, you need to use the same command but with the Set-OrganizationConfig start, as given below, to set them as False.
Set-OrganizationConfig -PublicFoldersLockedforMigration $false -PublicFolderMigrationComplete $false
This will confirm the Public Folders and their state on the Exchange Server 2010.
On the Exchange Server 2016, you need to do something similar. You need to start off by checking if there are any Public Folders migration requests.
Get-PublicFolderMigrationRequest | Get-PublicFolderMigrationRequestStatistics -IncludeReport | Format-List

The above command will give you this information. If there is nothing pending, it will not show anything. But if there are some pending requests, you need to clear them out by using the below command.
Get-PublicFolderMigrationRequest | Remove-PublicFolderMigrationRequest

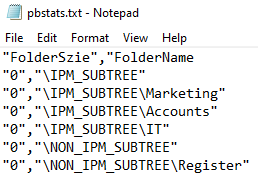
If the above pass the test, then you can start setting up the migration plan for migrating Public Folders from Exchange 2010 to 2016. You can start off by exporting the statistics, using the Export-PublicFolderStatistics.ps1
Next, you need to run the PublicFolderToMailboxMapGenerator.ps1 PowerShell that you’ve downloaded on the Exchange Server 2016.

The MailboxSize parameter denotes the maximum size (in bytes) you want to set for the new Public Folders in the Exchange Server 2016. The ImportFile is the file that you just created with the statistics and the Export File is to be used at a later stage.
The below script, Create-PublicFolderMailboxesForMigration.ps1, will create the destination Public Folders on the Exchange Server 2016.

You need to specify the Map Generator File (as you did in previous command) and the number of concurrent users. This will create all the Public Folders from the Exchange 2010.
The next step is to create the migration batch in the Exchange Server 2016.
New-MigrationBatch -Name PFMigration -SourcePublicFolderDatabase (Get-PublicFolderDatabase -Server EX02) -CSVData (Get-Content c:\scripts\pfef.csv -Encoding Byte)
In this, the Name would be a name given to the migration. The Server is the Exchange Server 2010 and the Get-Content would be the map generator file you created.

Once this is created, you can start the migration process by using the PowerShell command (as given below).
Start-MigrationBatch PFMigration

Once the migration is complete and the Public Folders are marked as Synced in the migration EAC, you can now lock the Public Folders on the Exchange 2010 server to log off users for the final migration push.
For this, run the following commands.
Set-OrganizationConfig -PublicFoldersLockedForMigration:$true
Set-OrganizationConfig -PublicFolderMigrationComplete:$true

The final step is to finalize the migration on the Exchange Server 2016 by running the below command.
Set-OrganizationConfig -PublicFoldersEnabled Remote

This is the procedure to migrate Public Folders from Exchange Server 2010 to Exchange Server 2016.
In an ideal scenario, all components should function smoothly. Unfortunately, this is not always the case — especially with Public Folders on Exchange Server 2010, where various issues can arise and hinder the migration process. Since Exchange 2010 is end-of-life and no longer supported by Microsoft, resolving such issues through native methods becomes nearly impossible.
In these situations, the most reliable solution is to use Stellar Migrator for Exchange. The tool can seamlessly connect to Exchange environments of any version and efficiently migrate Public Folders from Exchange 2010 to Exchange 2016 or 2019. It ensures smooth data transition without downtime and supports direct migration of mailboxes and Public Folders between live Exchange Servers and Office 365.
Stellar Migrator for Exchange provides a hassle-free way to move data even when legacy servers like Exchange 2010 encounter issues, ensuring a secure, fast, and uninterrupted migration process.