Windows 11 is arguably the most popular OS but when issues like slow performance, update failures, or sudden crashes start to happen, figuring out where to start can be frustrating. While Microsoft pushes out monthly updates… users still face performance issues ranging from botched updates and unforeseen errors to driver conflicts.
Although there are built-in maintenance tools, working around them can get tricky, especially for someone who isn’t a tech expert. For similar reasons, we’ve put together this guide to cuts through the confusion and provides you with essential fixes to effectively diagnose & fix errors on Windows 11.
Why Does Windows 11 Run into Issues?
Windows 11 brought fresh set of upgrades like AI integration, Wi-Fi 7, and native 7z/TAR support. While that’s great for modern setups, it may also create problems. Especially for users with old hardware, or those running legacy drivers and apps that aren’t optimized for the new environment. Some common reasons behind persistent issues on Windows 11 are:
- You’re running it on hardware that do not meet baseline requirements like compatible CPU, TPM 2.0, and Secure Boot can cause errors or system instability
- You’re using incompatible or outdated drivers
- You are using software programs that aren’t compatible with Windows 11
- You’re running a buggy update
- The system files of your PC are corrupted
Windows 11 Issues: The Fixes
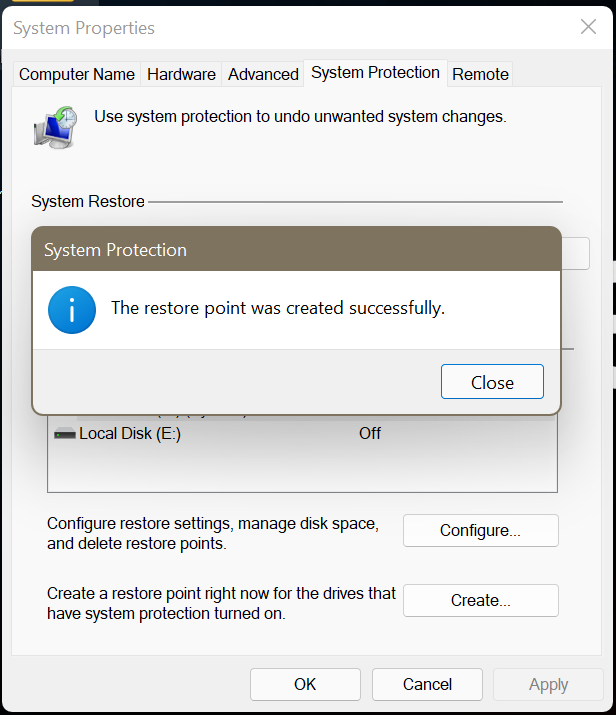
Repairing Windows carries inherent risks—always back up your data. Cloud services like Dropbox or Google Drive can help you protect individual files but go a step further and create a System Restore Point as the most effective safeguard. It gives you a snapshot of your whole PC which you can jump back to if something goes wrong.
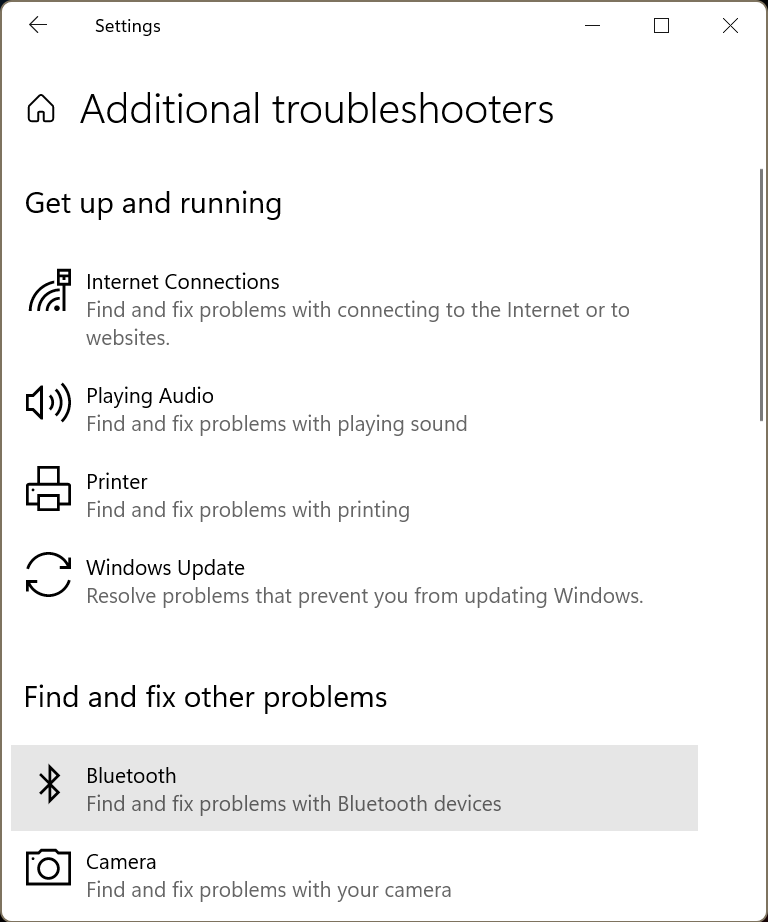
1. Use Windows Troubleshooters to Repair Issues
Windows troubleshooter is where you start for catching minor issues, most of which it can find and fix on its own so you don’t have to get your hands dirty with the system commands or complicated Control Panel options.
- Go to Settings > Update & Security > Troubleshoot.
- Click Additional troubleshooters.
- Run the troubleshooters one by one until the issue you are facing is resolved.
2. Install Updates
New updates frequently include patches and bug fixes that target known stability problems and updating to the latest Windows 11 build can help resolve them.
- Go to Settings > Update & Security > Windows Update.
- Click Check for updates.
- Download the available updates.
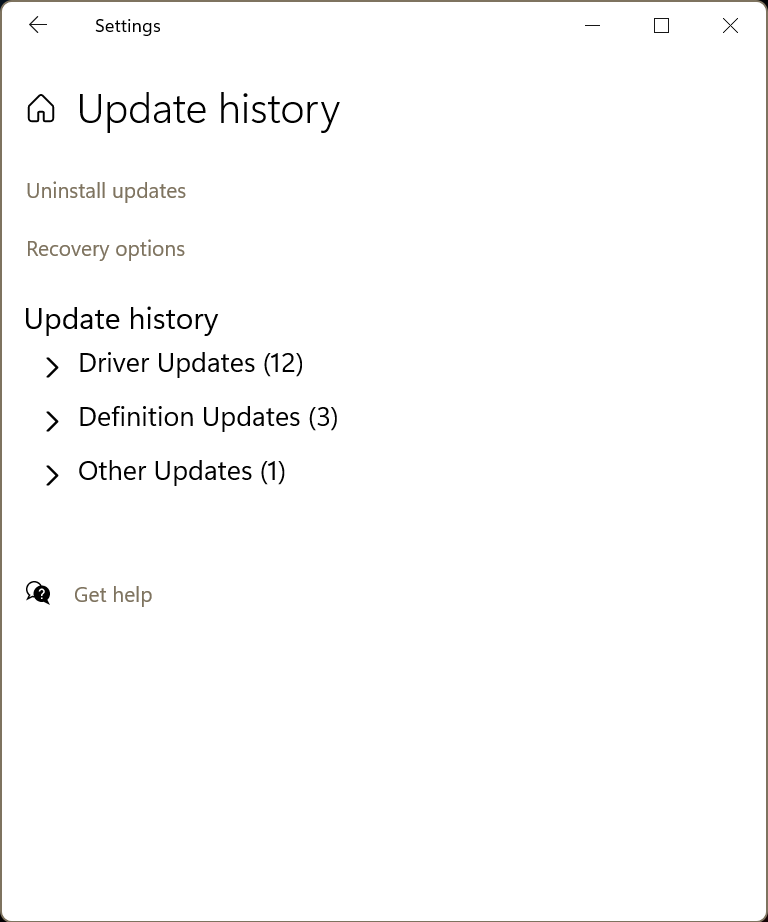
3. Uninstall Windows Updates
As seen lately, Windows 11 updates can be buggy on launch. When your PC starts to act weird right after installing a new patch—just roll back to the version which was working fine before.
- Go to Settings > Update & Security > Windows Update.
- Click Update history.
- Select Uninstall updates.
- Click the Uninstall button next to the recently installed update and select Uninstall.
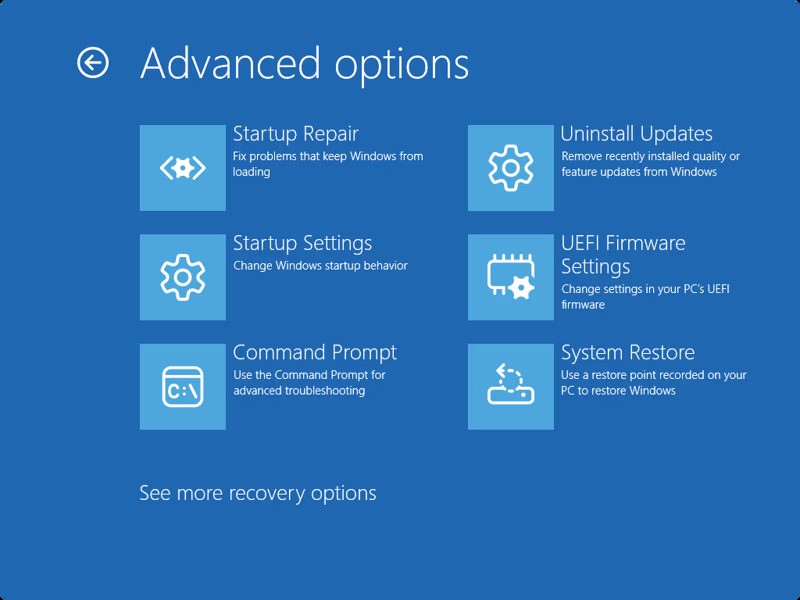
For non-bootable systems, use the Advanced Startup options to uninstall updates… The WinRE environment automatically loads after two consecutive boot failures, allowing you to remove recent patches outside the standard Windows interface.
- Go to Settings > Update & Security > Recovery.
- Click Restart now to access Windows Recovery.
- Go to Troubleshoot > Advanced options > Uninstall updates.
- Follow the prompts to complete the process and Restart your PC.
4. Repair Using Terminal Commands
Windows Terminal provides access to essential repair features like CHKDSK, SFC, and DISM. Run CHKDSK to scan the boot drive to locate & repair bad sectors or data corruption affecting performance.
- Search Terminal and click Run as administrator.
- Execute the following command: chkdsk /r.
When that isn’t enough, run the DISM—a powerful tool that repairs the actual system image Windows relies on. Microsoft actually recommends running this one before you try the SFC tool, just to make sure everything is prepped correctly for the repair.
- Search Terminal and click Run as administrator.
- Run the following command:DISM /Online /Cleanup-Image /ScanHealth.
- If issues are detected, run the next command: DISM /Online /Cleanup-Image/RestoreHealth
Lastly, run SFC to look for corrupted system files. It detects damaged system files and replaces them with clean versions.
- Type the following command and hit Enter: sfc /scannow
- Restart one done.
5. Repair Using Windows Recovery Environment
If the above method doesn’t work, use the Windows Recovery Environment to get things back on track. Try the Startup Repair tool – it checks your system logs for boot issues and usually fixes them automatically without you needing to do a thing.
- Go to Settings > Update & Security > Recovery.
- Click Restart now
- Go to Troubleshoot and select Advanced options.
- Click Startup repair and follow the on-screen instructions to complete the process.
To have more granular control over boot configuration, use the Bootrec.exe utility – a tool for handling corruption within the Master Boot Record, boot sector, and Boot Configuration Data store. Similar to the Startup Repair process, run it from within the WinRE.
- Go to Settings > Update & Security > Recovery.
- Click Restart now.
- Go to Troubleshoot > Advanced options > Command Prompt.
- Execute the following commands one by one:
Bootrec.exe /FixMbr
Bootrec.exe /FixBoot
Bootrec.exe /RebuildBcd
6. Repair Using System Restore
As already mentioned, the System Restore utility lets you roll back the changes made after you set up the restore point. But while this can help fix file system corruption, you can lose data as any changes made to your files since the last restore point will get lost when you revert it. So proceed with caution.
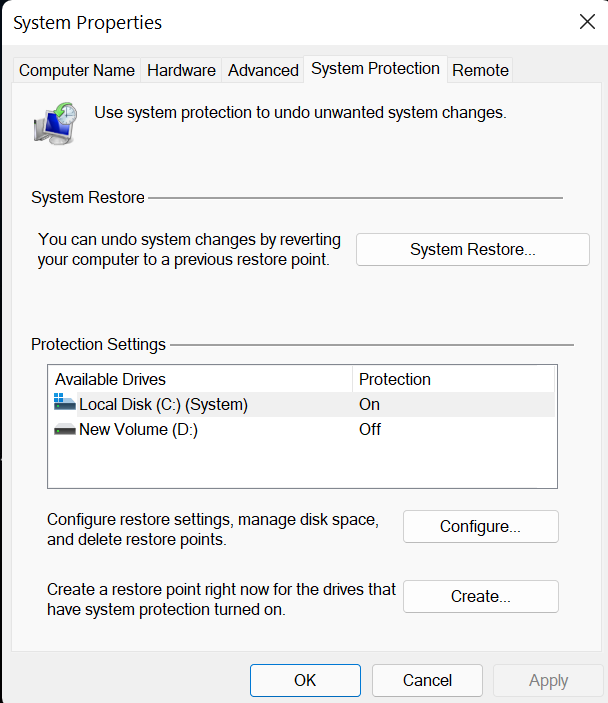
- Search for Create a restore point and open it.
- A System Properties dialog box will appear.
- Click System Restore.
- Choose a restore point you want to revert to and click Next.

- Confirm the restore point by clicking Finish and you’re good to go.
7. Repair by Resetting Your PC
In case System Restore fails to resolve the issue, you need to reinstall the operating system. This option reinstalls Windows 11 while retaining personal files, though all installed applications will be subsequently removed.
- Go to Settings > Update & Security > Recovery.
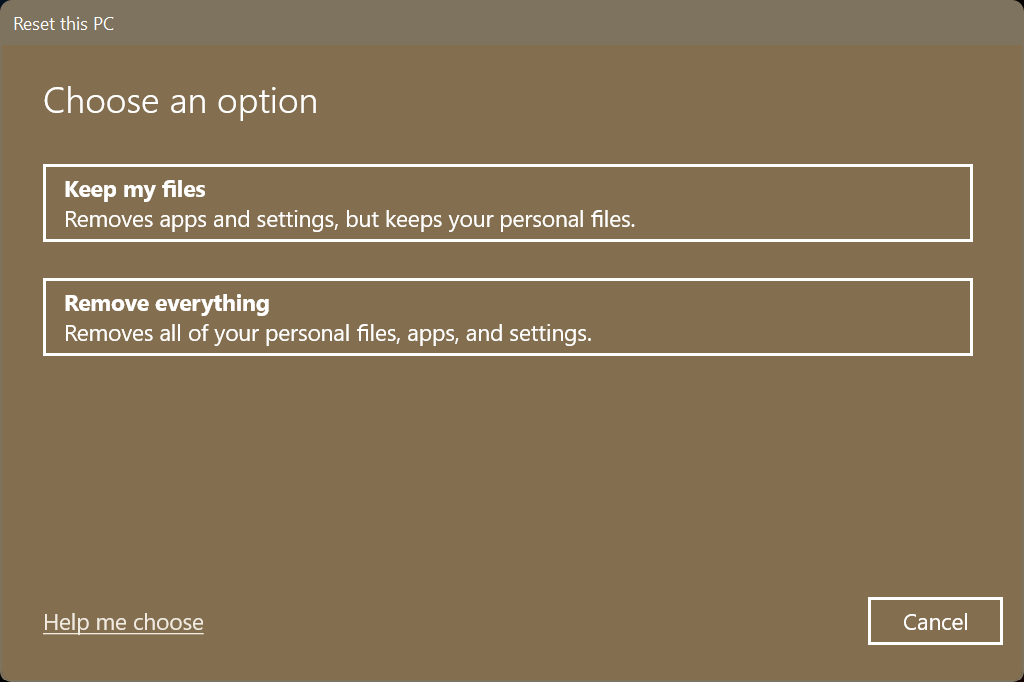
- Click Reset PC.
- Select between the Keep my files or Remove everything option, as per your requirement.
- Follow the onscreen prompts to complete the process.
Bottom Line
The steps outlined in this blog will help you fix any issue you might be facing with Windows 11… and while tools like System Restore and Reset PC are useful—they don’t guarantee the safety of your data, especially when something goes wrong mid-process. In situations like these, a professional data recovery software—Stellar Data Recovery Professional can help recover your files before or after system-level repairs. It’s often a safer first move before taking irreversible actions like a full reset.